

Understanding Gate Halo & Radiation Lines in Injection Molding: Causes and Solutions
In de wereld van precision injection molding , surface aesthetics are just as critical as structural integrity. One particularly tricky visual defect is the appearance of "Radiation Lines" of "Gate Halos."
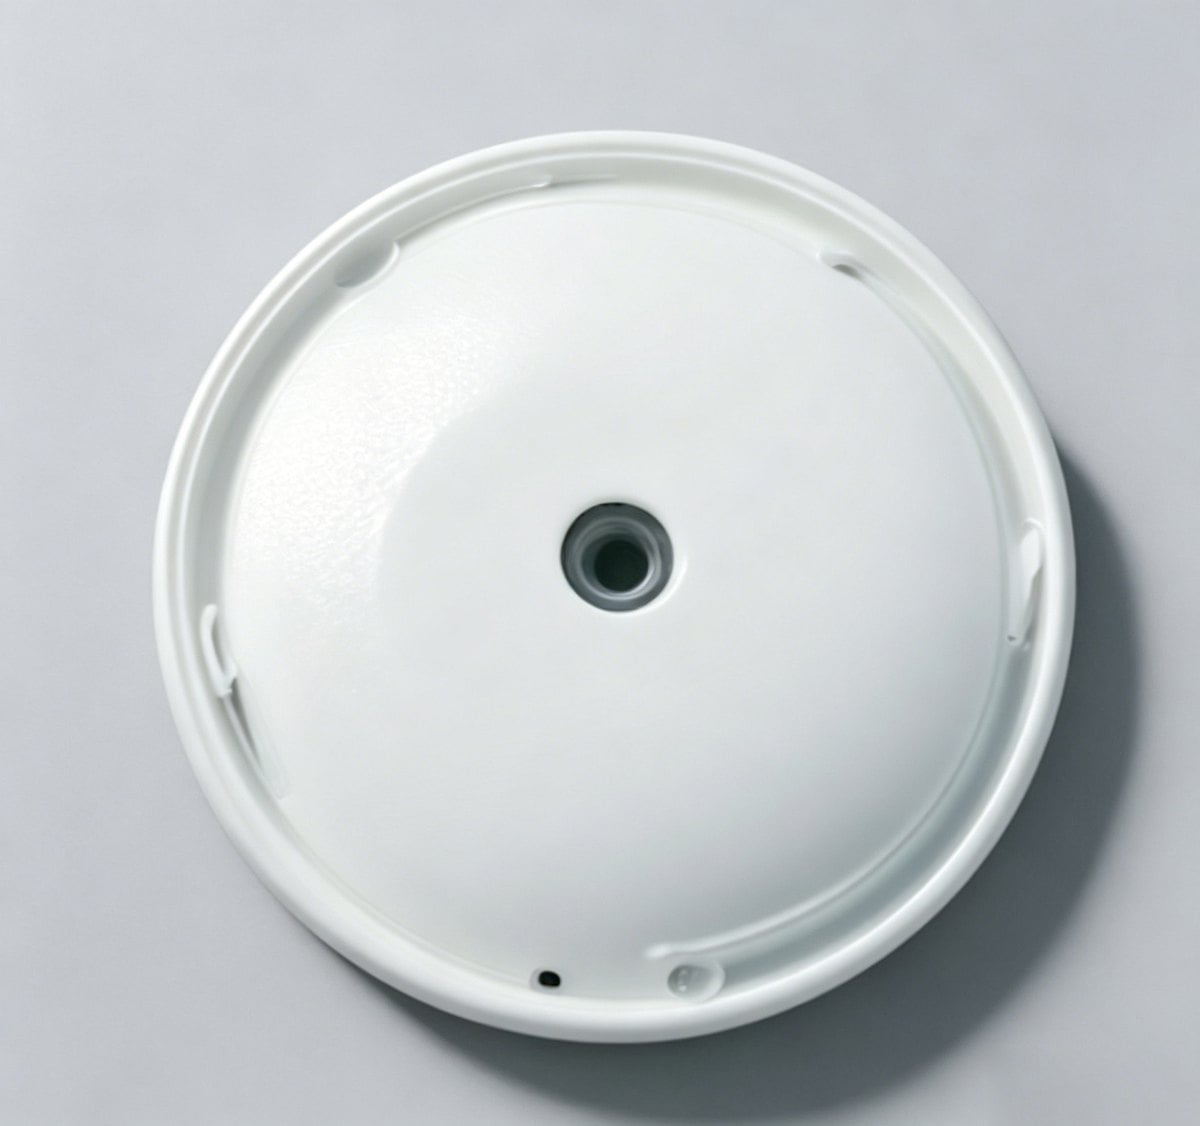
This defect typically appears in parts using point gates oriented perpendicular to the part's surface. It manifests as a radial pattern emanating from the gate, characterized by varying depths of color and gloss.
If you are struggling with this issue, this guide will break down the symptoms, root causes, and professional solutions to eliminate it from your production line.
What Does This Defect Look Like?
The "radiation line" defect usually presents itself in three distinct forms around the gate area:
- Dark lines on a dark background: Subtle variations in gloss or texture creating a visible contrast.
- Deep-colored lines on a light/dull background.
- A dense, whitish haze: Darker lines clustered tightly around the gate, often appearing frosted or white.
Opmerking: This defect is most frequently observed when processing Polystyrene (PS) blends or modified Polystyrene compounds.
Root Cause Analysis
Why do these radiation lines occur? The phenomenon is primarily driven by inconsistencies in the melt flow and material composition. Key factors include:
- Material Inconsistency: Differences in rheology (flow behavior) and colorant properties between base resins and additives.
- Flow Dynamics: Variations in velocity and heat history between the laminar flow layer and the turbulent flow layer within the runner system.
- Material Degradation: Thermal decomposition generating burnt streaks or "slivers."
- Gas Interference: Trapped air or volatiles interfering with the plastic as it enters the mold cavity.
Troubleshooting & Solutions
To eliminate radiation lines, you need a systematic approach targeting materials, machine settings, and mold design.
1. Optimize Material Preparation
- Uniform Mixing: When using polymer blends, ensure the pellets are uniform in size and thoroughly mixed. Inconsistent particle sizes can lead to uneven melting.
- Masterbatch Dispersion: Ensure the colorant is perfectly blended with the resin. If necessary, use a mechanical mixer and add a suitable dispersing agent to prevent pigment clustering.
2. Check Machine Plasticization
- Ensure the injection molding machine has good plasticizing performance. Incomplete melting will directly result in flow marks and visual defects.
3. Adjust Process Parameters Fine-tuning your injection parameters is often the quickest fix:
- Reduce Injection Pressure & Speed: High shear rates can cause flow instability.
- Shorten Injection & Holding Time: Minimize the stress on the gate area.
- Temperature Management: Increase the Schimmeltemperatuur en Temperatuur sproeier, but consider reducing the front barrel temperature to prevent overheating the melt before injection.
4. Prevent Material Degradation Degraded material creates viscous slugs and burnt particles that ruin surface finish.
- Inspect Hardware: Check if the screw or barrel is worn out, creating "dead spots" where plastic stagnates and burns.
- Check Heating Systems: Ensure heating bands are functioning correctly to avoid uncontrolled temperature spikes.
- Onderhoud: Polish the internal surfaces of the screw and the front section of the barrel to prevent material hang-up.
5. Improve Mold & Gate Design Sometimes, the hardware design is the bottleneck. Consider these modifications:
- Enlarge the Gate Diameter: Reduces shear stress.
- Change Gate Location: Move the gate to a less visible area or an area with better flow dynamics.
- Use a Radiused Gate: Transitioning to a rounded corner at the gate helps smooth the flow entry.
- Local Gate Heating: Applying heat specifically to the gate area can improve flow front consistency.
- Add a Cold Slug Well: Placing a cold slug well at the end of the runner traps the initial cooled material, preventing it from entering the cavity.



 English
 French
 Dutch
Dutch German
 Japanese
 Korean