

Introduction: What is a Lusterless Surface?
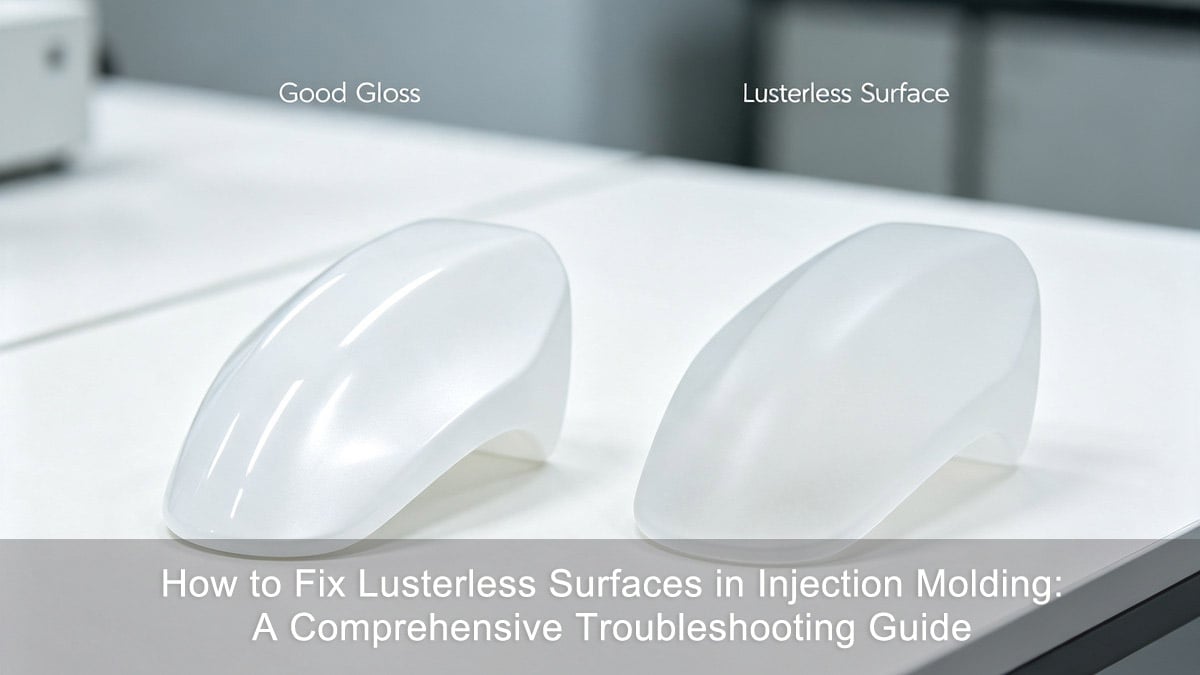
En moulage par injection, surface finish is often the first indicator of part quality. A lusterless surface defect manifests as a hazy, matte, or uneven finish lacking brilliance. For transparent components, this defect also results in reduced optical clarity.
Because the plastic part's surface is essentially a negative replica of the mold cavity, lusterless issues can stem from a wide variety of factors. In this guide, we will break down the three primary culprits—Mold Issues, Processing Parameters, and Raw Materials—and provide actionable solutions to restore that perfect, glossy finish.
1. Mold-Related Causes & Solutions
Since the mold cavity directly dictates the part's surface, any imperfection will be faithfully reproduced on the plastic, leading to a lusterless appearance.
Cavity Surface Quality
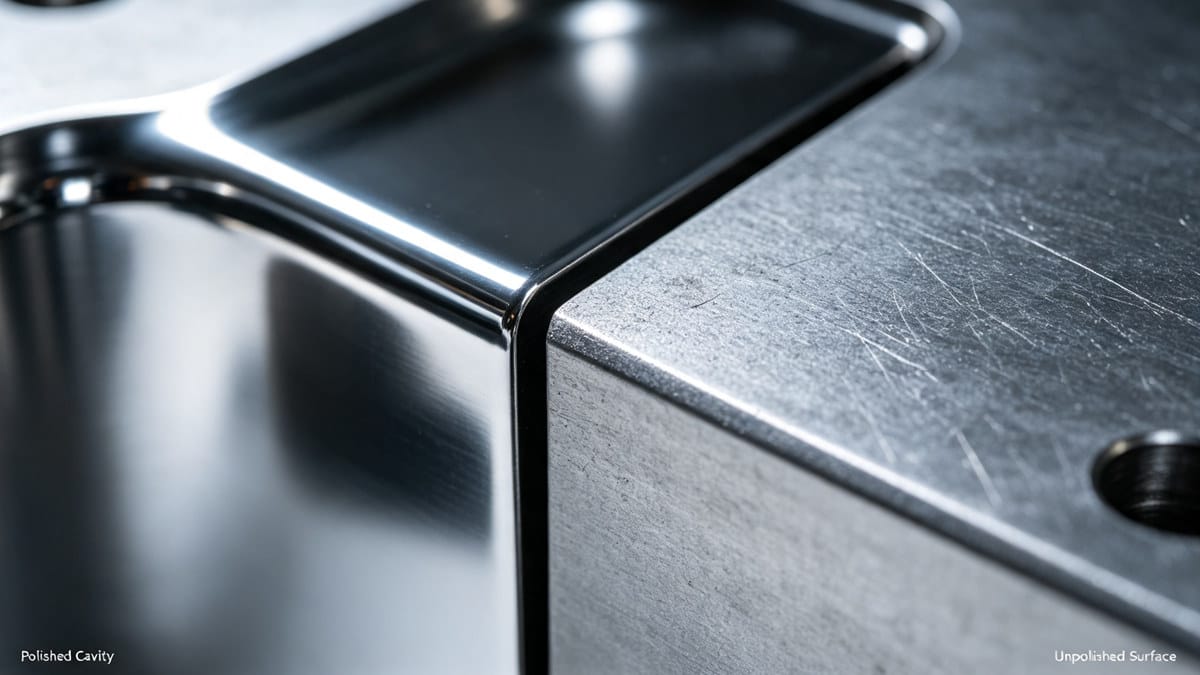
Scratches, corrosion, or micro-pores on the mold surface will transfer directly to the part. Additionally, excessive or improperly chosen mold release agents, oil, or moisture can leave a dull, lusterless film.
- Solution : Maintain high cavity polish standards (e.g., mirror polishing or chrome plating). Keep the mold impeccably clean and use mold release agents sparingly and correctly.
Contrôle de la température des moules
Mold temperature plays a massive role in surface replication. If the mold is too cold, the melt solidifies instantly upon contact, failing to capture the mold's fine details and resulting in a lusterless surface. Conversely, excessively high temperatures can also cause darkening.
- Solution : Optimize mold temperature. For most engineering plastics (excluding PS, ABS, and AS), temperatures above 100°C (212°F) improve gloss. Using warm water in the cooling circuit helps transfer heat rapidly without extending cycle times, while also reducing residual stress. As covered in our in-depth guide to injection molding surface defects like dark spots and gloss inconsistencies, mold temperature imbalance is one of the most overlooked gloss killers.
Mold Design Flaws
Poor gating, inadequate venting, abrupt wall thickness changes, or insufficient draft angles can cause turbulent flow, leading to lusterless surfaces.
- Solution : Ensure smooth transitions (use radii), optimize gate sizing, and verify proper venting to prevent gas traps. You can follow our draft angle & wall thickness design guidelines to eliminate flow turbulence at the design stage.
2. Processing Parameter Adjustments
Even with a perfect mold, incorrect machine settings can ruin the surface finish and cause lusterless defects.
Key Processing Variables
- Injection Speed & Pressure: Too fast or too slow speeds, low injection pressure, or insufficient holding pressure can cause incomplete surface replication.
- Temperature: Low barrel or nozzle temperatures lead to poor plasticization.
- Fillers: In fiber-reinforced plastics, poor dispersion or random orientation can create a matte, lusterless appearance.
Targeted Fixes for Specific Defects
| Defect Symptom | Probable Cause | Recommended Solution |
|---|---|---|
| Dark spots near gate or wall transitions | High shear stress / Turbulent flow | Reduce injection speed; enlarge gate area; add radius transitions. |
| Milky white haze on surface | Vitesse d'injection excessive | Lower the injection speed to reduce shear heating. Our article on high-gloss surface haze troubleshooting explains haze formation mechanisms in detail. |
| Visible fibers / Lusterless texture | Poor filler dispersion | Switch to better-flowing resin or use a screw with higher mixing capability. |
Master core machine settings with our complete injection molding parameters tuning guide to fine-tune speed, pressure and temperature for consistent gloss results.

3. Raw Material & Resin Issues
Sometimes, the problem is in the hopper. Material inconsistencies are a frequent but easily overlooked cause of lusterless defects.
Moisture and Volatiles
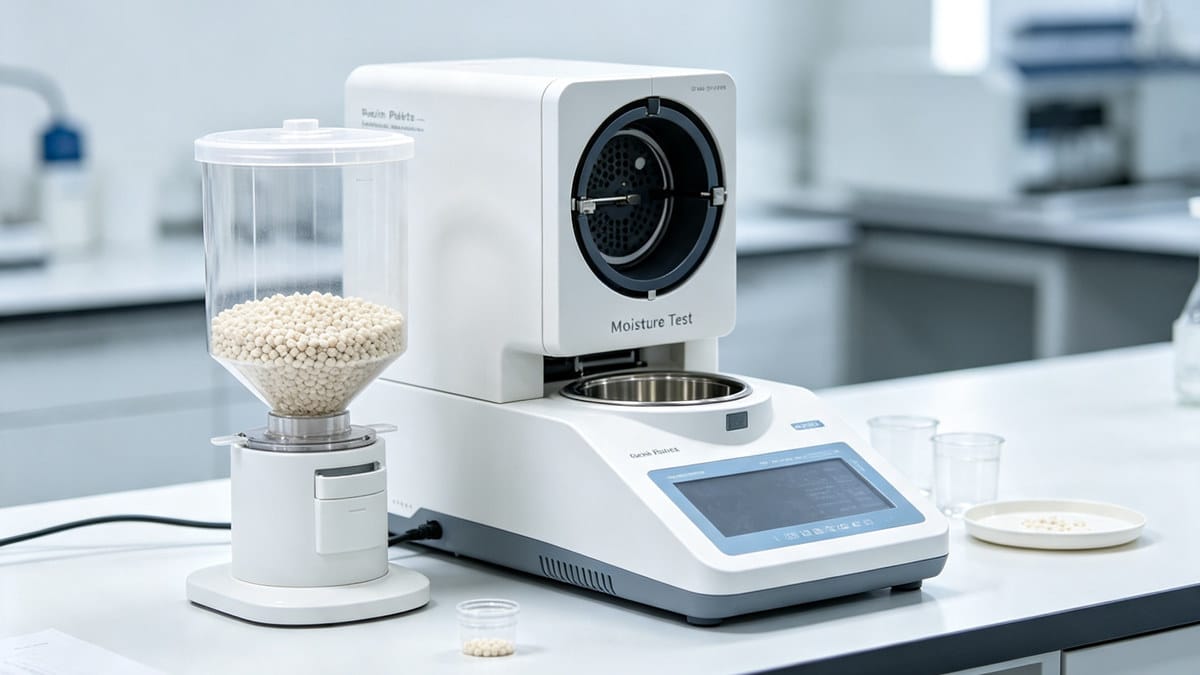
Excess moisture or volatiles in the resin will condense between the melt and the mold wall during injection, causing a lusterless finish.
- Solution : Always pre-dry hygroscopic materials according to manufacturer specifications. This issue is especially critical for transparent resins, as outlined in our transparent plastic injection molding troubleshooting guide.
Thermal Degradation
If the material or colorant degrades due to excessive heat, the resulting chemical changes will dull the surface.
- Solution : Use high-temperature-resistant resins and colorants; verify barrel temperatures.
Crystalline Resin Challenges
Crystalline plastics cool unevenly, which can lead to a rough, lusterless surface. Thick-walled parts are especially prone to this if cooling is insufficient.
- Solution : Precisely control mold and processing temperatures. For thick parts, use a secondary cold-press cooling fixture immediately after ejection to ensure uniform crystallization.
Material Contamination
Recycled materials, incompatible resins, or uneven pellet sizes disrupt uniform plasticization.
- Solution : Limit regrind ratios, sieve out irregular pellets, and ensure strict material segregation.
Liste de contrôle pour le dépannage rapide
Before diving into complex mold modifications, run through this quick diagnostic table:
| Catégorie | Checkpoint | Action Item |
|---|---|---|
| Mold | Cavity Cleanliness | Wipe down mold; check release agent usage. |
| Mold | Mold Temp | Increase temp gradually (use warm water if needed). |
| Processus | Vitesse d'injection | Adjust up/down to test surface replication. |
| Processus | Pression de maintien | Increase to ensure surface packing. |
| Matériau | Moisture Content | Dry resin thoroughly before processing. |
| Matériau | Regrind Ratio | Reduce recycled material percentage. |
Conclusion
Fixing lusterless surfaces in injection molding requires a systematic approach. Always start by inspecting the mold and verifying your drying processes before tweaking complex machine parameters. By understanding the interplay between mold design, processing conditions, and raw material properties, you can consistently produce high-gloss, premium-quality plastic parts.
Have you encountered other tricky surface finish defects in injection molding? Share your experiences and solutions in the form below!



 English
 French
 Dutch
Dutch German
 Japanese
 Korean