

Spuitgieten is a highly precise manufacturing process, but it is not immune to production challenges. Whether you are a process engineer or a quality control manager, encountering defects can lead to costly downtime and material waste.
In this comprehensive guide, we break down the four most common injection molding problems—bubbles, sprue sticking, slow production cycles, and short shots—and provide actionable, expert-level solutions to keep your production line running smoothly.
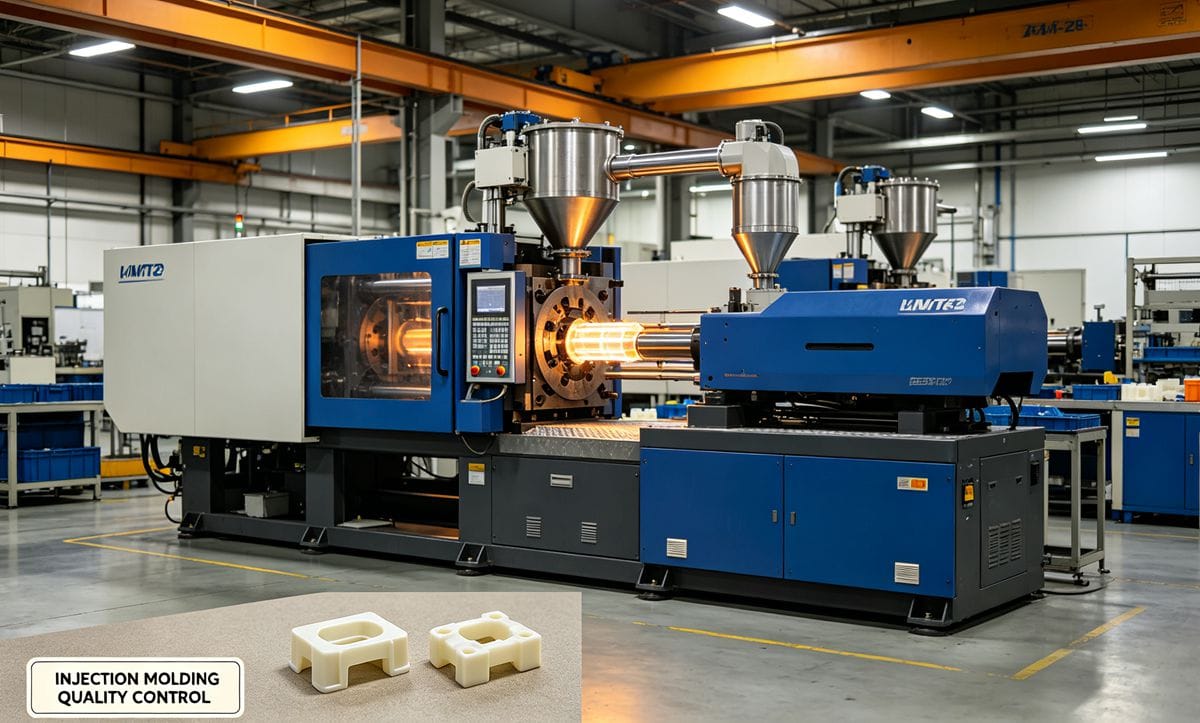
Bubbles and Voids in Plastic Parts
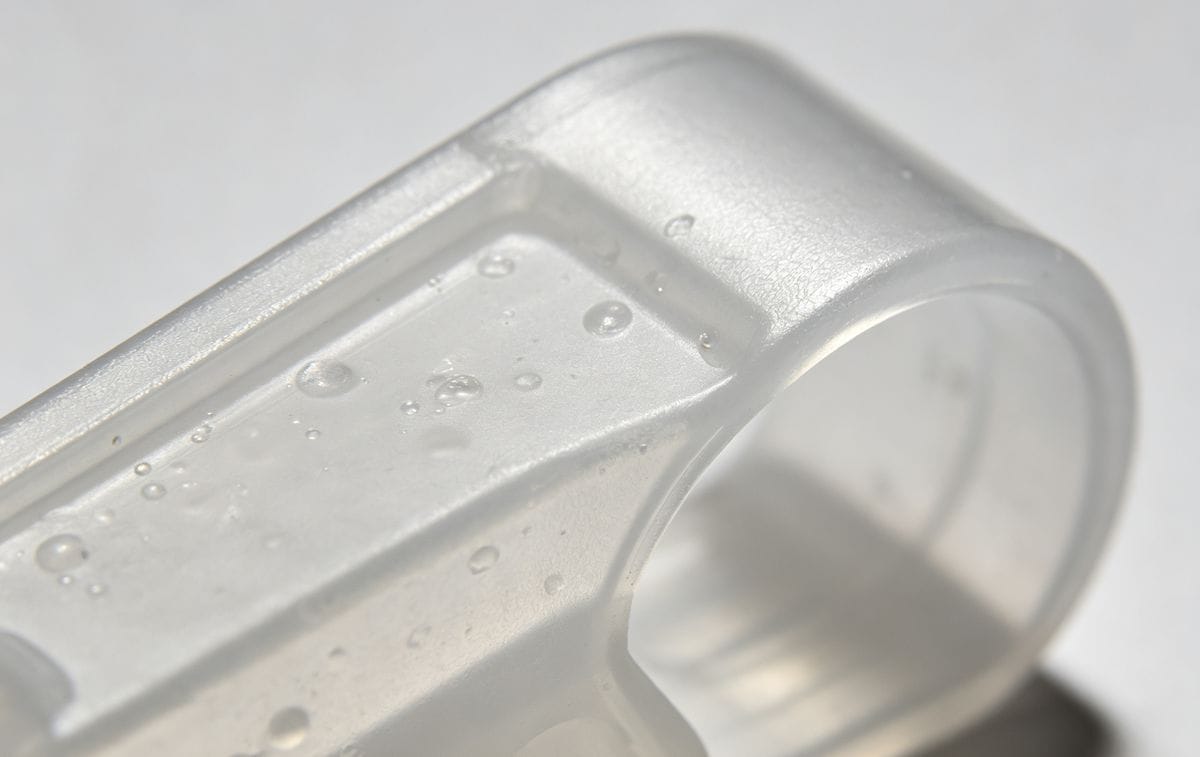
Bubbles can compromise the structural integrity and aesthetic appeal of a product. They generally fall into two categories: vacuum voids (caused by shrinkage) and gas bubbles (caused by trapped air or moisture). For deeper root cause analysis of internal voids and blisters in thick plastic components, read our dedicated guide: Analyse van bellenvorming bij de productie van kunststofproducten.
Vacuum Voids (Shrinkage)
These typically occur in thick-walled sections where the outer surface cools faster than the core, causing the center to shrink and pull away.
- Optimize Gate Size: Set the gate height to 50%–60% of the part's wall thickness.
- Hold Pressure & Time: Ensure adequate packing pressure and extend the holding time slightly beyond the gate freeze-off time to compensate for shrinkage.
- Adjust Injection Parameters: Lower the injection speed while increasing the injection pressure.
- Material Selection: Consider using resins with higher melt viscosity for thick-walled parts.
Gas Bubbles
Caused by volatile gases from moisture or material degradation.
- Pre-Dry the Material: Always follow manufacturer guidelines for drying time and temperature.
- Control Barrel Temperature: Lower the resin temperature to prevent thermal degradation and gas generation.
- Improve Flow: If poor flow is causing trapped air, increase both the barrel and mold temperatures, and raise the injection speed.
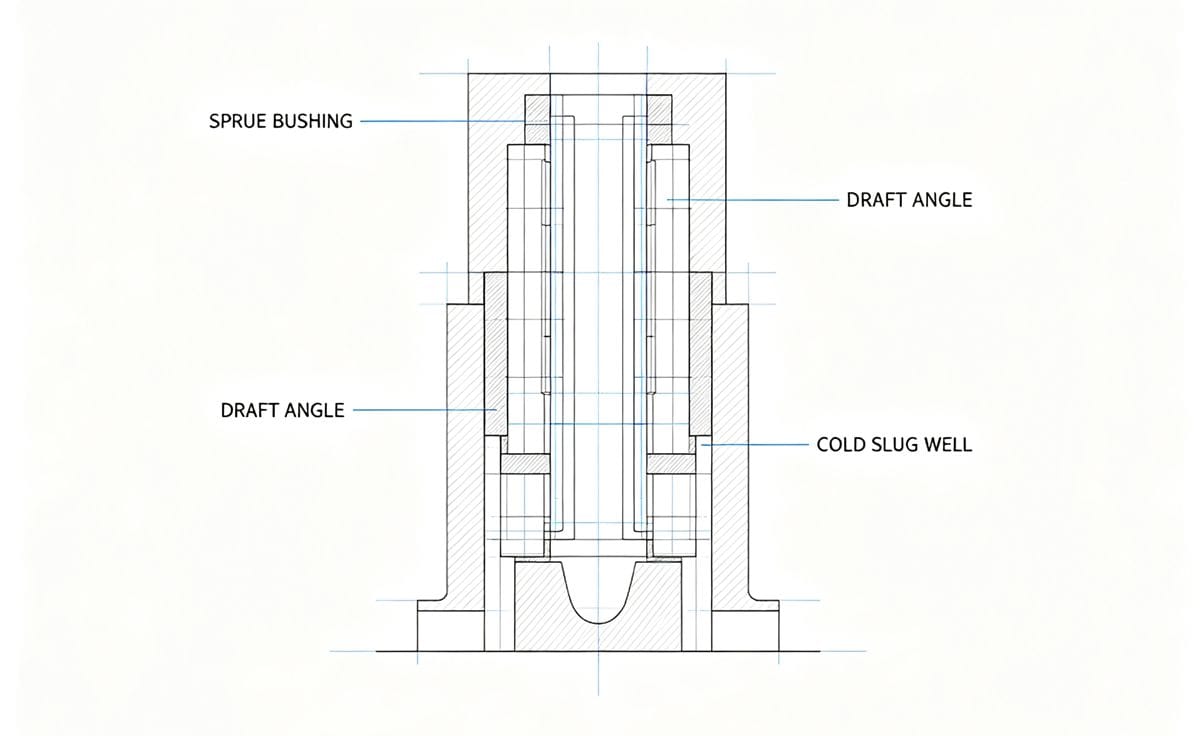
Sprue Sticking (Main Runner Adhesion)
When the solidified sprue sticks to the mold instead of ejecting with the part, it halts automated production. Here is a quick troubleshooting checklist: Sprue sticking falls under broader ejection and demolding failures; check our full troubleshooting resource: Injection Molding Ejection Problems, Solutions.
| Potential Cause | Recommended Solution |
|---|---|
| Insufficient Cooling Time | Increase cooling time to ensure the sprue fully solidifies before ejection. |
| Inadequate Draft Angle | Increase the draft angle of the main sprue for easier ejection. |
| Nozzle/Sprue Bushing Mismatch | Check the mating dimensions between the nozzle and sprue bushing to prevent flash/leakage. |
| Poor Surface Finish | Polish the sprue channel and ensure a cold slug well is present at the base. |
| Low Nozzle Temperature | Increase the nozzle temperature to prevent premature freezing at the tip. |
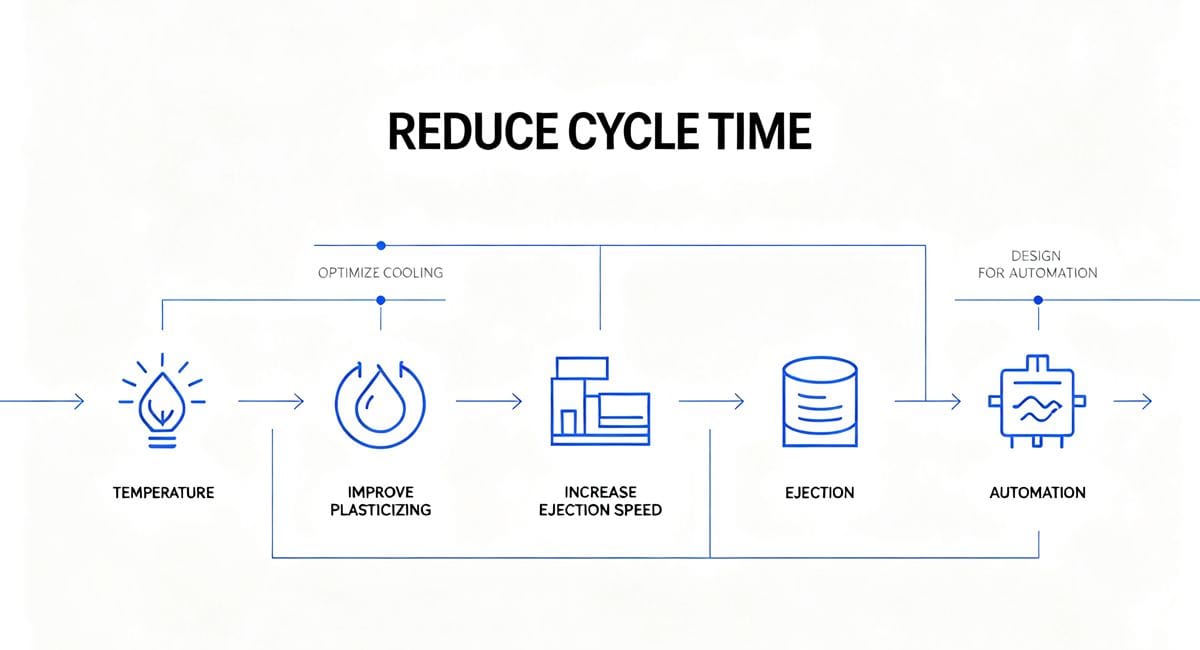
Slow Production Cycles
Cycle time directly impacts profitability. If your machine is running slower than expected, consider these optimization strategies: All cycle time improvements rely on properly tuned injection molding process parameters; review our complete parameter tuning guide: Injection Molding Parameters Tuning Guide.
- Thermal Management: Excessively high plastic or mold temperatures extend cooling time. Optimize cooling channels and reduce temperatures where possible.
- Plasticizing Efficiency: Reduce back pressure and minimize the use of regrind to prevent material bridging in the hopper. Ensure the feed throat is properly cooled.
- Machine Kinematics: Optimize hydraulic and servo motor settings to safely increase mold opening/closing and ejection speeds.
- Mold Design for Automation: Design molds for smooth, automated part ejection to reduce manual intervention.
- Part Wall Thickness: Excessive wall thickness drastically increases cooling time. Consider core-outs or redesigning the part for uniform, thinner walls.
- Nozzle Drool: Prevent melt leakage by using a self-locking nozzle or slightly lowering the nozzle temperature.
- Heater Capacity: If the barrel cannot maintain temperature, upgrade to a machine with higher plasticizing capacity or pre-dry/pre-heat the material.
Short Shots (Incomplete Filling)
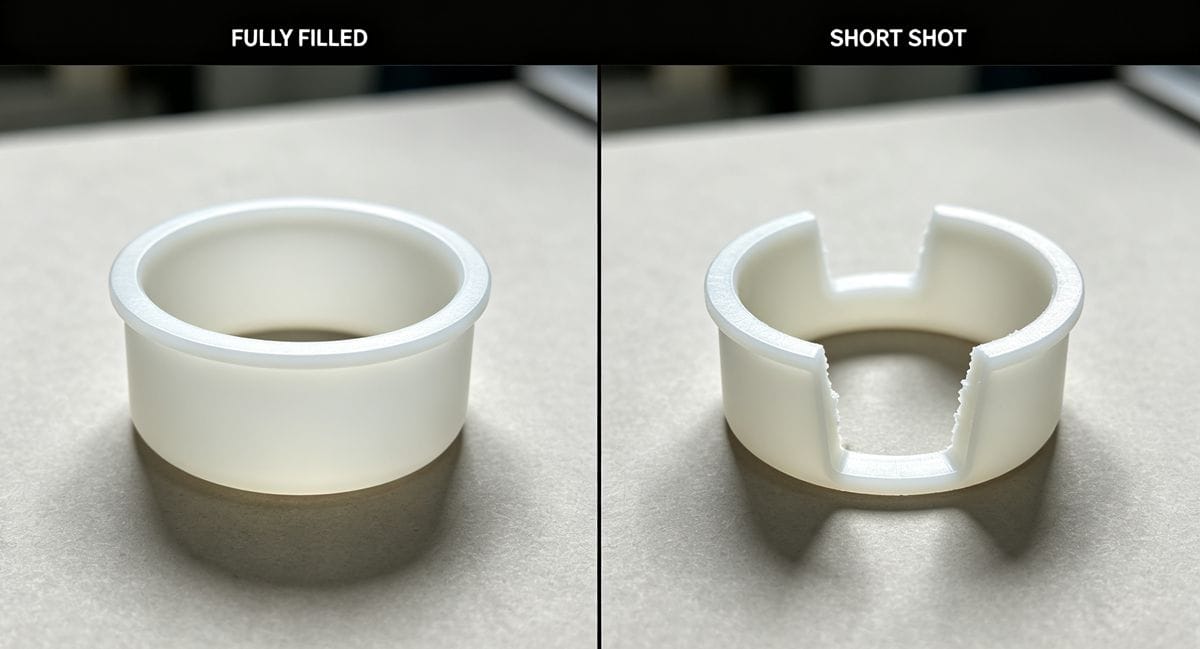
Short shots occur when the mold cavity isn't completely filled. This is usually a result of insufficient material, inadequate pressure/speed, or excessive flow resistance.
Machine-Related Causes
- Inadequate Plasticizing: Upgrade to a machine with higher plasticizing capacity and heating power.
- Component Wear: Inspect the screw, barrel, and check valve for wear that causes material backflow.
- Heater Failures: Check thermocouples and heater bands; actual barrel temperature may be lower than the setpoint.
- Hydraulic Leaks: Worn seals in the injection cylinder can cause pressure loss.
- Nozzle Restrictions: A clogged or misaligned nozzle creates massive pressure drops.
Mold-Related Causes
- Low Mold Temperature: Increase mold temperature to improve melt flow.
- Unbalanced Flow / Thin Walls: Add secondary runners or auxiliary gates near the short-shot area. Consider increasing local wall thickness.
- Improper Runner Sizing: Runners that are too small cause pressure loss; runners that are too large waste energy. Use smooth, radiused transitions to reduce flow resistance.
- Poor Venting: Trapped air creates back-pressure. Utilize parting line venting, add vent grooves, or use vacuum venting systems to allow air to escape.
Conclusie
Mastering injection molding requires a systematic approach to troubleshooting. By understanding the root causes of bubbles, sprue sticking, slow production cycles, and short shots, manufacturers can significantly reduce scrap rates and improve overall equipment effectiveness (OEE).
Are you still experiencing injection molding defects? Contact our engineering team today for a comprehensive mold flow analysis and process optimization consultation!


 English
 French
 Dutch
Dutch German
 Japanese
 Korean