 Deutsch




TL;DR, the honest version: low-pressure injection molding does not protect boards because the machine is set to a low number. It protects them because a hot-melt thermoplastic at high temperature flows fast enough to fill a cavity before pressure can build anywhere near a component. The number on the machine is not the number your solder joint feels — and almost every guide on this process confuses the two, including the ones that recommend epoxy for it.
This guide is for the buyer holding a sensor module, a connector assembly, or a control board that has to survive washdown, humidity, or vibration, and who has been told “low pressure molding” is the answer. It will tell you what the process genuinely does, where the published advice is wrong, and how to check a supplier’s claim before you commit a design to it.
Key Takeaways
- Injection pressure is not cavity pressure. A low-pressure machine can still put damaging peak pressure at a component if the flow path is long or the melt is too cool. The safety comes from fill speed and melt temperature, not the dial.
- Only hot-melt thermoplastics belong in this process. Polyamide, TPE, polypropylene and polyolefin. Epoxy and silicone are chemically curing systems — they are potting and encapsulation, not low-pressure molding, and conflating them costs buyers rework flexibility they think they have.
- Vent depth, not clamp force, is the usual failure. With no pressure reserve, a low-pressure shot stops where trapped air stops it. Vents must be shallower than the freeze-off film thickness, which is why LPIM tools vent at the last-to-fill corner and nowhere else.
- Aluminum tooling is the wrong default once the resin is glass-filled. Use hardened steel at the gate and insert faces; aluminum for the cavity block only where the fill is non-abrasive.
Why Trust This Low-Pressure Molding Guide?
Confidence claim, stated plainly: we mold encapsulated modules for clients who cannot afford a field failure, which means we have also paid for the mistakes described below.
Author: Alex Yu, co-founder of Ideal Pro — 20+ years across international trade and project management on injection molding programs, 1000+ mold sets a year through our shop, Huzhou facility. LinkedIn.
What this guide is built on: our own production and DFM-review experience plus primary standards — IEC 60529 degrees of protection, IPC-A-610 workmanship acceptability — and published low-pressure hot-melt processing bands from resin supplier sheets. Where a number is a working assumption rather than a measurement, it is labelled as one so you can substitute your own. If your current supplier cannot discuss cavity pressure at the component, that tells you more than their price does.
Quick Reference Guide: Low-Pressure Molding VS. Potting VS. Conformal Coating VS. Overmolding
The four “protection” answers are routinely sold interchangeably. They are different processes with different failure modes, rework rules and cost curves — pick from this table before reading anything else.
| Method | Material state | Typical protection | Reworkable | Edge definition | Best when |
|—|—|—|—|—|—|
| Low-pressure molding | Hot-melt thermoplastic, reversible | Full encapsulation to a sealed body | Yes — reheat and peel | Molded, repeatable | Board must be a finished, handled part |
| Potting | Curing thermoset (epoxy, PU, silicone) | Full encapsulation, high mass | No | Poured, less repeatable | Maximum barrier, weight irrelevant |
| Conformal coating | Cured thin film | Splash, dust, moisture vapor | Difficult | Coated, uneven on complex geometry | Board stays inside an enclosure anyway |
| Overmolding | Second thermoplastic shot | Localized sealing on defined faces | No | Molded | Only a zone needs sealing or grip |
Where low-pressure molding wins: you get near-potting protection with thermoplastic rework, cycle times measured in tens of seconds rather than hours, and defined geometry. Where it loses: it cannot build mass, so a heavily potted part that must absorb mechanical shock or dissipate heat is not an LPIM candidate. Data source: process characteristics from published LPIM and potting literature; the rework distinction is the reversible-versus-crosslinked bond, not a supplier preference.
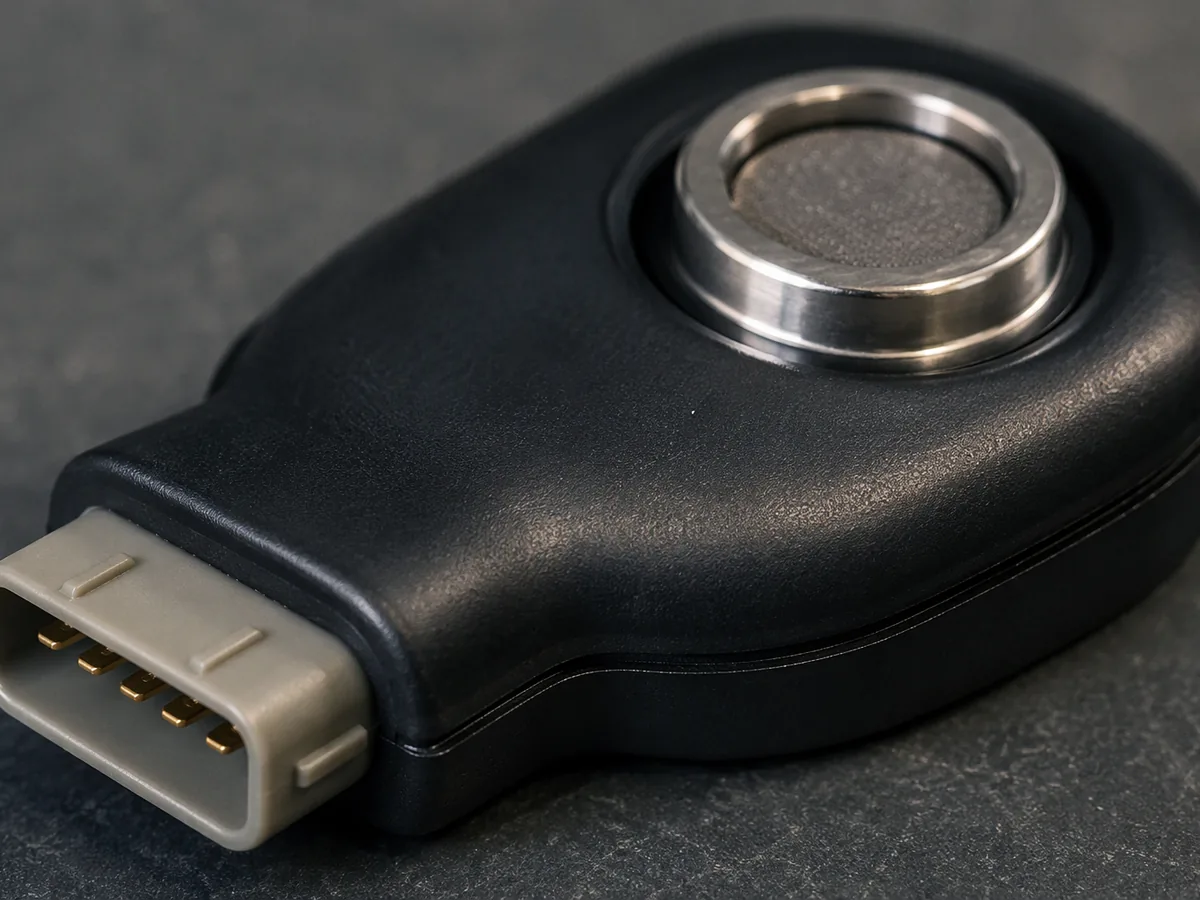 Figure 1: The tell-tale of a good low-pressure shot — a clean seal line at the connector face, no flash fins, no sharp edge.
What Is Low-Pressure Injection Molding, Actually?
Low-pressure injection molding (LPIM) is a process that encapsulates a pre-placed insert by injecting a hot-melt thermoplastic into a closed mold at pressures roughly an order of magnitude below conventional molding, filling the cavity by fluidity rather than force.
Our low-pressure molding process overview covers the machine class and the typical applications; this guide covers the decisions, the arithmetic, and the two places where the usual published advice is wrong.
The equipment and the material system are the difference, not a pressure setting dialled down on a normal press. A low-pressure machine is a single-stage, ram or screw-plunger unit sized for fast fill at low viscosity; conventional presses sized for high packing pressure cannot be made gentle by turning the number down — they simply short-shot.
Equipment literature for these machines commonly quotes injection pressures on the order of 0.1 to 4 MPa (roughly 20 to 580 psi) with melt temperatures in the 180 to 220 °C band, versus tens of MPa in conventional molding. Treat those as the published envelope of the machine class, not as a safety guarantee for your part — see the next section for why.
Why Is “Low Pressure” the Wrong Thing to Look At?
The safety claim that matters is peak cavity pressure at the component surface, not the machine’s injected pressure setting — and the two can differ by a large factor in a badly designed tool.
Here is the mechanism. Melt enters the cavity and loses heat to steel immediately. A thin frozen layer forms at the wall, and the remaining channel narrows. Flow resistance rises as the square of that narrowing. If the fill is slow, the melt front is still moving while the channel is already closing, so pressure climbs and accumulates ahead of the front — and wherever a component presents a face to that flow, it receives it.
If the fill is fast, the cavity is full before freeze-off narrows anything, and the pressure that the component saw was modest. This is why LPIM works at all: hot-melt resins at 200 °C have fluidity an order of magnitude better than a conventional melt at its own processing temperature. The gentleness comes from viscosity and speed, and the low nominal pressure is a consequence, not the cause.
How to check the claim in five minutes. Compute the force on your most fragile component:
force (N) ≈ peak cavity pressure (MPa) × projected area (mm²)- Worked example with stated assumptions — a connector presenting a 15 mm × 8 mm face (120 mm²), assuming a poorly managed peak cavity pressure of 2 MPa rather than the intended value: ≈ 240 N. That will shift a press-fit connector or crack a large ceramic body.
- The same geometry at 0.3 MPa: ≈ 36 N, which a soldered component normally survives.
Ask your molder which number they control, and whether they have measured cavity pressure with an in-mold transducer during tryout. If nobody has ever put a transducer in the tool, they are quoting a machine setting and hoping. Data source: pressure-loss mechanics from injection molding fundamentals; the force numbers above are arithmetic on the stated assumptions, not measurements.
Which Materials Belong in Low-Pressure Molding — and Which Guides Get It Wrong?
LPIM uses thermoplastic hot melts only: polyamide (PA), thermoplastic elastomer (TPE), polypropylene (PP) and polyolefin (PO) blends. Epoxy and silicone are curing systems and belong to potting, not to this process.
Plenty of published LPIM material tables list polycarbonates, silicones and epoxy resins alongside polyamides. That list is wrong in a way that costs money. A material can only be injected “low pressure” if it stays molten long enough to fill — which requires a thermoplastic that can be held molten indefinitely at modest temperature. A chemically curing epoxy has a pot life: it gels in the barrel. A silicone cures on a schedule. Neither can be run as a hot melt, and a supplier who quotes you “low-pressure silicone molding” is quoting either potting or RTV under another name.
| Material family | Process reality | What it is genuinely good at | What disqualifies it |
|—|—|—|—|
| Polyamide (PA hot-melt) | Thermoplastic, runs in LPIM | Tough, thin-flow encapsulation, chemical resistance | Strongly hygroscopic — must be dried |
| TPE | Thermoplastic elastomer | Compliant sealing, vibration, soft-touch over an insert | Lower temperature ceiling, abrasion |
| PP / PO | Thermoplastic, cheapest | Economic general encapsulation | Poorer low-temperature toughness |
| Epoxy | Thermoset — potting, not LPIM | Highest barrier and mass | Irreversible; exotherm; mixing control |
| Silicone | Curing elastomer — not LPIM | High temperature, biocompatibility | Cure schedule, cost, no hot-melt run |
| Polycarbonate | Thermoplastic, but stiff melt | Clarity, rigidity | Needs hot tooling; wrong for gentle encapsulation |
The one that bites hardest in practice: polyamide. It is the workhorse and it is also the one that will ruin your parts from a bag you left open, because PA absorbs moisture fast and wet hot-melt produces surface porosity, splay and weak seams at exactly the edge you were relying on to seal. If your molder runs PA, ask what the dryer is set to and how long the melt has been holding. See our resin drying guide for the dew-point discipline that applies here too.
What Actually Fails in Low-Pressure Molding?
Short fill and trapped gas, far more often than flash or sink — because a low-pressure shot has no reserve to push past resistance or compress a pocket of air.
In conventional molding, packing pressure buys forgiveness: if a corner fills late, the machine keeps pushing. In LPIM there is nothing to keep. The melt stops when the resistance equals the available pressure, and the resistance is usually air that has nowhere to go.
Vent geometry is therefore the design task. A vent is a shallow groove at the last-to-fill corner, and its depth has to be shallower than the frozen film thickness at the melt front — deep enough that air escapes while the front is arriving, shallow enough that the melt freezes in the groove before it can flash. On LPIM hot melts we work shallow, in the 0.01 to 0.02 mm range, and we put vents only at the genuine last-fill points. Every unnecessary vent is a flash line you will have to explain later. See the vent depth guide for the general mechanics.
The failure tells you what went wrong: a rounded, glossy short-fill edge means the melt froze before it arrived, so raise melt temperature or speed up fill; a short fill with a matte, burnt-looking edge means air was compressed and burned, so fix the vent before you touch the machine. Turning up pressure to chase a burnt vent is the most expensive instinct in this process.
Void versus sink, which people mix up constantly. A void is a vacuum hole inside the thick section, created as the material shrinks away from itself while the skin freezes first. A sink is a surface depression pulled by the same shrinkage. LPIM thick sections get both, and the fix is not “more packing” — it is uniform wall thickness and gate placement near the thickest region. Sink mark causes and fixes covers the general treatment.
Ask your supplier one question that separates the operators from the guessers: where are the vents, and how did you decide? A real answer includes a fill study or a photographed short-shot progression. “Standard depth” is not an answer.
Should Low-Pressure Tooling Be Aluminum or Steel?
The rule of thumb that circulates — “low pressure means aluminum is fine” — is half true. It ignores the fact that the abrasive wear in this process happens at the gate, and that low pressure does not make glass-filled nylon any less abrasive.
 Figure 2: Where LPIM tooling wears — the fan gate and the insert locating faces, not the whole cavity block.
The published advice to use aluminum tooling for LPIM comes from a real observation: lower clamping loads and lower temperatures mean less mechanical stress on the tool. What it skips is material. Glass-filled polyamide, the most common LPIM resin, is abrasive to any soft steel, and it is hardest on the gate where velocity and turbulence concentrate.
| Tool region | Our default for glass-filled PA | Why |
|—|—|—|
| Gate and immediate runner land | Hardened steel insert | Abrasion plus turbulence; wear here changes fill balance part-to-part |
| Insert locating pockets and seals | Steel, ground | Dimensional repeatability of the seal line |
| Cavity block body | Aluminum acceptable when fill is laminar and resin non-filled | Heat removal and cost, when the wear mechanism is absent |
| Ejection faces | Steel | Repeated contact and drag from undercuts |
So aluminum is a legitimate choice for the block and a false economy at the gate. If you are quoting a 100,000-shot program on 30% glass-filled PA and someone offers you a full-aluminum tool at a tempting price, ask what happens at the gate around shot 40,000 — the honest answer is that the fill balance shifts and your encapsulation edges start moving. Our S136 stainless tool steel page covers the corrosion-and-polish trade-off that decides tool life on abrasive resins.
How Do You Know the Seal Is Real?
Encapsulation is a claim until it is tested. Ingress protection is defined by IEC 60529 degrees of protection, and the rating is earned by testing the finished article, never by the choice of process.
The trap: a board that is fully surrounded by plastic still fails an IP test, because water follows the interface between the plastic and the connector housing, not through the plastic. That interface is where LPIM is strongest — the hot melt wets the surfaces under heat — and where it is weakest if the insert arrived with oil, dust, or moisture on it.
Three things make the difference, and all three belong in your purchase order rather than in a supplier’s promise:
- Insert condition at molding. Clean, dry, and within the time window between surface prep and molding. Contamination is a bond failure waiting to be found by the salt-spray chamber instead of the incoming inspector.
- Seal-line geometry. A molded seal needs width, not cleverness — plan a defined land for the seal to sit on rather than trusting a knife edge, and keep it out of the parting line if you can.
- A stated test, on the finished part. Name the degree, the method, and the sample size before production. Sealing claims that survive are the ones somebody signed a report for.
Put it in the quality agreement, where the defect class, sampling plan and who pays for sorting are defined before the first shot — not after the returns start.
What Does Low-Pressure Molding Do to Your Schedule and Cost?
LPIM trades hours for seconds on the material side and adds a fixture step on the labor side — the honest comparison is cycle time against handling time, not process time alone.
Potting cures over hours or days in a mold or tray, which means floor space, WIP inventory and a batching problem. A hot-melt LPIM shot freezes in tens of seconds, so parts move. That is a genuine advantage and it is the main reason programs switch.
What the comparison usually hides is the insert. Every LPIM part needs a person or a robot to place the insert into a locatable fixture, and at production volumes that fixture is the real tooling cost, not the steel. If your board is loose and hard to orient, you have not bought a fast cycle, you have bought a slow one with a fixture problem.
- Design the placement as part of the product. One unambiguous orientation, self-locating features, and a pick face that a robot glove can grab.
- Consolidate cavities only when the insert is identical. A four-cavity LPIM tool with two different boards needs two fixture programs and doubles the wrong-part risk.
- Count scrap at the assembly step. A misplaced insert inside a molded part is not reworkable in place — you scrap the module or you cut it open. If the design has a Auswurf and demolding problem, fix it at the tool stage.
What Does the Ideal Pro Process Look Like for an Encapsulated Module?
Six gates, from drawing to first article, each one with a written exit condition rather than an opinion.
1. Drawing and DFM. We mark up the actual PDF: where the parting line falls, whether the seal land has width, whether the insert can be located in one degree of freedom only. Typical answer within 24 hours.
2. Material selection with a stated reason. PA for thin flow and toughness, TPE when the seal needs compliance, PO when cost dominates — chosen against your environment, not our stock.
3. Vent and gate plan. Gate at the largest face of the insert, vents at the true last-fill corner, documented so the next engineer can argue with the decision instead of guessing it.
4. Sample shots. Short-shot progression photographed to prove the fill sequence, then a full shot measured. See the T1 sample process.
5. Ingress and workmanship verification. IP degrees tested per IEC 60529, visual criteria against IPC-A-610 workmanship, results in writing.
6. Production with locked parameters and material drying logged. Our quality assurance process records material lots so a bad batch can be bounded instead of guessed.
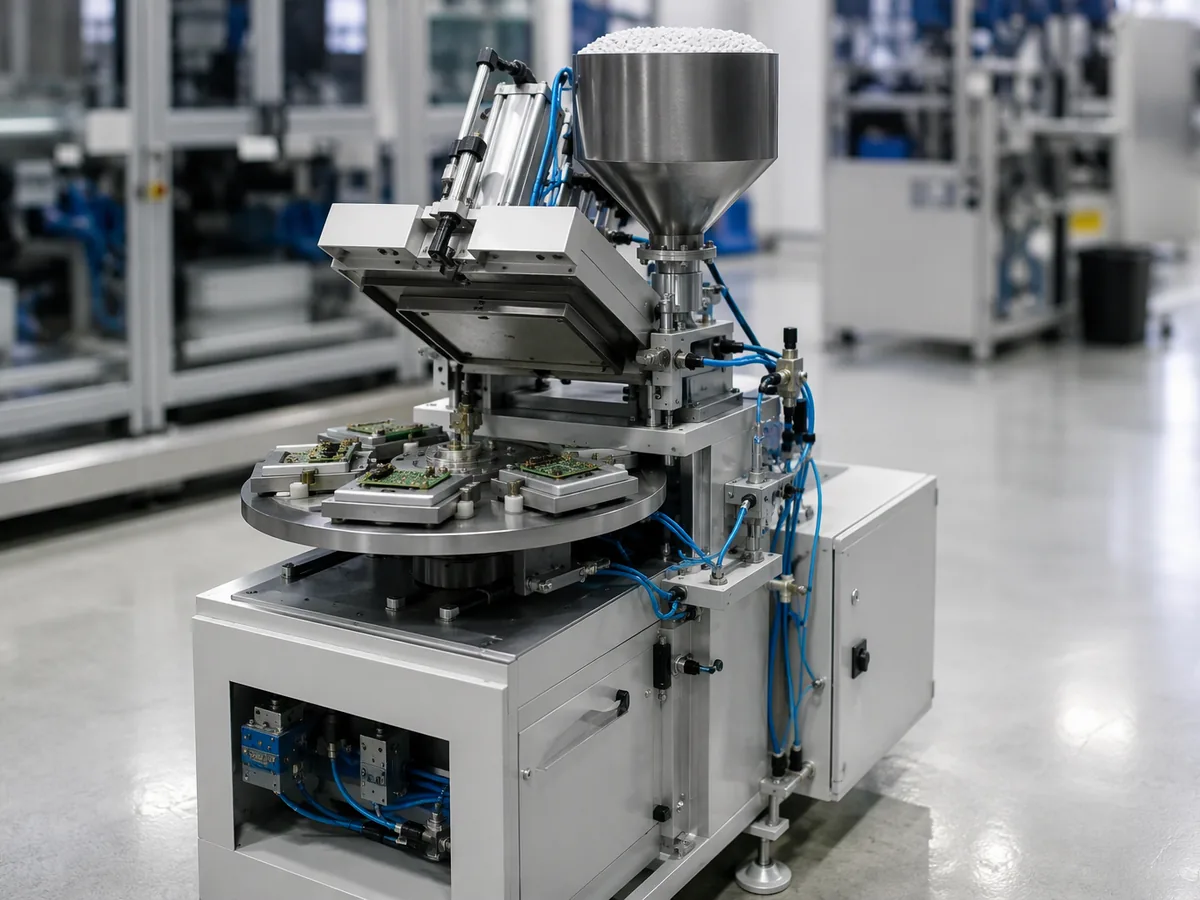 Figure 3: A low-pressure cell is small by design. The rotary insert fixture, not the clamp, sets your real throughput.
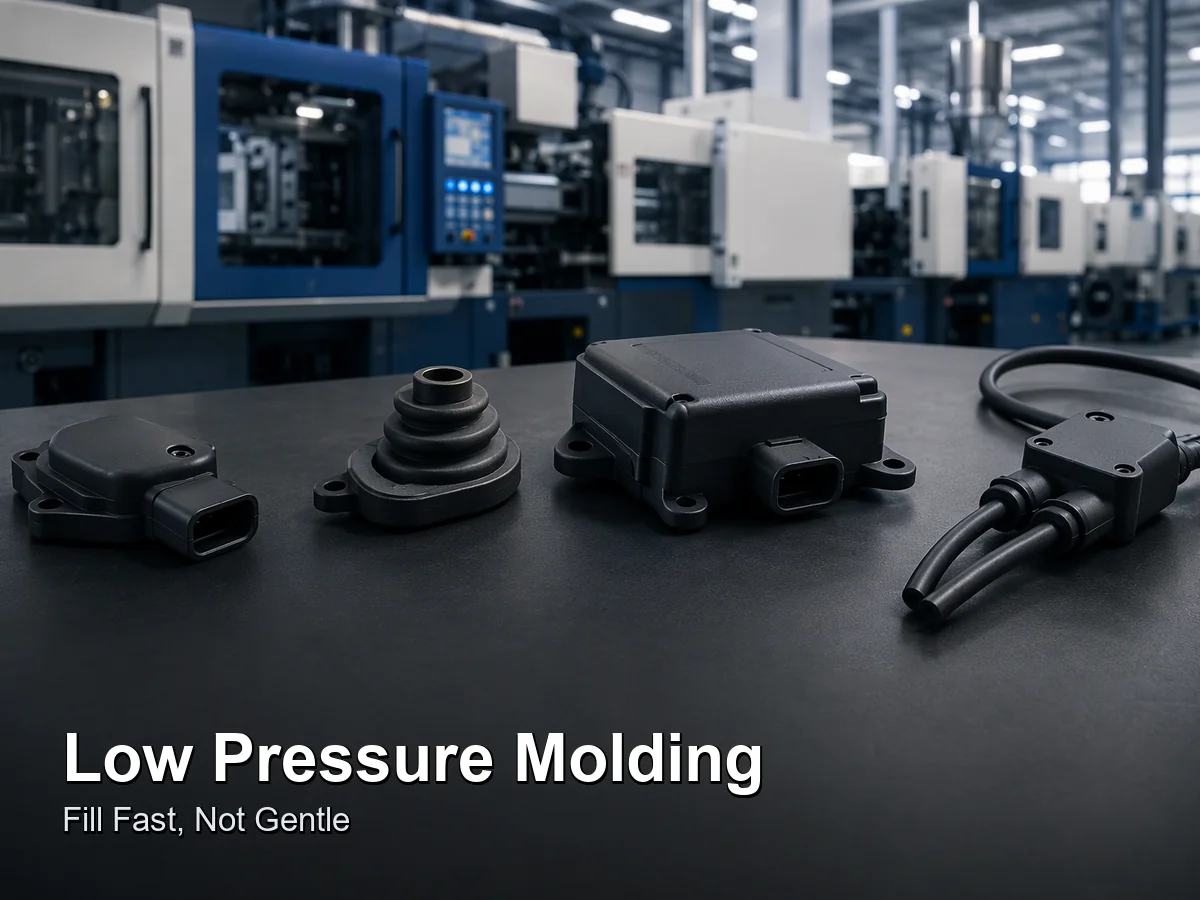
 Figure 4: The same board under three protection regimes. Cut one open before you choose.
When Is Low-Pressure Molding the Wrong Call?
Skip LPIM when you need mass, heat paths, high temperature, or serviceability. It is a coating that became a body, not a replacement for a rugged housing.
You need thermal or mechanical mass. Potting compound that surrounds a component also conducts and dampens; a thin LPIM shell does neither.
Continuous temperature is high. Hot-melt polyamides soften toward their own processing range. Ask for the heat deflection number for the exact grade, not the family.
The board must be repairable in the field. LPIM is reworkable in principle — reheat and peel — and much less reworkable in practice on a dense assembly. If somebody must open it, design a removable cover instead.
The “insert” is itself fragile and unsupported. Low pressure is not zero pressure. Long thin boards need support ribs molded into the tool, or the board deflects under its own clamp and the package looks fine until thermal cycling finds it.
Honest limits on our side: ISO 9001:2015, RoHS, REACH. We are not IATF 16949 certified, so for automotive programs we supply process discipline, not the certificate.
Zusammenfassung
Low-pressure injection molding earns its place when a board or connector must become a finished, sealed, handled part without the mass, cure time and permanence of potting. The process is gentle because hot-melt thermoplastics flow at low viscosity, not because a pressure number is small — so judge a supplier on cavity pressure at the component, on vent placement, on material drying, and on whether they have ever measured what they claim. Use steel at the gate even when you use aluminum in the block. And decide the seal test before production, because a molded enclosure is only as good as the interface you did not think about.
Send us the module drawing and the environment it has to survive. You will get a DFM answer within 24 hours, a materials recommendation with a reason attached, and a quote that names the seal test instead of assuming it.
+86 136 5621 3638 ✉ [email protected] 🌐 Angebot anfordern · Kontaktieren Sie uns
Sources
- IEC 60529 — Degrees of protection provided by enclosures (IP code).
- IPC-A-610 — Acceptability of electronic assemblies (workmanship criteria for sealed and coated assemblies).
- Resin supplier hot-melt processing sheets — PA, TPE, PP and PO melt viscosity and moisture handling limits.
- Ideal Pro production records — LPIM encapsulated modules, 2023-2026, Huzhou facility.
- Ideal Pro internal DFM review data — vent depth and gate placement for low-pressure encapsulation tooling.
How low is “low pressure” in low-pressure injection molding?
Equipment literature for the class commonly quotes injection pressures around 0.1 to 4 MPa (roughly 20 to 580 psi), against tens of MPa in conventional molding. The number that actually matters is peak cavity pressure at your most fragile component, which depends on flow path length, melt temperature and fill speed — ask for a cavity-pressure measurement during tryout rather than a machine setting.
Can low-pressure molding use epoxy or silicone?
No, not as low-pressure injection molding. Epoxy and silicone cure chemically, so they gel on a schedule and cannot be held molten in a barrel for repeated shots. Those are potting and encapsulation processes. They can be excellent choices — but they are irreversible, and a quote that calls them “low-pressure molding” is hiding a rework problem you will discover after assembly.
Is an encapsulated board repairable?
Thermoplastic encapsulation is reversible in principle: reheat above the melt range and the material can be peeled or picked away. On a dense assembly, plan on destroying the enclosure to reach the board. If field service is a requirement, design a separable cover rather than relying on rework.
Do I need a dry resin for low-pressure molding?
Yes, especially for polyamide hot melts, which absorb atmospheric moisture quickly. Wet PA produces surface porosity, splay and weak seams at the seal line — precisely where the enclosure is supposed to be strongest. Ask your molder what the dryer dew point is and how long the melt is held in the barrel between reloads.
Can I get an IP rating from low-pressure molding?
You can get an IP rating by testing a finished assembly to IEC 60529; you cannot get one from a process name. Water travels along the interface between the molding and the connector body, so the rating depends on insert cleanliness, seal-land geometry and molding parameters, not on the fact that the board is surrounded by plastic. Name the degree and the test method on the purchase order.
Is aluminum tooling acceptable for low-pressure molds?
Often in the cavity block, rarely at the gate. With glass-filled polyamide, wear concentrates where velocity and turbulence are highest, and gate wear changes fill balance part-to-part long before the cavity looks damaged. Hardened steel inserts at the gate and on the locating faces are a small line item against a tool that holds its encapsulation edges for the whole program.
Does Ideal Pro do low-pressure and encapsulation work?
Yes. We support LPIM encapsulation for sensors, modules and control boards. Our materials cover polyamide, TPE, PP and PO selection, and we support the related bonding paths in our low-pressure molding process overview und PCB overmolding. Send the module drawing and the environment it must survive.
Über den Autor

Alex Yu
Ideal Pro Manufacturing
Alex ist Mitbegründer von Ideal Pro, doch wenn er nicht gerade wichtige Projekte beaufsichtigt oder das technische Team leitet, trifft man ihn wahrscheinlich auf einer langen Radtour, auf der Suche nach dem besten Kaffee der Stadt oder bei der Planung seines nächsten Reiseabenteuers. Mit über 20 Jahren Erfahrung in den Bereichen internationaler Vertrieb und Projektmanagement hat er schon alles gesehen – enge Fristen, knifflige technische Probleme und alles, was dazwischen liegt. Er ist davon überzeugt, dass großartige Arbeit von einem ausgeruhten Geist und einer guten Tasse Kaffee entsteht, und er bringt dieselbe Neugier und Liebe zum Detail in jedes Projekt ein, das er übernimmt. Wenn er nicht im Büro ist, befindet er sich meist irgendwo im Freien, erkundet neue Orte und sammelt Geschichten, die er gerne weitergibt.
 English
 French
 Dutch
 German
 Japanese
 Korean