

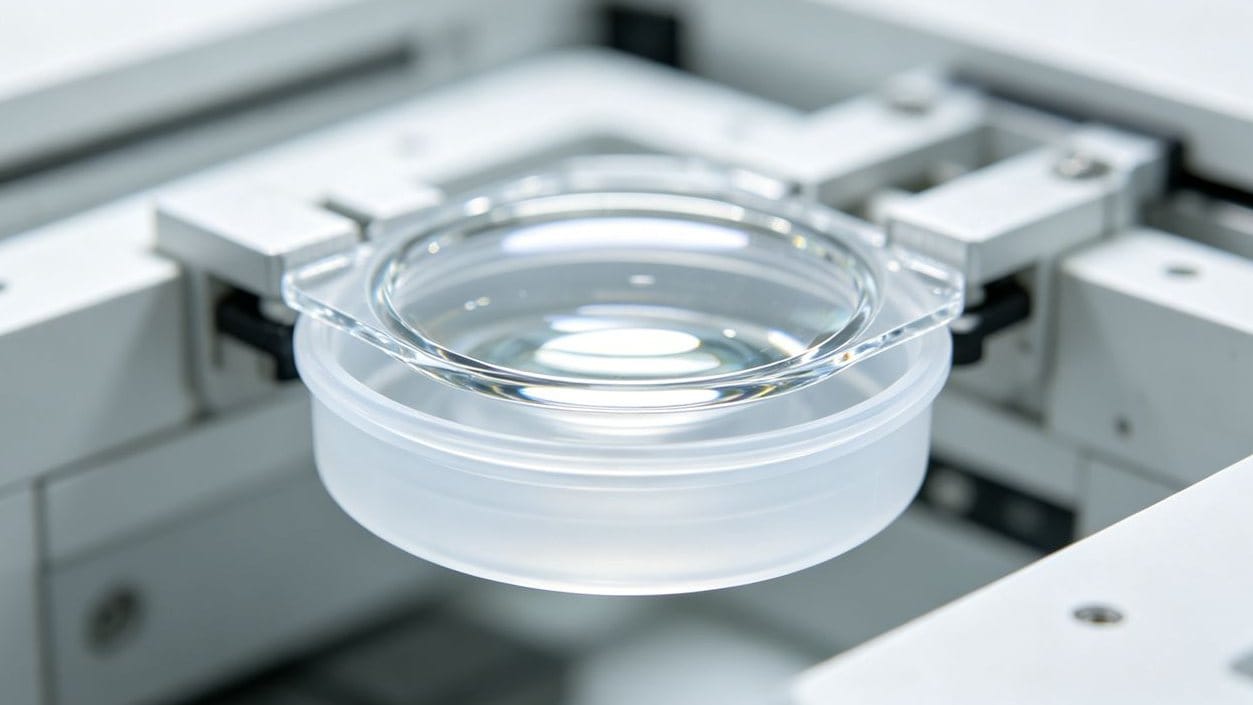
Transparent plastics demand exceptional clarity. Because light passes directly through the material, even the slightest surface defect—such as streaks, air bubbles, cloudiness, black spots, or poor gloss—becomes immediately visible.
Achieving a flawless finish requires strict control over the entire injection molding process, from raw material handling and equipment maintenance to mold design. Furthermore, since transparent plastics often have high melting points and poor flow characteristics, process parameters like barrel temperature, injection pressure, and speed must be finely tuned. The goal is to fill the mold completely without inducing internal stresses that lead to warping or cracking.
In this guide, we’ll break down the critical steps to mastering transparent plastic injection molding. If you encounter haze, bubbles or surface blemishes during production, you can refer to our dedicated defect troubleshooting article: Troubleshooting Transparent Plastic Injection Molding: Common Defects, Causes & Solutions.
Material Preparation and Drying: The Foundation of Clarity
Even microscopic impurities can ruin the transparency of a plastic part. Therefore, raw materials must be kept completely clean and sealed during storage, transportation, and feeding.
Moisture is the enemy of transparent plastics. When heated, water causes the resin to degrade, resulting in cloudy or bubbled parts. Always use a dedicated desiccant hopper dryer during injection molding. Ensure the air entering the dryer is filtered and dehumidified to prevent contamination. Improper drying is the top culprit for bubble defects in transparent resins; read our full PC drying guide for precise operational standards: How to Eliminate Bubbles in PC Plastic Injection Molding: A Complete Guide.
Recommended Drying Parameters for Common Transparent Plastics
| Material | Drying Temp (℃) | Drying Time (h) | Bed Depth (mm) | Special Notes |
|---|---|---|---|---|
| PMMA (Acrylic) | 70 – 80 | 2 – 4 | 30 – 40 | Standard hot air drying |
| PC (Polycarbonate) | 120 – 130 | > 6 | < 30 | Critical to prevent hydrolysis |
| PET | 140 – 180 | 3 – 4 | N/A | Continuous drying/loader preferred |
Machine Maintenance: Barrel and Screw Cleaning
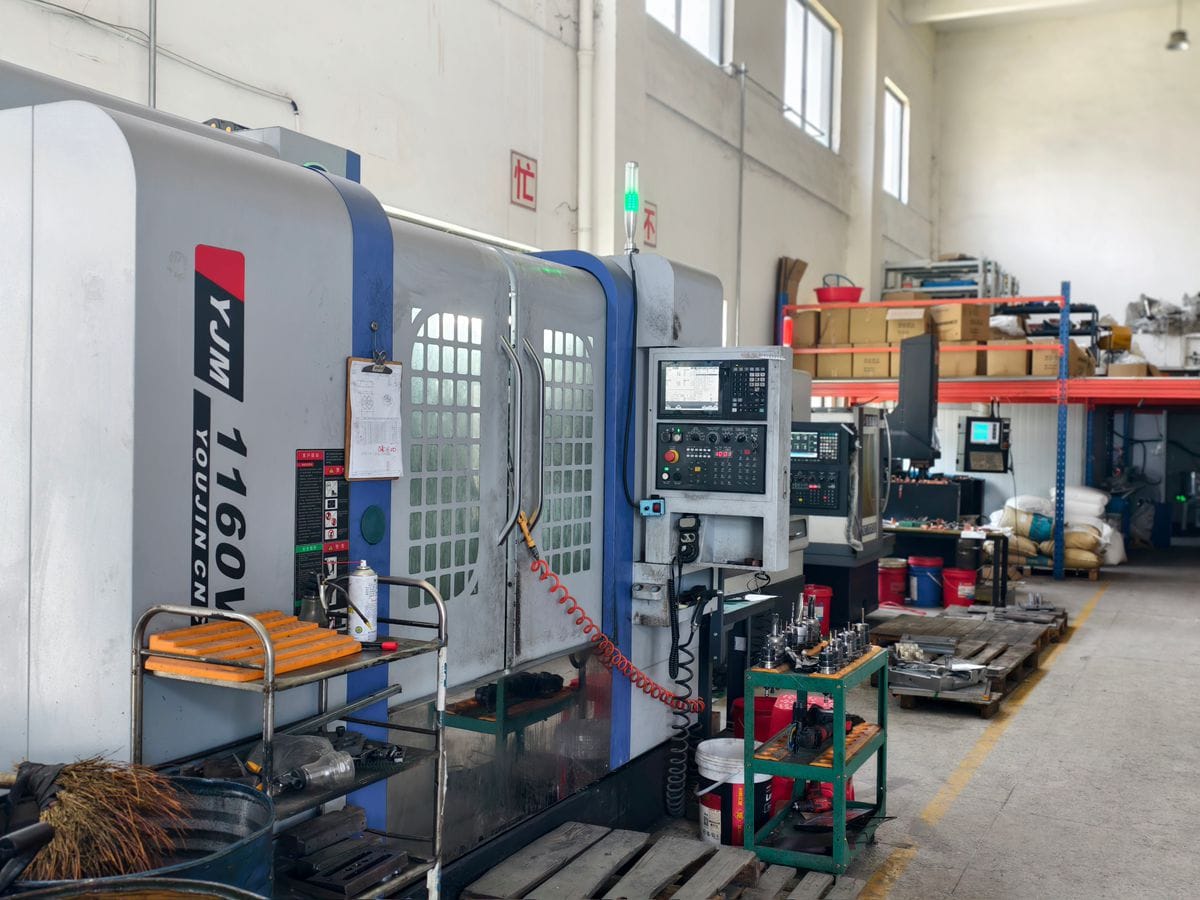
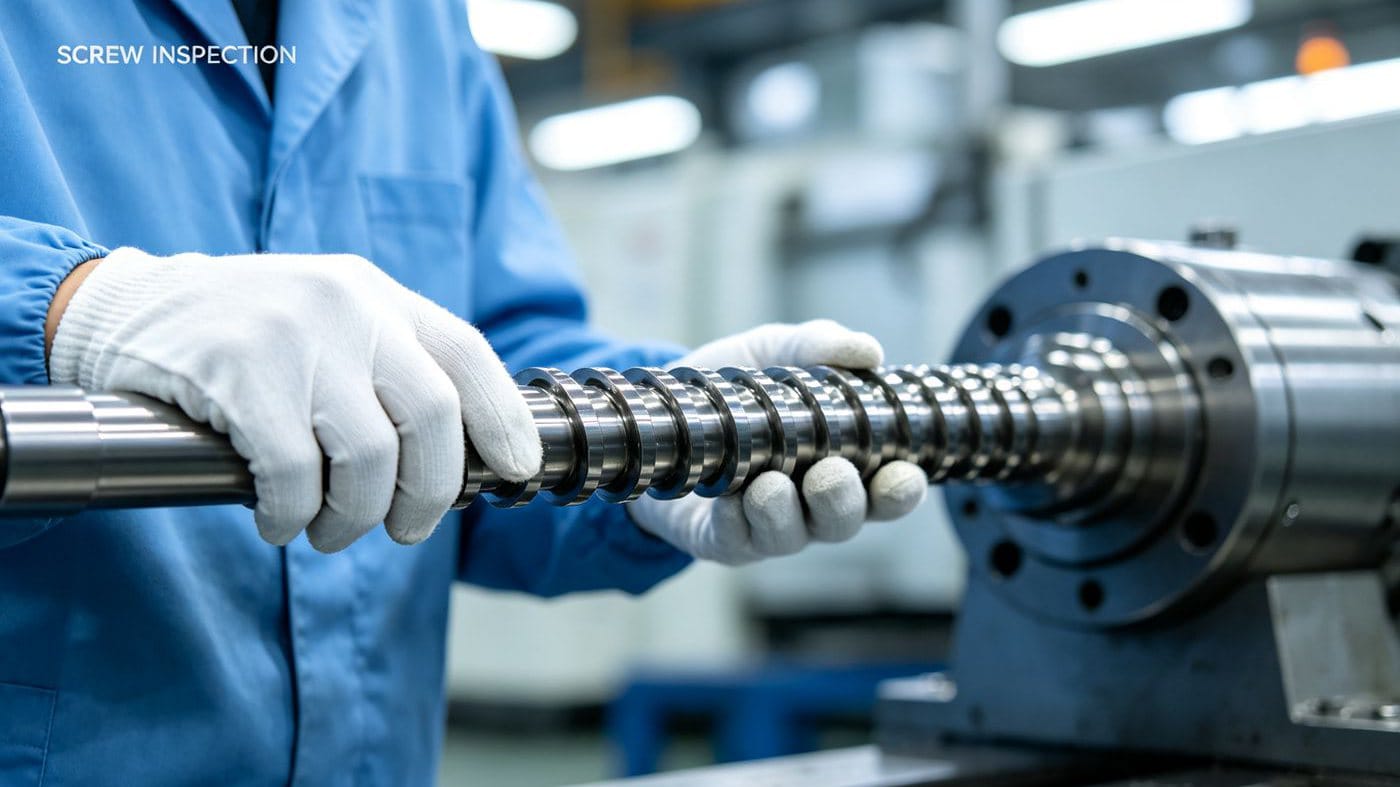
To prevent cross-contamination or degradation from old resin trapped in the screw or barrel, thorough cleaning is mandatory before and after production runs.
- Use Screw Purging Compounds: Always use specialized screw cleaning agents to remove residues.
- Alternative Cleaning: If purging compounds aren't available, flush the screw with PE (Polyethylene) or PS (Polystyrene) resin.
- Temporary Shutdown Protocol: If the machine is paused, lower the temperatures to prevent thermal degradation. For PC and PMMA, drop the barrel temperature below 160℃. For PC specifically, reduce the hopper temperature to below 100℃.
Mold and Product Design Best Practices
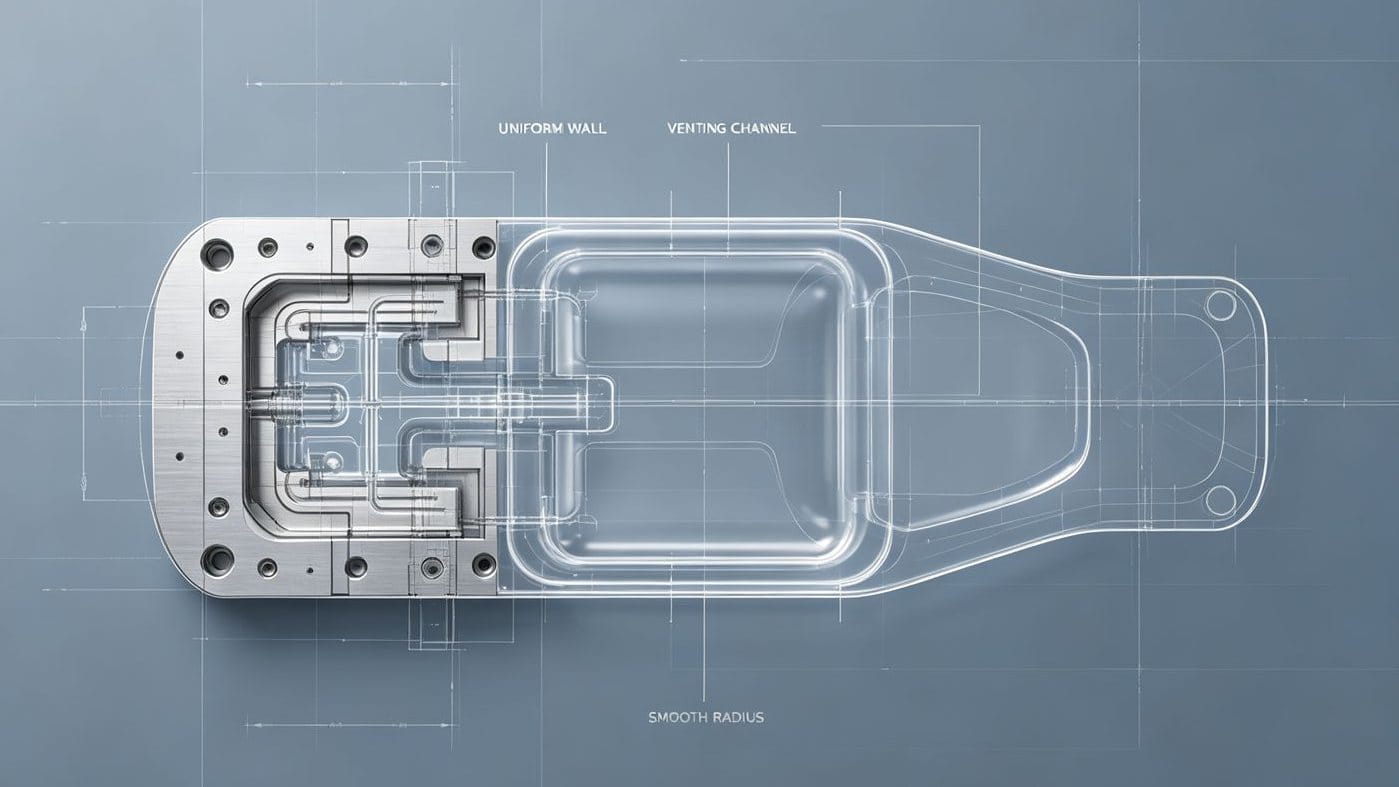
Poor mold design can cause flow hesitation, uneven cooling, and surface defects. When designing molds for transparent plastics, adhere to these critical guidelines:
- Gleichmäßige Wanddicke: Keep walls as consistent as possible and ensure adequate draft angles for smooth ejection.
- Smooth Transitions: Avoid sharp corners or edges, which create stress concentrations. Note: PC parts must never have sharp notches or corners.
- Optimized Gating: Gates and runners should be as wide and short as possible. Position gates based on shrinkage and condensation patterns, and always include a cold slug well.
- Mirror-Like Mold Finish: Mold surface roughness should be extremely low (ideally Ra < 0.8 μm) to replicate a glossy finish on the part. Uneven mold polishing and insufficient venting are primary sources of dull surfaces and dark marks—check our surface defect solution guide for targeted fixes: How to Solve Injection Molding Surface Defects Like Dark Spots, Gloss Differences, and Orange Peel.
- Adequate Venting: Ensure sufficient exhaust vents and grooves to allow air and volatiles to escape, preventing burn marks and short shots.
- Minimum Wall Thickness: Except for PET, avoid excessively thin walls. The thickness should generally not be less than 1 mm.
Letzte Überlegungen
Producing high-quality transparent plastic parts leaves no room for error. By strictly controlling material moisture, maintaining pristine equipment, and optimizing mold design, manufacturers can consistently achieve the optical clarity and structural integrity their products demand.
Are you struggling with defects in your transparent injection molding process? Share your challenges by filling out the form below, or contact our engineering team for expert troubleshooting!


 English
 French
 Dutch
Dutch German
 Japanese
 Korean