Troubleshooting Injection Molding Sink Marks: A Comprehensive Guide
Are sink marks ruining the surface finish of your injection molded parts? You are not alone. Sink marks are one of the most common defects in plastic injection molding, often caused by uneven cooling or insufficient packing.
In this guide, we will break down exactly what causes these defects and provide actionable solutions to fix them, covering everything from process parameters to mold design.
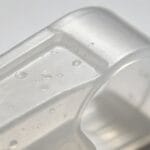
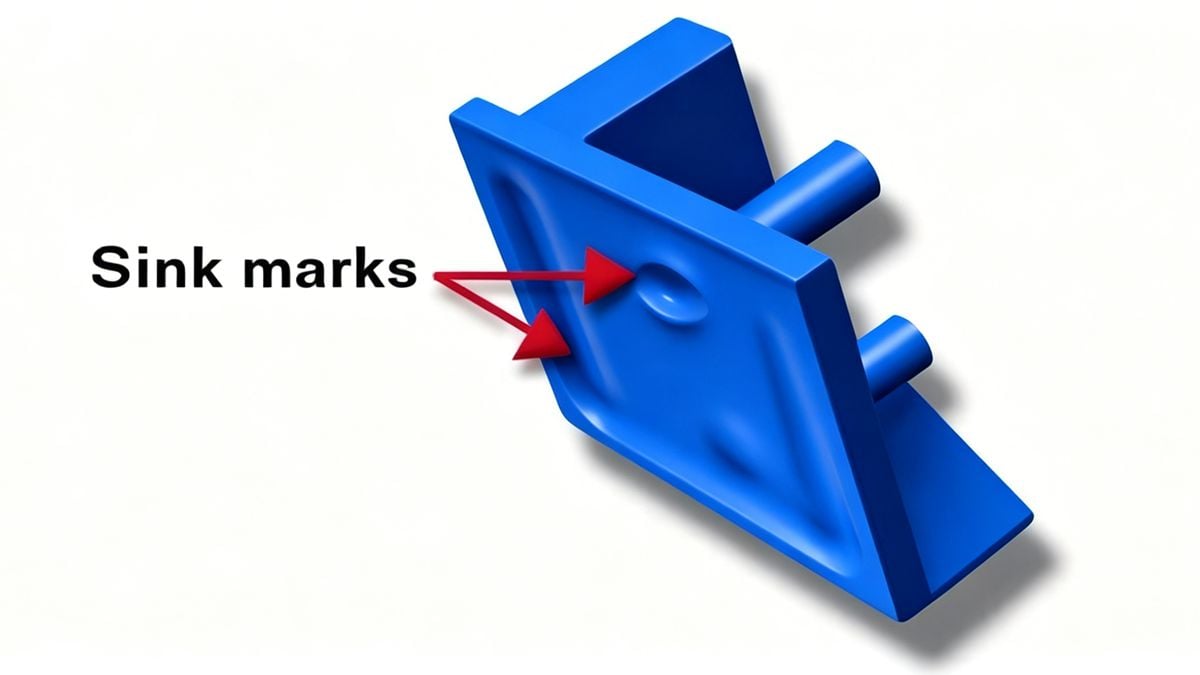
What is a Sink Mark? Sink marks are small depressions or dimples on the surface of a molded part. They occur when the outer skin of the part cools and solidifies, but the internal core remains molten. As the core finally cools and shrinks, it pulls the outer surface inward, creating a depression.
Optimizing Molding Process Conditions
Often, the quickest fix for sink marks lies in adjusting your machine settings. If the melt isn't packed tightly enough, shrinkage is inevitable.
Key Adjustments:
- Increase Injection Pressure & Speed: Higher pressure forces more material into the cavity, increasing the density of the melt and compensating for shrinkage.
- Extend Packing and Holding Time: This is crucial. You must maintain pressure on the material as it cools to "pack out" the part.
- Tip: If the sink mark is near the gate, simply extending the holding time often solves the issue.
- Increase Cooling Time: If the part is ejected while the core is still soft, it will warp or sink. Ensure the part stays in the mold long enough to solidify completely, especially in thick sections.
- Check the Cushion: Ensure there is an adequate transfer cushion (buffer) to maintain pressure transfer.
Troubleshooting Specific Scenarios:
- Thick Walls: If sinks appear in thick areas, increase the cooling time significantly.
- Insert Molding: If sinks occur around metal inserts, the metal is likely cooling the plastic too fast or acting as a heat sink. Pre-heat the inserts to reduce the temperature differential.
- Starved Feed: If the screw cannot recover enough material (shot size), the part will be under-packed. Increase the feed stroke or back pressure.
⚠️ Warning: While increasing holding pressure helps, do not overdo it. Excessive pressure can lead to flash or even cause the part to stick to the mold, leading to ejection damage.
Correcting Mold Design Defects
If process adjustments don't work, the issue might be "frozen" into the steel. The flow of plastic must be unrestricted to allow proper packing.
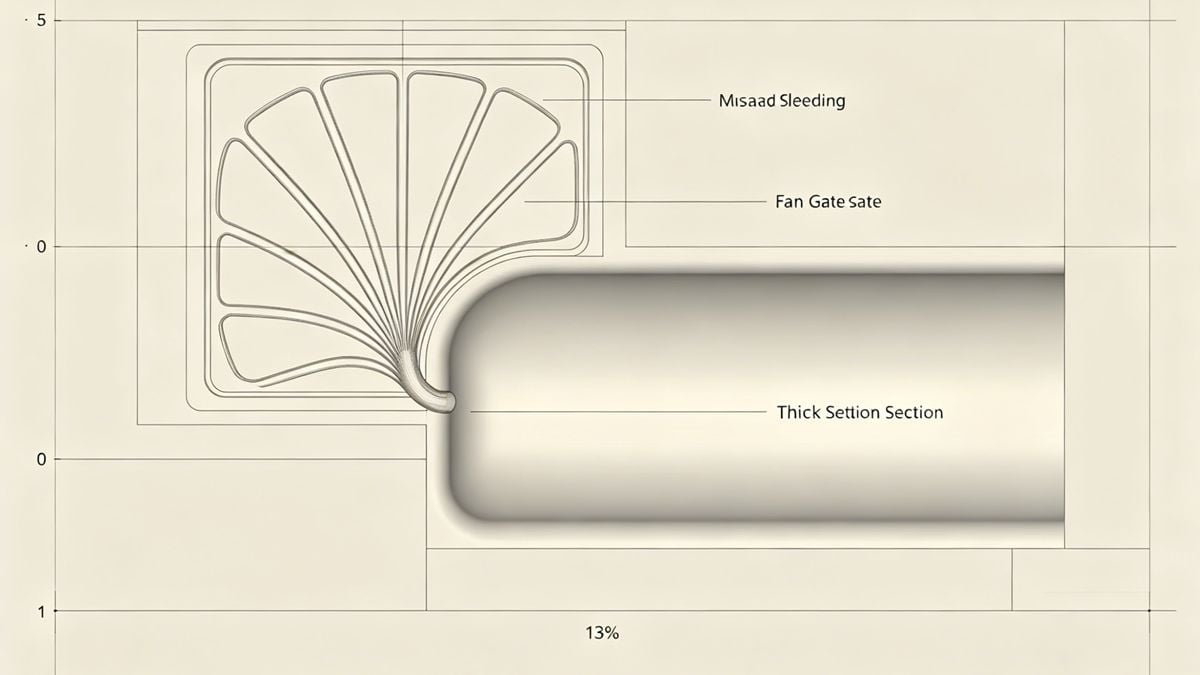
Gate and Runner Design:
- Gate Location: Always try to place the gate in the thickest section of the part. This allows the gate to stay molten longer, enabling the packing phase to compensate for shrinkage in the thick area.
- Gate Size: If the gate freezes off too early, no more material can enter to pack the part. Consider increasing the gate and runner cross-section.
- Flow Imbalance: If sinks appear far from the gate, the melt might be freezing before it reaches that area. You may need to enlarge the runner system or add a flow leader to that specific area.
Recommended Gate Types: For parts with significant wall thickness variations, consider using a Tab Gate or Fan Gate to ensure smooth flow and better packing.
Material Selection and Preparation
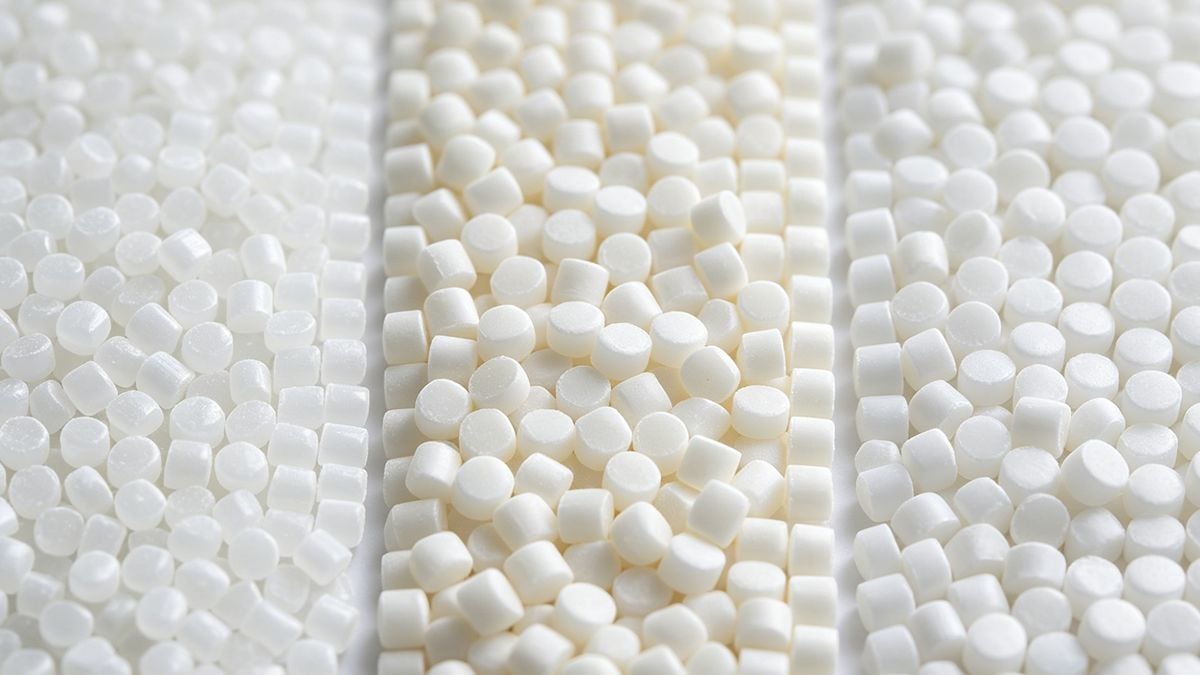
Not all plastics shrink at the same rate. The choice of resin plays a massive role in the final surface quality.
- Shrinkage Rate: For cosmetic parts, choose resins with a low shrinkage rate. Semi-crystalline materials (like PP or PA) generally shrink more than amorphous materials (like ABS or PC).
- Lubricants: Adding a small percentage of lubricant or slip agents can sometimes improve flow and surface finish, reducing the appearance of sinks.
Part Design: The Root Cause
The most effective way to prevent sink marks is to design them out before the mold is ever cut.
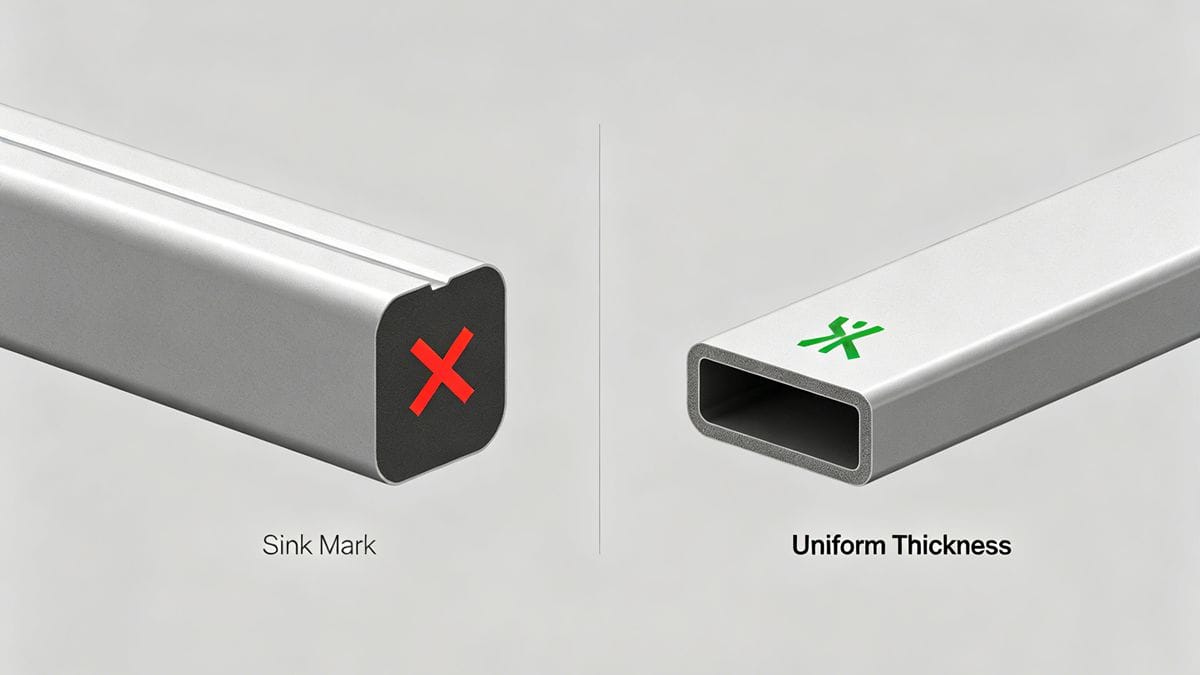
The Golden Rule: Uniform Wall Thickness Sink marks are almost always a result of non-uniform wall thickness.
- Coring Out: If you have a thick boss or rib, core it out to match the nominal wall thickness of the part.
- Design Guidelines: As a general rule, ribs should be no more than 60% of the adjacent wall thickness to prevent sink marks on the cosmetic surface.
Have you encountered Sink Marks during production? Contact us immediately through the form below!