 한국어



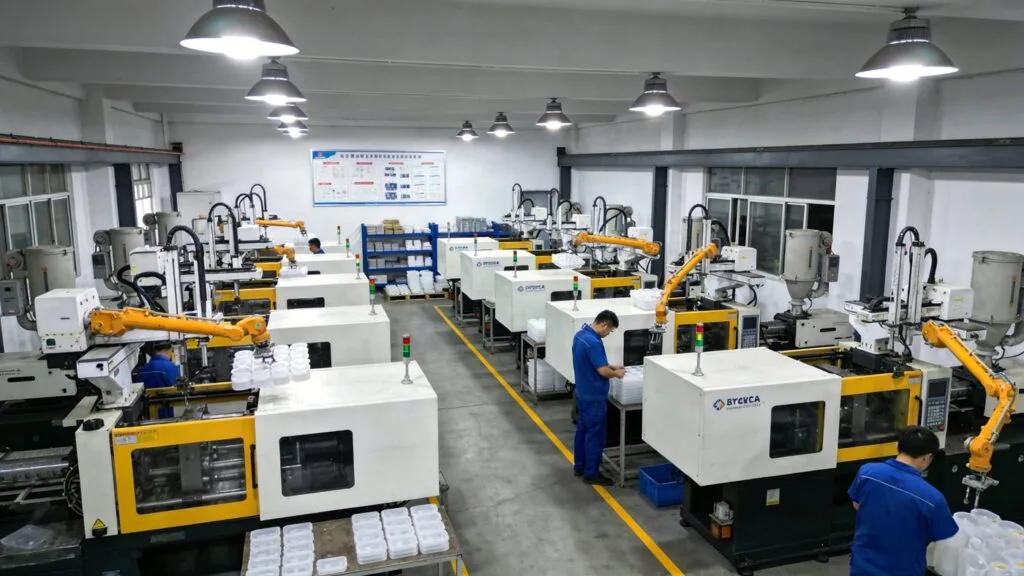
Essential 사출 성형[^1] Process Knowledge Every Newcomer Should Know**
The injection molding process for plastic parts consists of four core stages: filling, packing (holding pressure), cooling, 및 ejection. These stages are tightly interlinked and collectively determine the final quality of the molded part. Importantly, they form a single, continuous cycle—each phase influencing the next.
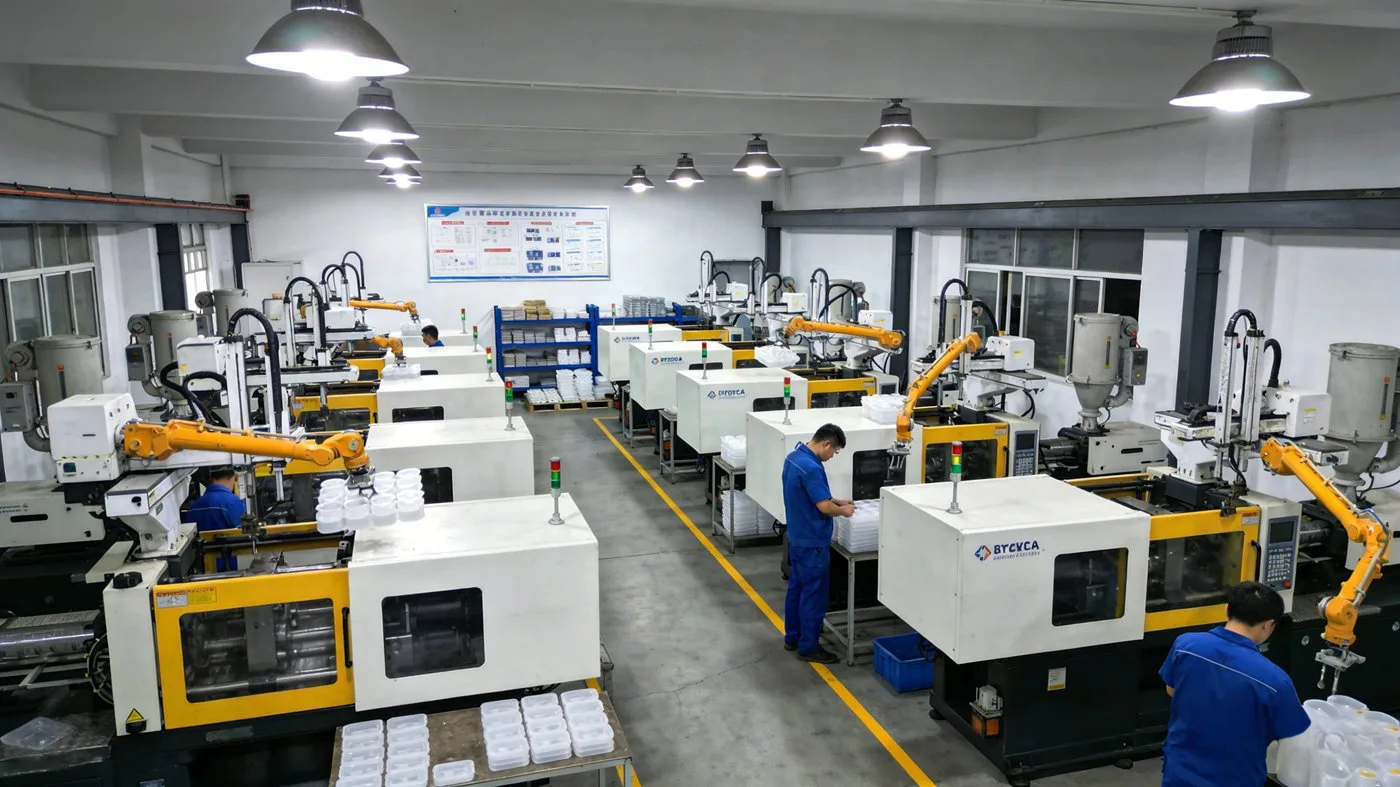
1. Filling Stage
The filling stage is the first step in the injection cycle, beginning when the mold closes and injection starts, and ending when approximately 95% of the cavity is filled with molten plastic.
While theoretically shorter filling times improve productivity, real-world constraints—including material properties, part geometry, and machine capabilities—limit how fast injection can be performed.
High-Speed Filling
At high injection speeds, shear rates increase significantly. Due to shear-thinning behavior (a non-Newtonian property of most thermoplastics), viscosity drops, reducing overall flow resistance. Additionally, localized viscous heating thins the solidified skin layer near the mold wall. In thin-walled sections, cooling effects are relatively weak, so the benefits of high speed dominate.
Low-Speed Filling
In contrast, low-speed filling results in lower shear rates, higher local viscosity, and greater flow resistance. Heat transfer to the cold mold walls becomes dominant, rapidly solidifying the melt surface. With minimal viscous heating, a thicker frozen layer forms—further increasing resistance, especially in thinner regions.
Weld Lines (Knit Lines)
Due to fountain flow, polymer chains at the advancing melt front align parallel to the flow direction. When two melt fronts meet (e.g., around inserts or from multiple gates), their aligned chains cannot fully entangle—especially if the meeting zones differ in temperature, pressure, or residence time. This creates microstructural weakness, visible as a weld line under proper lighting.
Weld line strength depends heavily on temperature:
- High-temperature welds: Better chain mobility allows deeper interdiffusion and stronger bonding.
- Low-temperature welds: Poor chain entanglement leads to weak, brittle joints—prone to cracking under stress.
2. Packing (Holding Pressure) Stage
After cavity filling, the packing stage applies sustained pressure to compact the melt, compensate for volumetric shrinkage, and increase part density.
Key characteristics:
- The cavity is already full; back pressure is high.
- Screw movement is minimal and slow—flow is negligible compared to filling.
- As the melt cools and solidifies rapidly, viscosity rises sharply, making cavity resistance very high.
- Packing continues until the gate freezes shut—the point at which the highest cavity pressure is reached.
During packing:
- Plastic exhibits slight compressibility under high pressure → denser regions form where pressure is highest.
- The solidifying melt acts as a pressure-transmitting medium, generating mold-opening force (also called bulging force).
- Adequate clamp force is essential to counteract this force and prevent flash, part deformation, or even mold separation.
? Practical Tip: Always select an injection molding machine with sufficient clamping force—not just to hold the mold closed, but to enable effective packing without compromising part integrity.
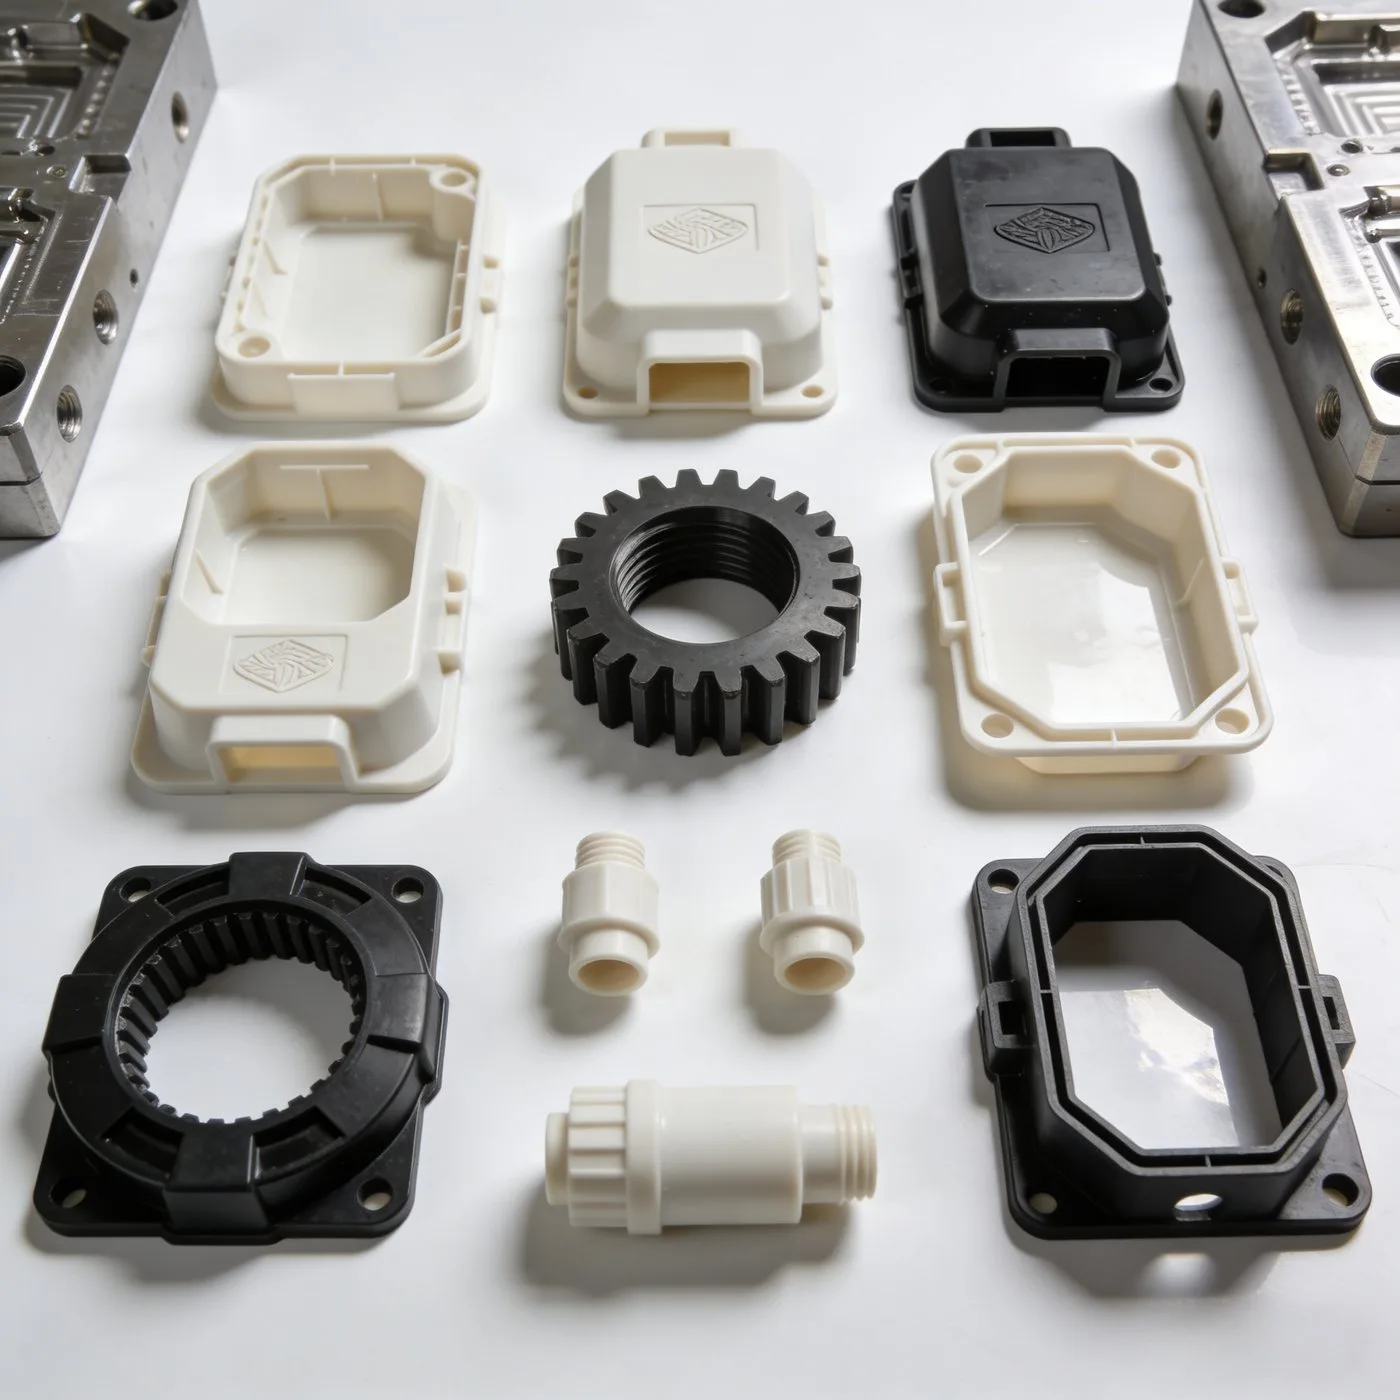
3. Cooling Stage
Cooling is arguably the most critical—and time-consuming—phase, accounting for 70–80% of the total cycle time. Efficient cooling directly impacts productivity, cost, and part quality.
Why Cooling Matters
- Parts must solidify sufficiently to retain shape upon ejection.
- Inadequate or uneven cooling causes warpage, sink marks, internal stresses, and dimensional instability.
Heat Removal Pathway
- ~95% of heat is conducted from the melt into the mold.
- From the mold, heat transfers via conduction through the mold steel to cooling channels, then removed by coolant via convection.
- Only ~5% dissipates directly to ambient air (via radiation/convection).
Factors Affecting Cooling Rate
| Factor | Influence |
|---|---|
| Part Wall Thickness | Cooling time ∝ (thickness)² — doubling thickness quadruples cooling time. |
| Mold Material | Higher thermal conductivity (e.g., beryllium-copper vs. P20 steel) = faster heat extraction. |
| Cooling Channel Design | Closer proximity to cavity, larger diameter, more channels → better cooling. |
| Coolant Flow Rate | Turbulent flow (Re > 4000) maximizes heat transfer efficiency. |
| Coolant Properties | Lower viscosity + higher thermal conductivity + lower temperature = improved performance. |
| Plastic Material | High thermal conductivity + low specific heat = faster cooling. |
| Process Settings | Higher melt temp, higher mold temp, or lower ejection temp → longer cooling required. |
Cooling System Design Principles
- Ensure uniform, rapid cooling across the entire part.
- Use standard-sized cooling holes for ease of machining and maintenance.
- Optimize channel layout based on part geometry: wall thickness, volume, and critical features.
- Balance flow rate, pressure drop, and thermal performance.
> ⚠️ Poor cooling design = longer cycles, higher costs, and defective parts. Invest time upfront—it pays dividends in production efficiency.
4. Ejection Stage
Ejection is the final step—but far from trivial. Even after full solidification, improper ejection can cause distortion, surface marks, or breakage.
Common Ejection Methods
Ejector Pins (Pushpins)
- Best for parts with robust structure and non-cosmetic surfaces.
- Pins should be placed evenly, preferably at high-resistance areas (e.g., ribs, bosses) and where part stiffness is greatest.
- Avoid placing pins on thin or delicate features.
Stripper Plate (Ejection Plate)
- Ideal for deep-draw, thin-walled containers or transparent parts where pin marks are unacceptable.
- Provides large, uniform ejection force with smooth motion and no visible marks.
Design tip: Always simulate ejection forces during mold design. Consider draft angles, undercuts, and part flexibility to minimize sticking and ensure clean release.
Final Thoughts
Mastering the four-stage injection molding cycle—filling, packing, cooling, and ejection—is foundational for anyone entering plastics manufacturing. Each stage involves complex physics (rheology, heat transfer, mechanics), and small changes in parameters can have outsized effects on quality and efficiency.
For newcomers: Start by observing real cycles, analyzing part defects (e.g., weld lines, sink marks, warpage), and correlating them back to process settings. Over time, you’ll develop intuition—and that’s when true process mastery begins.
저자 소개

Alex Yu
아이디얼 프로 매뉴팩처링
알렉스는 Ideal Pro의 공동 창립자이지만, 주요 프로젝트를 총괄하거나 기술 팀을 이끌지 않을 때는 장거리 자전거 타기를 즐기거나, 동네에서 가장 맛있는 커피를 찾아다니거나, 다음 여행 계획을 세우는 모습을 볼 수 있습니다. 국제 무역 영업과 프로젝트 관리 분야에서 20년 이상의 경력을 쌓아온 그는 촉박한 마감 기한부터 까다로운 엔지니어링 문제까지, 그 사이의 모든 상황을 다 겪어보았습니다. 그는 훌륭한 성과는 충분한 휴식을 취한 마음과 맛있는 커피에서 나온다고 믿으며, 맡은 모든 프로젝트에 그와 같은 호기심과 세심한 주의를 기울입니다. 사무실에 있지 않을 때는 대개 야외 어딘가에서 새로운 장소를 탐험하며, 나중에 나눌 이야기를 수집하곤 합니다.
 English
 French
 Dutch
 German
 Japanese
 Korean