 한국어




Most plants do not fail at injection molding defect troubleshooting because they run out of fixes. They fail because they apply correct fixes in the wrong order, on variables that move each other, and then declare victory on four good shots.
That is a sequence problem, not a knowledge problem. Our own library of sixteen common injection molding defects already sets out the cause-and-correction pairs, and there are dedicated deep-dives for short shot, sink marks, warpage, silver streaks, jetting and gloss. Repeating those lists would only compete with our own pages. What no defect list can do is tell you what to do when three of them are on the same part at once, which is the normal condition on a shop floor.
So this article works one layer up: the order to attack symptoms, the measurement that attributes a defect to one of four systems, why a fix manufactures another defect, how to prove a fix instead of hiding it, how to read the process as a window rather than a point, and the arithmetic for deciding when tuning costs more than cutting steel. Nothing below re-explains what a sink mark is.
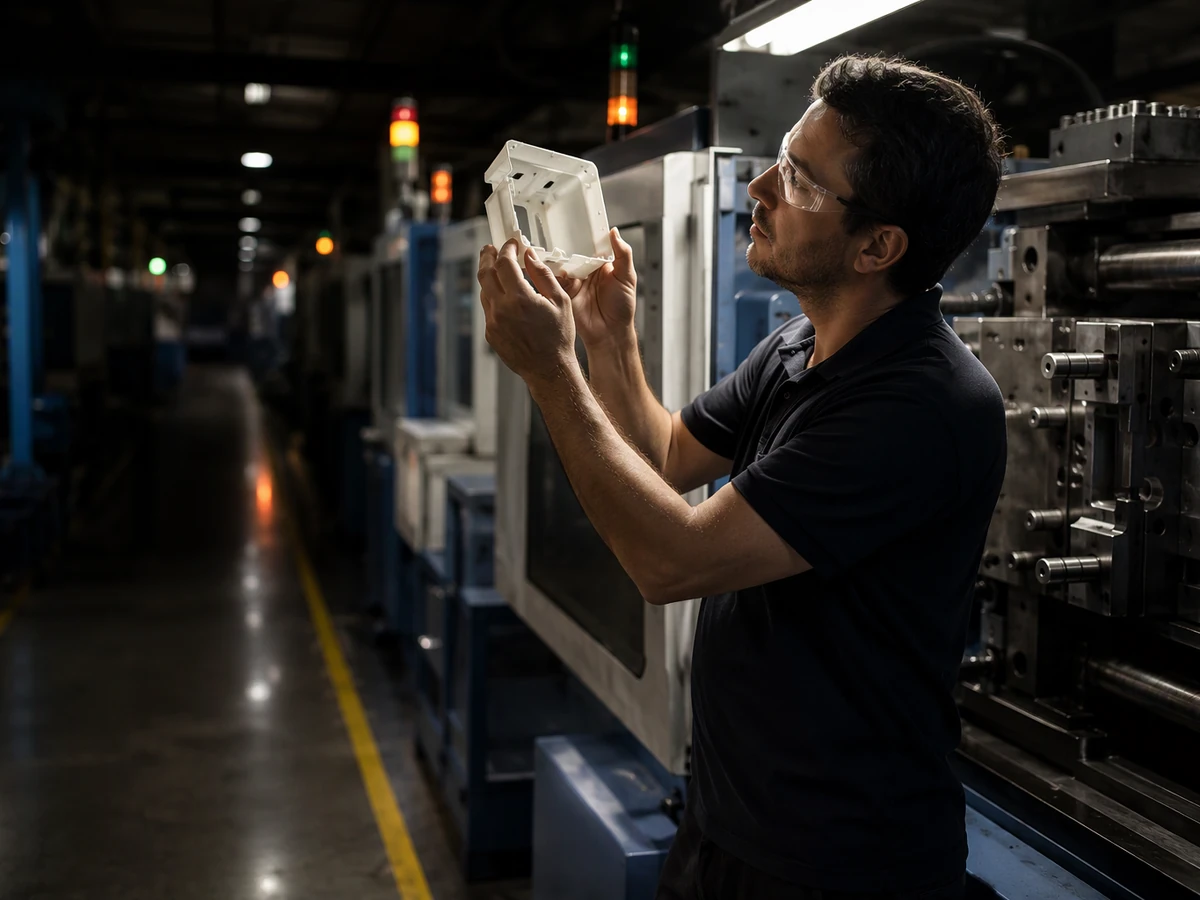
What Is the Correct Triage Order for Injection Molding Defect Troubleshooting?
The order is not by severity and not by how much the defect annoys the customer. It is by cost of being wrong, and by whether the check is reversible.
First: material state. Drying, regrind ratio, lot change, masterbatch carrier. The check is nearly free, the answer is binary, and getting it wrong makes every downstream experiment meaningless. Resin at 0.15% moisture instead of 0.02% produces silver streaks that survive every temperature and speed change you throw at them, and you will spend two days concluding the mould has a venting problem. Dry first, log the dew point, and do not touch a setpoint until the hopper is proven.
Second: the boundaries of the window. Run a short-shot series — deliberately fill 60, 70, 80, 90 and 95% of the part — and see where the flow front stops and whether cavities fill evenly. This tells you whether the gate is balanced, whether the runner is starving a cavity, and where the last point to fill actually is. Almost every cosmetic diagnosis depends on knowing that point, and almost nobody checks it before changing mould temperature.
Third: anything functional or dimensional. Flatness, fit, wall thickness, ejection distortion. These must be settled before cosmetics, because the levers that fix cosmetics all move dimensions. Raising mould temperature to clear a flow mark shifts shrinkage; adding pack to close a sink mark changes flatness. Fix cosmetics first and you re-open the dimensional work twice.
Fourth: cosmetics. Gloss, streaks, flow marks, gate blush, weld-line visibility. Most tuning hours go here and the least money is usually at stake, unless the part is a visible A-surface.
The table below is the version we would pin to the machine. The right-hand column is honest: most of that time is not diagnosis, it is drying and thermal stabilisation.
| Symptom class | Check first, in this order | The one measurement that discriminates | Typical time cost |
|---|---|---|---|
| Intermittent, lot-to-lot, worse after a weekend stop | Material and drying | Dew point at the dryer outlet and pellet moisture on the hopper feed, not the resin bag | 2–4 h, mostly drying |
| Incomplete fill at the same place, every shot | Fill balance: gate, runner, vent | Shot weight at transfer versus a deliberately 100%-full shot | 1–2 h |
| Dimensions drift across the shift, or one cavity always off | Mould temperature stability and cooling | Cavity surface temperature at six to eight fixed points, every circuit, at steady state | 3–5 h |
| Repeatable warpage on a flat part that measures fine at ejection | Pack profile and ejection, then cooling layout | Dimension at ejection versus 24 h later, compared cavity by cavity | 4–8 h |
| Cosmetic only, dimensions in spec | Gate, vent, and fill rate | Fill time at the moment the defect appears, plus gate freeze time | 4–8 h |
| Burning, dieseling or dull patches at the last point to fill | 감정 발산 | Vent depth, and the position of the burn relative to last-fill | about 1 day |
| Same defect on every machine that runs this mould | Mould, then part design | Mould swap: move the tool to a known-good machine and see whether the defect travels with it | 1–3 days |
| Present from the first trial, never absent | Part design | Wall thickness map against nominal, and gate position against the thickest section | 1–3 days |
Write down the discriminating measurement before you change anything: the number you did not record is the number you will argue about next week.
How Do You Tell Whether the Defect Belongs to Material, Machine, Mould or Part Design?
Every defect lives in one of four systems, and the game is attribution. The fast way is to make the defect travel, or fail to travel, with one of the four.
Swap the machine, not the settings. If the defect follows the mould to a different machine at the same nominal settings, it is in the tool or the part. If it stays on the machine, it is the machine: barrel wear, check-valve leakage, a failing heater band, inconsistent cushion. A check valve leaking back 3 mm more than it did last quarter produces short shots and sink marks no pressure will cure, and it degrades slowly enough that nobody suspects it.
Swap the material lot. Same mould, same machine, different lot or regrind percentage. If the defect moves, you are chasing drying, contamination, molecular weight or filler dispersion. Cheapest experiment in the plant, most often skipped because the material "is the same as always".
Read the pressure trace, not the panel. Peak pressure at transfer, pressure at gate freeze, and the shape of the cavity curve separate "the material cannot get there" from "the material gets there and then shrinks". A cavity that builds pressure late and decays fast has a gate freeze problem. One that builds early and holds has a packing problem. One that never reaches target has a fill restriction.
A short-shot series does more attribution work than any other single test, which is why our short shot diagnostic treats it as a measurement rather than a defect. You are not trying to make a short shot. You are using an intentionally incomplete part as a flow visualisation.
Why Does Fixing One Defect Always Seem to Create Another?
Because you are not fixing a defect. You are moving a point inside a box, and the box has walls on every side. Each wall is a different defect. The skill is not knowing which direction to move; it is knowing which wall you are about to hit.
A defect list is a set of independent cause-effect pairs. A moulding process is a coupled system, where every lever pushes on at least three outputs. Raise melt temperature and you improve flow, gloss and weld-line strength while increasing shrinkage in thick sections, extending cooling, and — if there is any moisture or shear-sensitive additive — converting a cosmetic problem into a silver streak problem. Our silver streak four-factor guide exists because that trade is so often misread as a venting failure.
| Adjustment you are tempted to make | What it reliably improves | What it usually induces | Honest note |
|---|---|---|---|
| Raise melt temperature | Gloss, weld-line strength, jetting, short shot | Silver streaks if moisture or shear sensitivity is present; more shrinkage in thick sections; longer cooling; parting-line flash | The most over-used lever in the plant. Typically buys 5–10 °C of window before it starts selling you splay |
| Raise injection or peak pressure | Short shot, sink at the gate, incomplete fill | Flash, higher residual stress and worse warpage, faster mould wear, ejection distortion | Pressure moves material; it does not make a gate that is too small into one that is big enough |
| Fill faster | Gloss, flow marks, weld-line position, thin-wall fill | Jetting at the gate, air entrapment and burn at last-fill, higher clamp demand, shear-induced streaks | Speed and venting are one decision, not two. Read the jetting diagnostic before raising the profile |
| Longer or higher pack | Sink marks, internal voids, gate-area cosmetics | Warpage, over-packing near the gate, flash, ejection stress marks, longer cycle | Usually the cheapest genuine fix and the easiest to overdo. Pack profile, not pack pressure alone |
| Raise mould temperature | Gloss, weld-line appearance, flow marks, sometimes residual stress | Longer cycle, more shrinkage in semi-crystalline resins, sticking, deeper sink in thick sections | Costs cycle time linearly. Check the cycle you quoted before reaching for it |
| Longer cooling time | Warpage, ejection distortion, dimensional stability | Cycle time and cost — nothing else | The only lever with no defect side effect, which is exactly why nobody wants to pay for it |
| More mould temperature uniformity, not more temperature | Warpage, dimensional spread between cavities, gloss variation | Nothing, but it costs baffles, bubblers or a new circuit | The one change here that is almost always correct. Differential cooling is the most under-diagnosed cause of warpage in large flat parts |
Before turning a dial, decide which wall you can afford to hit. A visible cover with a tight flatness callout cannot buy gloss with mould temperature, because it pays for it in flatness.
There is a second-order effect that catches experienced people. Faster fill and higher melt temperature both improve gloss, but together they raise shear heating at the gate enough to scorch a shear-sensitive resin — a defect neither change would have caused alone. That is the argument for one-variable-at-a-time discipline, and its limit: it cannot find an interaction, so it walks you into a corner of the window and stops.
How Do You Change One Variable at a Time Without Burning Three Days?
One-variable-at-a-time is correct discipline and terrible economics if you do it naively, because a machine has three time constants and most people spend the day paying the slowest one.
Classify the levers by how long the machine takes to forget the last change:
- Immediate, one to three shots. Transfer position, pack pressure, pack time, injection speed profile, ejection speed. Change, purge two shots, judge on the next ten.
- Thermal, 20–45 minutes. Melt temperature, nozzle and hot runner zones, mould temperature. The displayed value is not the cavity value; a 10 °C step on a large mould takes 20–40 minutes to reach steady state, longer on a hot runner with a big manifold. Changing mould temperature and evaluating after five minutes is the most common way to generate a false conclusion in this discipline.
- Material state, 2–4 hours. Drying, and any change of lot or regrind ratio. Not a lever you can iterate on inside a shift.
So settle the thermal state at nominal first, then burn through the immediate levers inside that fixed state. Only when the fast levers are exhausted do you pay the 30-minute tax on a thermal change. Doing it the other way — thermal change, quick look, another thermal change — is how a day disappears with nothing learned.
Three rules keep the experiment honest. Two shots, then ten: two to purge the previous condition, ten consecutive to judge, which on a 30-second cycle costs six minutes. One direction, then past nominal: move up, then back down past nominal, before trying a different variable. No response in either direction means the defect is not sensitive to that variable, and you have eliminated it. Response in one direction only, with the part failing before the defect clears, means you have found a wall — and walls are the raw material of the window map. Distrust the second change: if you need two simultaneous changes before any improvement appears, you are not at a cause, you are at an edge of the window. Stacking setpoints until the part looks acceptable produces a process that will not survive a lot change, a machine move or a two-week holiday.
Keep the log too: shot number, variable, old value, new value, observation, conclusion. The fourth day of a hard defect is always a memory test, and the answer is usually in an experiment you ran on day one and forgot.
How Do You Prove You Actually Fixed It?
Four good parts is not a fix. A fix is a defect rate that holds across cavities, across shifts, across lots, and across a modest disturbance.
| Evidence needed | Sample size | What you record | Passing limit, typical |
|---|---|---|---|
| The defect is gone, not sorted out | 30 consecutive shots, no operator touch-up, all cavities | Go/no-go against a boundary sample photographed under fixed lighting | Zero rejects in 30, and the part at shot 30 looks like the part at shot 1 |
| The process is repeatable | 50 shots, ideally three runs across two shifts | Shot weight, cushion, transfer position, peak pressure, cycle time | Shot weight standard deviation ≤0.3–0.5% of shot weight; cushion ±0.5 mm; cycle ±1% |
| The thermal state is stable | One hour at steady state before any data is taken | Cavity surface temperature at fixed points, every circuit | ±2 °C across the cavity, ±3 °C circuit to circuit |
| The fix survives the window | Re-run at nominal ±10% of whatever you changed | Same defect rating at both ends | No defect returns at either end |
| The fix survives production | After two weeks and 20,000–50,000 shots | Vent depth, gate condition, slide wear, ejector marks | Vent depth still in spec; no new short shot at the previous last-fill point |
The fourth row separates fixing from hiding, and almost nobody runs it. Take the new setting — the mould temperature you raised, the pack you added — and move it 10% either way. If the defect returns at nominal minus 10%, you did not fix a cause; you bought margin with a setting that has none left, and the process will fail on the next machine, in the next cavity, or on the next lot.
Signals that a "fix" is really containment: the defect only disappears when the operator does something extra at the bench; the cycle is 8 seconds over the quoted standard and nobody re-priced the part; it needs a specific machine, operator or shift; it holds only with 100% inspection; the defect has moved rather than gone; or the process sits above roughly 85% of a machine limit.
What Does the Process Window Actually Look Like, and What CpK Should You Demand?
Most process sheets record a point: melt 240 °C, mould 60 °C, pack 45 MPa. A point has no width, and width predicts whether the process still runs this part in six months.
The window is the region where the part meets every requirement at once. It has a shape, bounded by a different defect on each face: short shot on one side, flash on another, sink on a third, warpage on a fourth. A window 15 °C wide in melt temperature and 20 MPa wide in pack pressure absorbs a lot change. A window 4 °C wide cannot, and no amount of operator skill will save it.
A practical map takes about half a day: three mould temperature levels, four pack pressure levels, five shots per cell, pass or fail per cell. That is 60 shots — half an hour of machine time — plus thermal settling, which is where the half-day goes. The output is a grid where you can count green cells and see how far the nearest red one is from your running point. If the nearest red cell is one step away, you are not running a process, you are balancing on a wire.
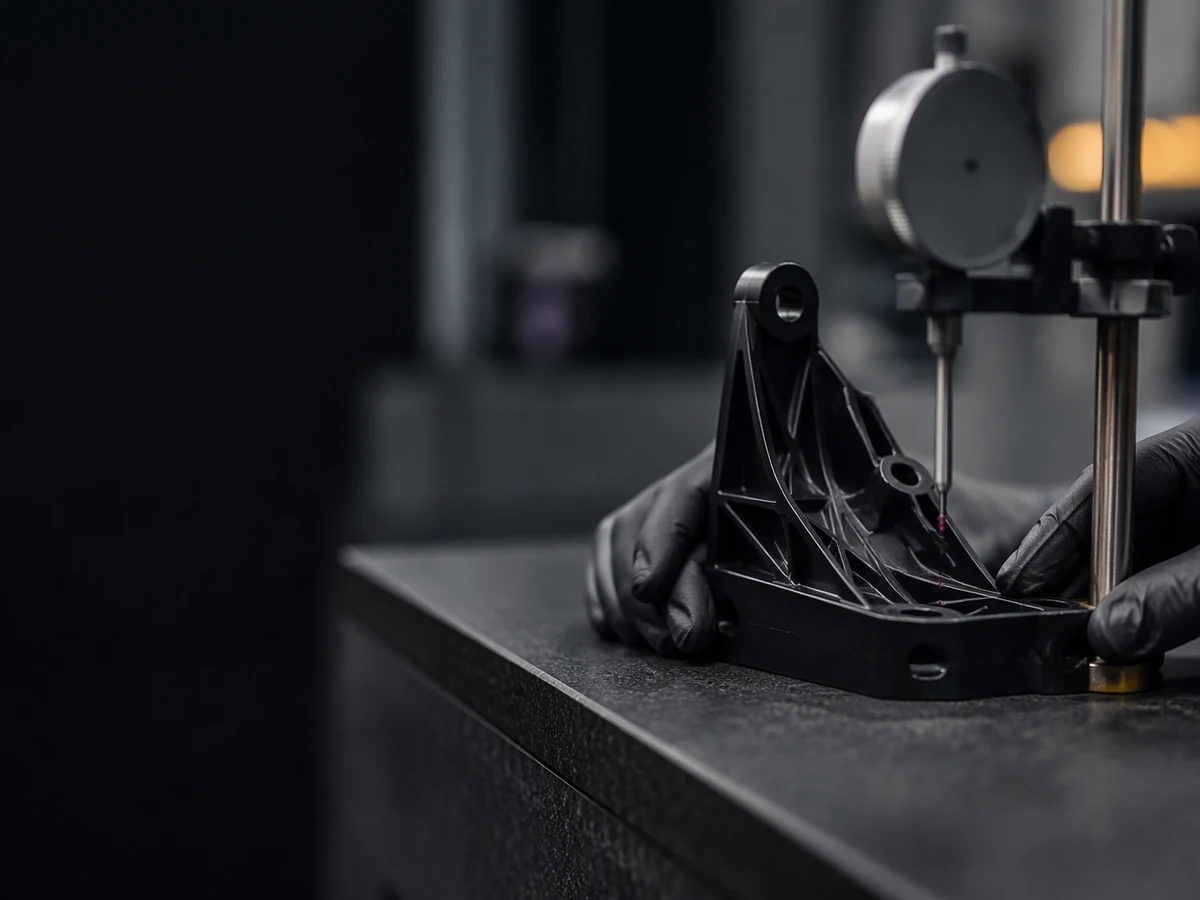
Then convert the window into capability. Cp describes spread and answers whether the process can make good parts at all. Cpk describes spread plus centring and answers whether it can make them where the tolerance sits. Cavity-to-cavity spread describes the tool: if one cavity accounts for most of the variation, no setpoint fixes it, because it is a cooling or gate-balance problem and therefore a steel problem.
Typical acceptance thresholds are Cpk 1.33 or better for important dimensions and 1.67 or better for safety-related or assembly-critical ones. The diagnostic value is in the failures. Cpk below 1.0 on a new tool means the tool cannot hold the tolerance, and every tuning hour postpones a conversation with the toolmaker. Cpk around 1.1 with a wide Cp is a centring problem — cheap, move the nominal. Cpk 1.1 with Cp 1.15 is a narrow window — expensive, and it will not survive production.
When Is Continued Tuning More Expensive Than a Mould Revision?
This decides whether the next two weeks are engineering or steel, and it is almost never answered with arithmetic. It should be, because the arithmetic is simple and the answer is usually uncomfortable.
Worked example, every assumption stated. Part: 120 g ABS housing, two cavities, 30-second cycle on a 160-tonne machine. ABS at $2.20/kg gives about $0.26 of material per part; a machine rate of $28/h all-in gives about $0.23 of machine time per cycle; so a scrapped part costs roughly $0.49 in material and machine time, excluding rework labour. Programme: 20,000 parts per week. Current state after two weeks of tuning: 8% scrap, 8 hours of trial machine time and 10 engineering hours at $45/h per week. Revision quote: $6,000 for gate work, a vent insert, weld and re-polish, plus two to four trial days and 10–20 calendar days.
| Line item | Continue tuning | Mould revision |
|---|---|---|
| One-off cost | 없음 | $3,000–$12,000 typical, including re-trial |
| Weekly scrap cost | 8% × 20,000 × $0.49 ≈ $784 | 1.5% × 20,000 × $0.49 ≈ $147 |
| Weekly trial machine time | 8 h × $28 ≈ $224 | none after sign-off |
| Weekly engineering | 10 h × $45 ≈ $450 | about 2 h × $45 ≈ $90 |
| Weekly total | ≈ $1,458 | ≈ $237 |
| Weekly saving from revising | — | ≈ $1,221 |
| Break-even | — | $6,000 ÷ $1,221 ≈ 5 weeks, about 98,000 parts |
The break-even volume is the only number that matters. If the remaining programme is smaller than it, keep tuning and contain with inspection; you are buying steel you will never amortise. If the programme is two to three times larger, revise, because waiting is a choice to lose money slowly. If break-even sits inside the current order, revise now and spend the saved tuning weeks qualifying the next part.
Two corrections to the naive version. Tuning cost is not just scrap: here engineering and trial time is $674 a week, nearly as much as the scrap, and plants under-count salaried engineering because it is invisible. And the revision estimate must include re-trial days — a $6,000 revision that consumes two production days on a 20,000-part-a-week line is really an $8,000 revision.
There is a middle path worth pricing: a soft revision. Pull the insert, add a vent, re-polish a gate land, add a baffle. These cost 10–30% of a full revision and three to five days, and they solve a surprising share of cosmetic and warpage problems. Our article on DFM and the hidden tooling costs of defect control sets out which changes fall into that cheap category.
When Should You Stop Tuning and Change the Part Design Instead?
Stop when the process needs the part to be something it is not. The tell is that you are running against a limit, and the limit is structural rather than a setpoint.
Concrete triggers, any two of which should end the tuning phase: the only way to remove the defect is a mould temperature or pack pressure the quoted price cannot carry; the fix needs a cycle longer than the one in the quote, so every good part is sold at a loss; the defect recurs at every gate position you have tried, which usually means the flow length to wall thickness ratio is wrong for the material; you are fighting a wall transition from 3 mm to 1.2 mm that no fill profile can smooth, because the problem is the geometry of the transition and not the speed at which you cross it; or the defect sits at a boss or rib root where thickness is 2.5× nominal and every pack profile just moves the sink.
Design-side fixes are usually cheaper than they feel: rebalancing wall thickness, adding a radius at a transition, thinning a boss and adding a gusset, moving a gate closer to the thick section. Our guide to wall thickness and its effect on part quality and cost is the reference we send customers in exactly this situation.
One case deserves its own line: when the machine configuration is the constraint rather than the part. A hot runner with unbalanced zones or a manifold that will not hold temperature produces defects that look like part-design problems and move when you change nothing else. If a hot runner tool gives cavity-specific defects, read the hot runner guide before cutting anything.
What Does a Triage Workflow Look Like on the Shop Floor?
Six lines on a card at the machine, in this order. Not a substitute for experience; a substitute for arguing.
- Confirm material state: dew point, pellet moisture, regrind ratio, lot.
- Confirm thermal steady state for one hour, cavity temperatures logged.
- Run a short-shot series and mark the last point to fill.
- Classify the symptom, then take the discriminating measurement before touching a setpoint.
- Change one variable in one direction: two purge shots, ten judgement shots, log it.
- Prove the fix: 30 shots, the ±10% re-run, two weeks of production.
The economics come after step six, because you cannot price a fix you have not proven. Every programme eventually reaches the point where the next experiment costs more than the steel.
If you are at that point now — a defect that has survived a week of disciplined tuning, a window too narrow to run, or a Cpk that says the tool cannot hold the tolerance — we would rather look at the tool and the drawing than sell you another month of trials. Send the part, the defect photographs, the current process sheet and the mould drawing, and we will tell you which of the three it is.
WhatsApp/phone +86 156 0682 1288, email [email protected].
자주 묻는 질문
In what order should you troubleshoot injection molding defects?
Why does fixing one defect always seem to create another?
How many shots are needed to prove a defect is fixed?
What Cpk should an injection molding process achieve?
When is a mould revision cheaper than continued process tuning?
저자 소개

Alex Yu
아이디얼 프로 매뉴팩처링
알렉스는 Ideal Pro의 공동 창립자이지만, 주요 프로젝트를 총괄하거나 기술 팀을 이끌지 않을 때는 장거리 자전거 타기를 즐기거나, 동네에서 가장 맛있는 커피를 찾아다니거나, 다음 여행 계획을 세우는 모습을 볼 수 있습니다. 국제 무역 영업과 프로젝트 관리 분야에서 20년 이상의 경력을 쌓아온 그는 촉박한 마감 기한부터 까다로운 엔지니어링 문제까지, 그 사이의 모든 상황을 다 겪어보았습니다. 그는 훌륭한 성과는 충분한 휴식을 취한 마음과 맛있는 커피에서 나온다고 믿으며, 맡은 모든 프로젝트에 그와 같은 호기심과 세심한 주의를 기울입니다. 사무실에 있지 않을 때는 대개 야외 어딘가에서 새로운 장소를 탐험하며, 나중에 나눌 이야기를 수집하곤 합니다.




 English
 French
 Dutch
 German
 Japanese
 Korean