 한국어




The control of the 사출 성형 process has a direct impact on final part quality and process economics. As home appliance products evolve and designs become more complex, the demand for high-quality internal and external finishes has increased. This places higher requirements on mold manufacturing and process control.
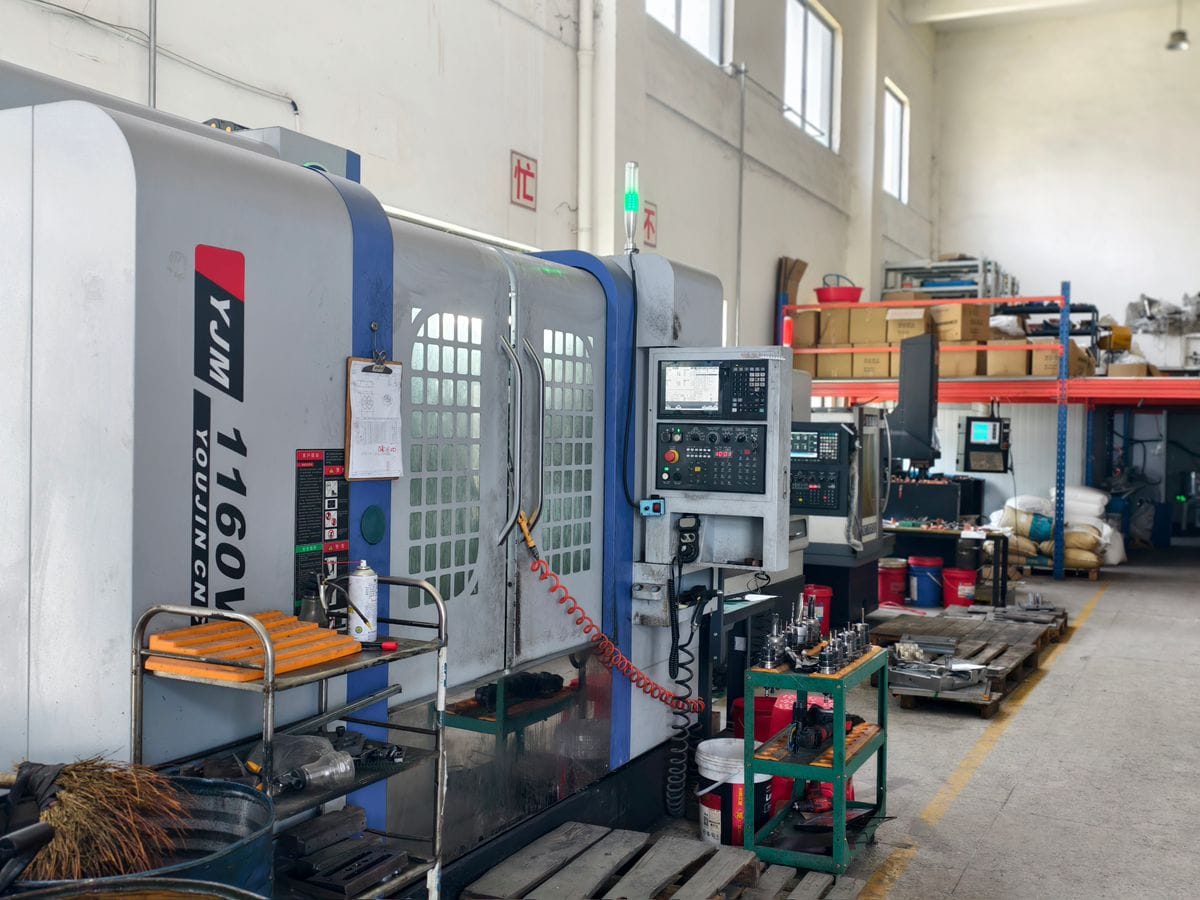
While advanced machinery and high-precision molds are essential, they must be paired with superior control. The core of injection molding lies in managing temperature, pressure, speed, and time. Among these, injection speed is a critical parameter that influences melt flow, shear heating, and molecular orientation.
> Key Insight: The ultimate goal of speed selection is to maintain a constant melt front velocity ($V = text{constant}$) throughout the cavity filling process to ensure uniform flow fields and minimize residual stress.
High Speed vs. Low Speed: The Trade-Offs
Choosing the right injection speed is a balancing act. High speed offers efficiency but risks defects, while low speed improves finish but increases cycle time. Modern machines utilize Multi-Stage Injection to combine the benefits of both.
Here is a comparison of the characteristics of high and low injection speeds:
| 특징 | High Injection Speed | Low Injection Speed |
|---|---|---|
| Cycle Time | Reduces injection time; shortens cycle. | Increases cycle time. |
| Flow Length | Improves flow length (good for thin walls). | Risk of short shots (incomplete filling). |
| 표면 마감 | Improves gloss; hides weld lines. | Can result in dull surfaces. |
| Defects | Risk of jetting, burn marks, and flash. | Prevents flash, burns, and jetting. |
| Molecular Structure | Higher shear heating; reduces viscosity. | Prevents molecular orientation deformation. |
| Trapped Air | Higher risk of trapped gas (dieseling). | Allows air to escape; prevents gas traps. |
The 5-Stage Injection Speed Profile
To achieve the "constant velocity" principle across complex geometries, we generally divide the injection speed into five distinct phases.
[Image Suggestion: A line graph showing the Injection Speed (Y-axis) vs. Screw Position/Time (X-axis), highlighting the 5 distinct stages described below.]
1. Runner and Sprue (High Speed)
- Goal: Pass through the cold runner system quickly.
- Strategy: Use high speed to shorten the cycle and prevent premature cooling in the channels. Ensure this speed does not cause surface defects if the gate is small.
2. Gate Entry (Variable Speed)
- Goal: Prevent jetting and gate blush.
- Strategy:
- High Viscosity Materials (PC, PMMA, ABS): Use lower speeds, especially with edge gates, to prevent jetting (snake-like streams) and fogging near the gate.
- Low Viscosity Materials (PP, PA, PBT): If using pinpoint or tab gates, high speed may be acceptable.
3. Cavity Filling - Main Body (High Speed)
- Goal: Fill 70%–80% of the part rapidly.
- Strategy: Once past the gate, accelerate. This reduces viscosity changes, improves surface gloss, strengthens weld lines, and prevents sink marks caused by pressure drops.
4. Transition Phase (Medium Speed)
- Goal: Prepare for the final fill.
- Strategy: Around 85%–90% fill, reduce speed to medium. This acts as a buffer to prevent flash (excess plastic) in thick sections or unbalanced cavities before the final pack.
5. Final Fill / Packing (Low Speed)
- Goal: Dimensional stability and defect prevention.
- Strategy: Use low speed for the final 10%. This prevents:
- Flash: Excess material leaking from the mold parting line.
- Burn Marks: Caused by trapped air compressing and igniting (dieseling).
- Over-packing: Ensures consistent weight and dimensions.
Setting and Correcting the Speed Curve
How do you practically set this on the machine?
The "Zero Injection" Method for Setup
- Set Position: Set the 2nd stage speed and pressure to 0. Adjust the 1st stage position to see where the melt stops.
- Verify: Compare the short shot to your expected fill pattern.
- Iterate: Set the 3rd stage to 0, adjust the 2nd stage position, and repeat. This allows you to map out the screw positions accurately before running a full cycle.
- Ramp Up: Once positions are set, increase speeds from low to high until the surface quality is acceptable.
Troubleshooting Common Defects
[Image Suggestion: Split screen photo. Left side: A part showing "Jetting" (snake lines). Right side: A part showing "Burn Marks" (black spots at the end of fill).]
1. Gate Jetting (Flow Marks)
- Cause: Melt enters the cavity too fast through a small gate, shooting across without touching the walls.
- 솔루션:
- Mold: Direct the gate flow against a pin/core.
- Process: Reduce speed at the gate entry (Stage 2), then increase speed for the main fill (Stage 3) to minimize pressure loss.
2. Weld Lines / Fusion Marks
- Cause: Two flow fronts meet with a large temperature difference or low pressure.
- 솔루션:
- Mold: Change to a fan gate to increase the fusion angle.
- Process: Increase speed before the weld line location to maintain heat and pressure. Reduce speed only at the very end to prevent flash.
결론
Optimizing injection speed is not just about filling the mold; it is about controlling the flow front velocity to minimize stress and defects.
- Defect Reduction: Proper speed profiling eliminates jetting, burns, and short shots.
- Customization: Every part geometry and material (e.g., PC vs. PP) requires a unique speed curve.
- Technique: Use the "Zero Injection" method for accurate setup.
- Interdependence: Remember that speed and pressure are linked; often, increasing injection pressure allows for better control of the speed profile.
By mastering these principles, manufacturers can achieve the perfect balance of high quality and economic efficiency.
저자 소개

Alex Yu
아이디얼 프로 매뉴팩처링
알렉스는 Ideal Pro의 공동 창립자이지만, 주요 프로젝트를 총괄하거나 기술 팀을 이끌지 않을 때는 장거리 자전거 타기를 즐기거나, 동네에서 가장 맛있는 커피를 찾아다니거나, 다음 여행 계획을 세우는 모습을 볼 수 있습니다. 국제 무역 영업과 프로젝트 관리 분야에서 20년 이상의 경력을 쌓아온 그는 촉박한 마감 기한부터 까다로운 엔지니어링 문제까지, 그 사이의 모든 상황을 다 겪어보았습니다. 그는 훌륭한 성과는 충분한 휴식을 취한 마음과 맛있는 커피에서 나온다고 믿으며, 맡은 모든 프로젝트에 그와 같은 호기심과 세심한 주의를 기울입니다. 사무실에 있지 않을 때는 대개 야외 어딘가에서 새로운 장소를 탐험하며, 나중에 나눌 이야기를 수집하곤 합니다.
 English
 French
 Dutch
 German
 Japanese
 Korean