 한국어



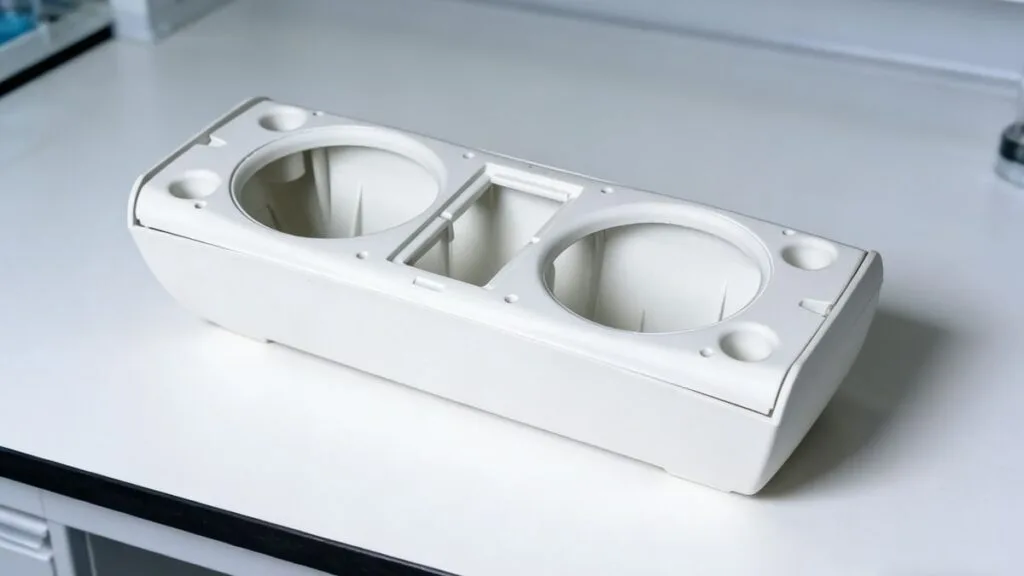
Short shots (also known as underfills) occur when the molten plastic fails to completely fill the mold cavity, resulting in an incomplete part. This defect typically appears in thin-walled sections or areas farthest from the gate.
> 전문가 팁: For internal features that do not affect aesthetics or functionality, minor short shots may be acceptable. However, attempting to fix these by over-packing can lead to flash (excess material leaking out), so always evaluate the necessity of the adjustment first.
Short shots are caused by a variety of factors ranging from machine settings to mold design. Below are the 12 most effective strategies to diagnose and resolve this common defect.

1. Insufficient Shot Size or Cushion
If the amount of material injected is less than what the cavity requires, the part will not fill.
- 솔루션: Gradually increase the shot size or cushion value until the part fills completely without causing flash.
2. Barrel Temperature Too Low
Low melt temperatures increase the viscosity of the plastic, creating high resistance during flow.
- 솔루션: Appropriately raise the barrel temperature zones. This reduces viscosity and enhances the flowability of the melt, allowing it to reach remote areas of the mold.
3. Injection Pressure or Speed Too Low
The melt needs sufficient driving force to flow through the entire cavity before it cools.
- 솔루션: Increase the injection pressure and speed. This ensures the melt receives adequate pressure and material (supplement) before it solidifies.
4. Insufficient Injection Time
Filling a specific weight of material requires a specific duration. If the timer cuts off too early, the shot is incomplete.
- 솔루션: Extend the injection time until the mold cavity is fully packed. Monitor the transfer position to ensure consistency.
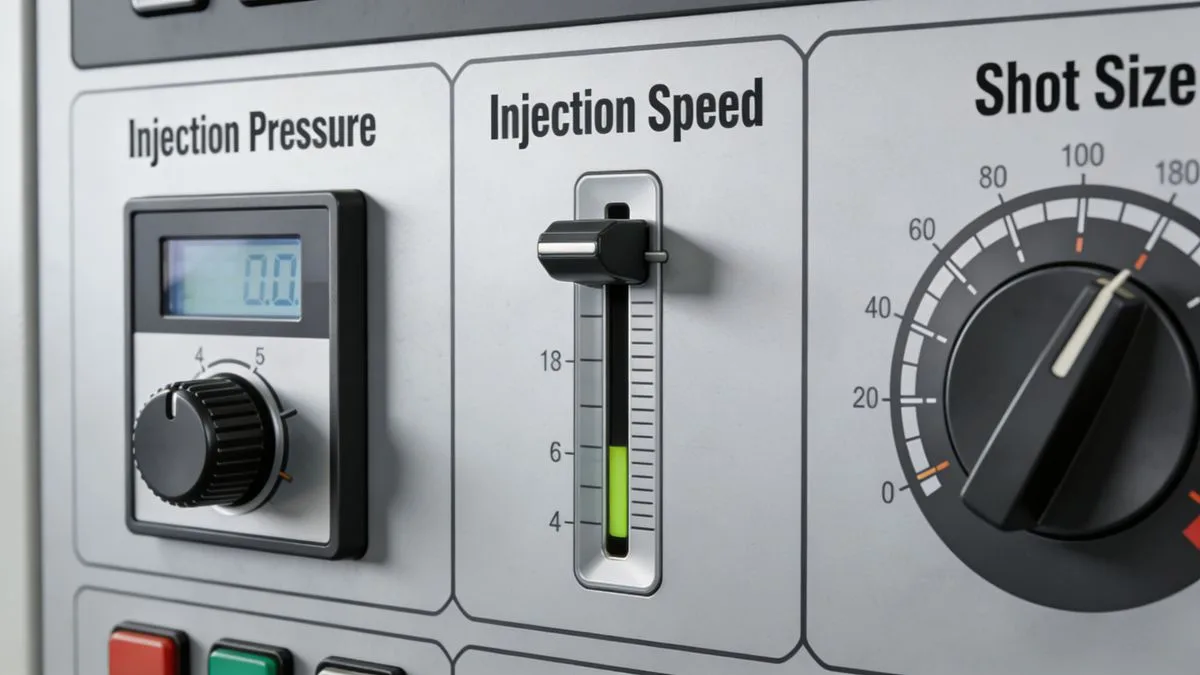
5. Improper Holding Pressure[^1] (Switch-over Point)
A common cause is switching from injection to holding pressure too early. If the switch-over point is set too far forward, too much material remains to be packed by holding pressure, which often isn't enough to finish filling.
- 솔루션: Re-adjust the V/P (Velocity to Pressure) switch-over point to the optimal position. The goal is to fill 95-98% of the cavity by speed, then pack the rest by pressure.
6. Mold Temperature Too Low[^2]
When part geometry varies significantly in thickness, a cold mold can cause the melt to freeze prematurely, consuming excessive injection pressure.
- 솔루션: Increase the mold temperature or reconfigure the cooling water channels to ensure uniform heating, especially in thin sections.
7. Poor Nozzle-to-Sprue Bushing Alignment[^3]
If the machine nozzle does not align perfectly with the mold sprue bushing, material leaks (drools) during injection, reducing the actual shot volume.
- 솔루션: Re-align the mold or adjust the nozzle position to ensure a tight seal between the nozzle and the sprue bushing.
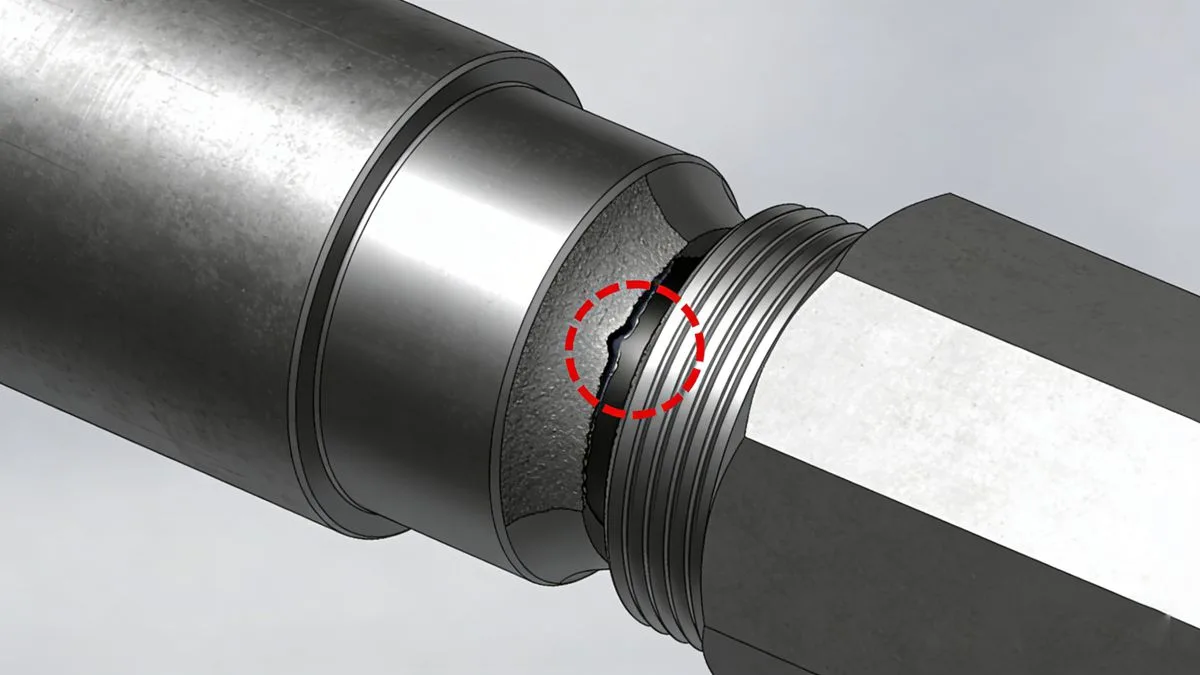
8. Damaged or Partially Blocked Nozzle[^4]
In operations where the carriage retracts (suck-back), repeated impact between the nozzle and the mold can deform the nozzle tip, narrowing the flow channel. This increases shear heat and can cause cold slugs to block the orifice.
- 솔루션:
- Remove and repair or clean the nozzle.
- Reset the nozzle forward limit position to reduce impact force to a reasonable level.
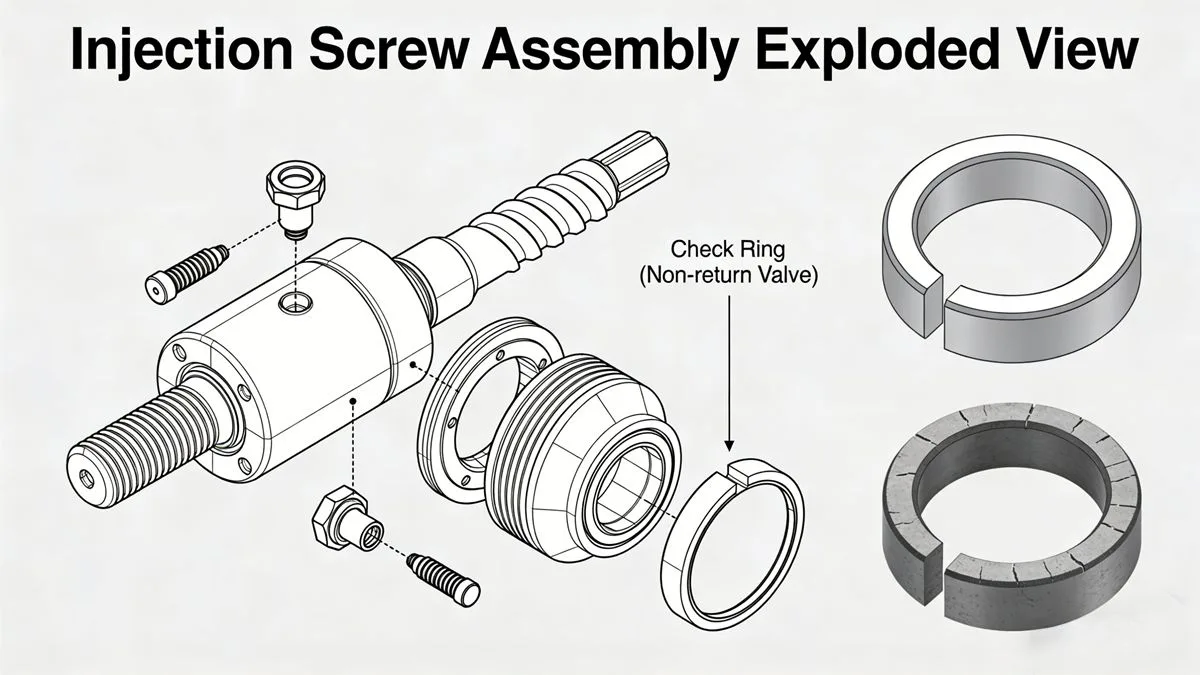
9. Worn Check Ring[^5] (Non-Return Valve)
Wear on the check ring (stop ring) and thrust ring on the screw tip creates a gap. During injection, molten plastic flows backward (leakage) instead of moving forward, resulting in a loss of shot volume.
How to Verify Check Ring Wear:
- Complete an injection cycle and switch to Manual Mode.
- Set injection pressure and speed to low values.
- Perform a dosing (recovery) stroke.
- Manually execute injection while observing the screw position indicator.
- Observation: If the screw moves forward easily with little resistance, the leakage is severe.
- 솔루션: If wear is significant, replace the check ring immediately. Continuing production with a worn ring guarantees inconsistent part quality.
10. Poor Mold Venting
Trapped air in the cavity acts like a compressed gas spring, blocking the melt from reaching the end of the flow path. This often happens if air cannot escape through parting lines or ejector pins quickly enough.
- 솔루션:
- Machine appropriate venting channels at the air-trap locations on the parting line.
- If traps are not on the parting line, modify existing sleeves or ejector pins to act as internal vents.
- Consider relocating the gate to change the flow front and push air toward existing vents.
11. Ribs Too Thin or Too Deep
Deep, thin ribs are classic air traps and flow restrictions. They are difficult to fill because the material cools rapidly in the narrow channel.
- 솔루션:
- Increase the thickness of the rib (typically 50-60% of the main wall thickness).
- Add generous radii at the base of the rib to improve flow.
- Install dedicated venting measures at the end of the rib.
12. Unbalanced Runner or Gate System
While single-cavity molds are usually well-designed, multi-cavity molds often suffer from flow imbalance. Tiny differences in runner dimensions or gate sizes can cause some cavities to fill while others short shot.
- 솔루션: Analyze the flow balance. You may need to manually restrict gates on the "easy-to-fill" cavities (using gate land adjustments) or machine the runners to ensure equal flow distribution to all cavities.
결론
Solving short shots requires a systematic approach. Start by checking the simplest machine parameters (shot size, temperature, pressure) before moving to mechanical inspections (check rings, nozzle) and finally mold modifications (venting, runner balance). By applying these 12 proven techniques, you can significantly reduce scrap rates and improve your injection molding efficiency.
[^1]: Understanding holding pressure can help you optimize the filling process and reduce defects. [^2]: Explore the significance of mold temperature in achieving high-quality injection molded parts. [^3]: Learn how proper nozzle alignment can prevent material loss and improve shot volume. [^4]: Identifying nozzle issues is essential for maintaining consistent injection quality. [^5]: Understanding the role of the check ring can help you maintain shot volume and part quality.
저자 소개

Alex Yu
아이디얼 프로 매뉴팩처링
알렉스는 Ideal Pro의 공동 창립자이지만, 주요 프로젝트를 총괄하거나 기술 팀을 이끌지 않을 때는 장거리 자전거 타기를 즐기거나, 동네에서 가장 맛있는 커피를 찾아다니거나, 다음 여행 계획을 세우는 모습을 볼 수 있습니다. 국제 무역 영업과 프로젝트 관리 분야에서 20년 이상의 경력을 쌓아온 그는 촉박한 마감 기한부터 까다로운 엔지니어링 문제까지, 그 사이의 모든 상황을 다 겪어보았습니다. 그는 훌륭한 성과는 충분한 휴식을 취한 마음과 맛있는 커피에서 나온다고 믿으며, 맡은 모든 프로젝트에 그와 같은 호기심과 세심한 주의를 기울입니다. 사무실에 있지 않을 때는 대개 야외 어딘가에서 새로운 장소를 탐험하며, 나중에 나눌 이야기를 수집하곤 합니다.
 English
 French
 Dutch
 German
 Japanese
 Korean