

Are you struggling with flexible plastic parts failing in real-world use? Many teams face delays when their TPU prototypes look great but fail in mass production. Let us fix this.
TPU injection molding is a manufacturing process that melts thermoplastic polyurethane to create flexible, durable parts. You must carefully control material drying, mold temperature, and injection speed to ensure high-quality results. It is widely used for seals, grips, and protective covers because of its high wear resistance.
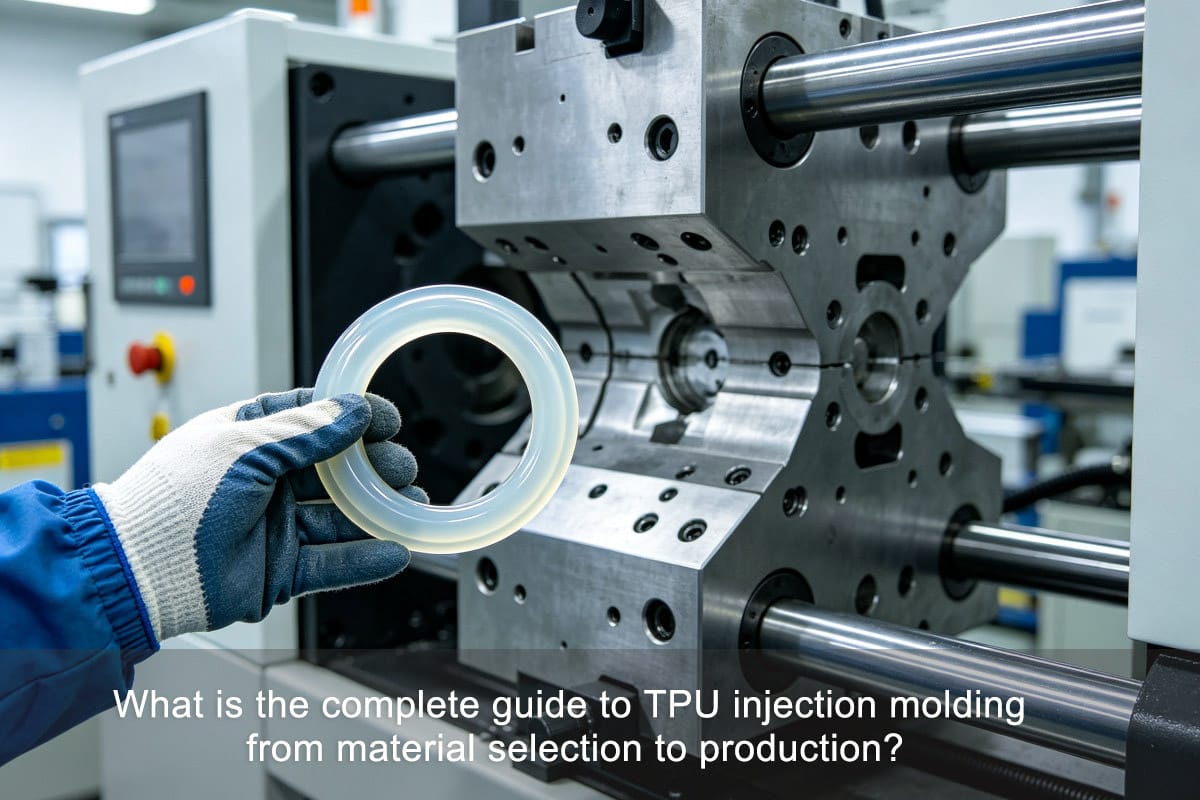
You might think a good 3D-printed prototype means you are ready for mass production. However, moving from a single sample to thousands of stable parts requires deep planning. If you ignore the exact material grade or mold design rules, your project will likely fail. Here is how we do it right at Ideal Pro.
What is TPU injection molding and its main advantages?
Do your rubber parts wear out too quickly? Finding a material that bends like rubber but lasts like plastic is hard. TPU injection molding solves this problem perfectly.
TPU injection molding shapes flexible, strong parts by injecting melted TPU into a metal mold. Its main advantages are high tear strength, excellent wear resistance, and great oil resistance. This makes it a top choice for demanding industrial and consumer parts.
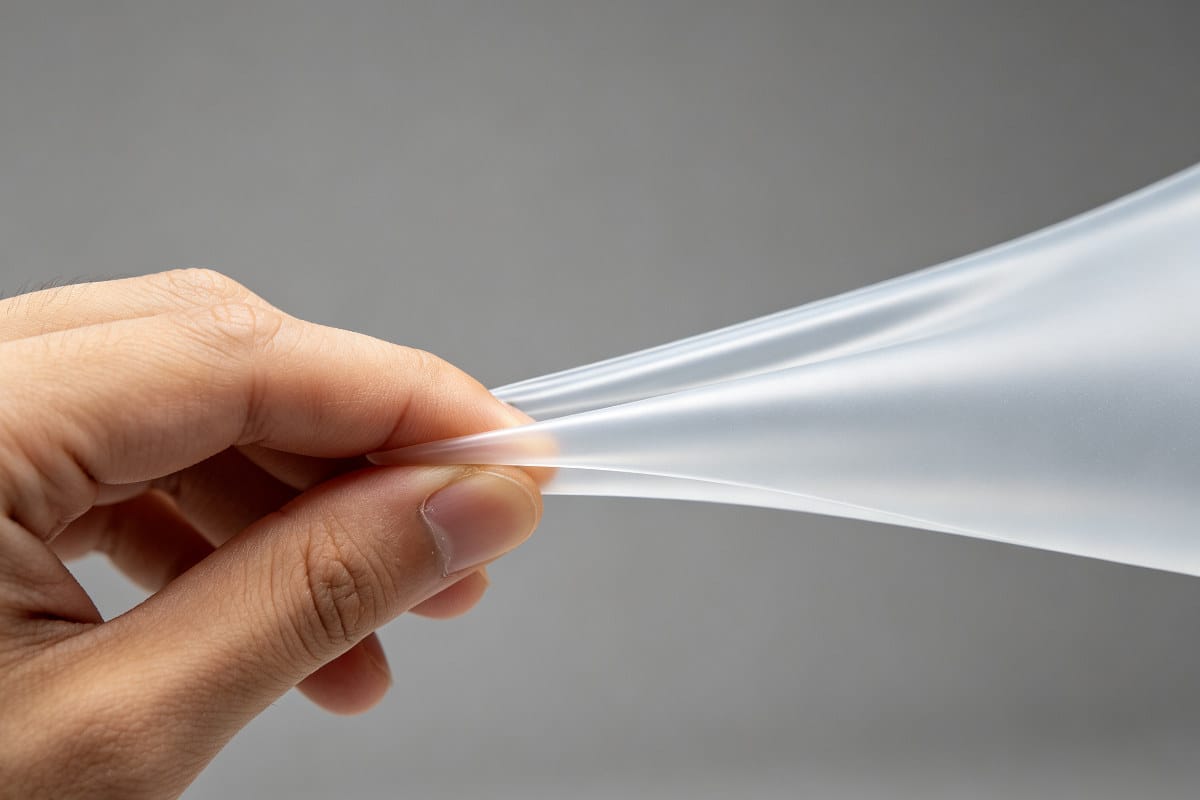
To understand TPU, we need to look at how it behaves under stress. At Ideal Pro, we see many clients who just want a soft part. But TPU offers much more than softness. It bridges the gap between weak rubber and rigid plastic.
Why Choose TPU?
TPU brings unique benefits to your product design. It can stretch a lot without breaking. It also bounces back to its original shape quickly. We call this elastic memory.
| 特徴 | Benefit for Your Product |
|---|---|
| High Abrasion Resistance | Parts last longer in moving systems like rollers. |
| Oil and Grease Resistance | Perfect for automotive seals and industrial boots. |
| High Load Bearing | Can support heavy weights without losing shape. |
In our 18 years of experience across nearly 3000 projects, we notice that many engineers forget about chemical resistance. They focus only on how the part feels in their hand. However, if your part works near oil, TPU is often the only safe choice. You must also consider the environment. TPU can handle very cold temperatures without cracking. This makes it ideal for outdoor equipment. By choosing TPU, you get a material that works hard and lasts long in real-world conditions.
How does TPU compare to other flexible plastics like TPE and silicone?
Are you confused by all the flexible plastic choices? Picking the wrong soft material can lead to product failure and angry customers. Let us compare the top options.
TPU is tougher and more wear-resistant than TPE and silicone. Silicone offers better high-temperature resistance, while TPE is cheaper and easier to mold. Nylon is rigid but can be blended. You should choose TPU when your part needs high durability and oil resistance.
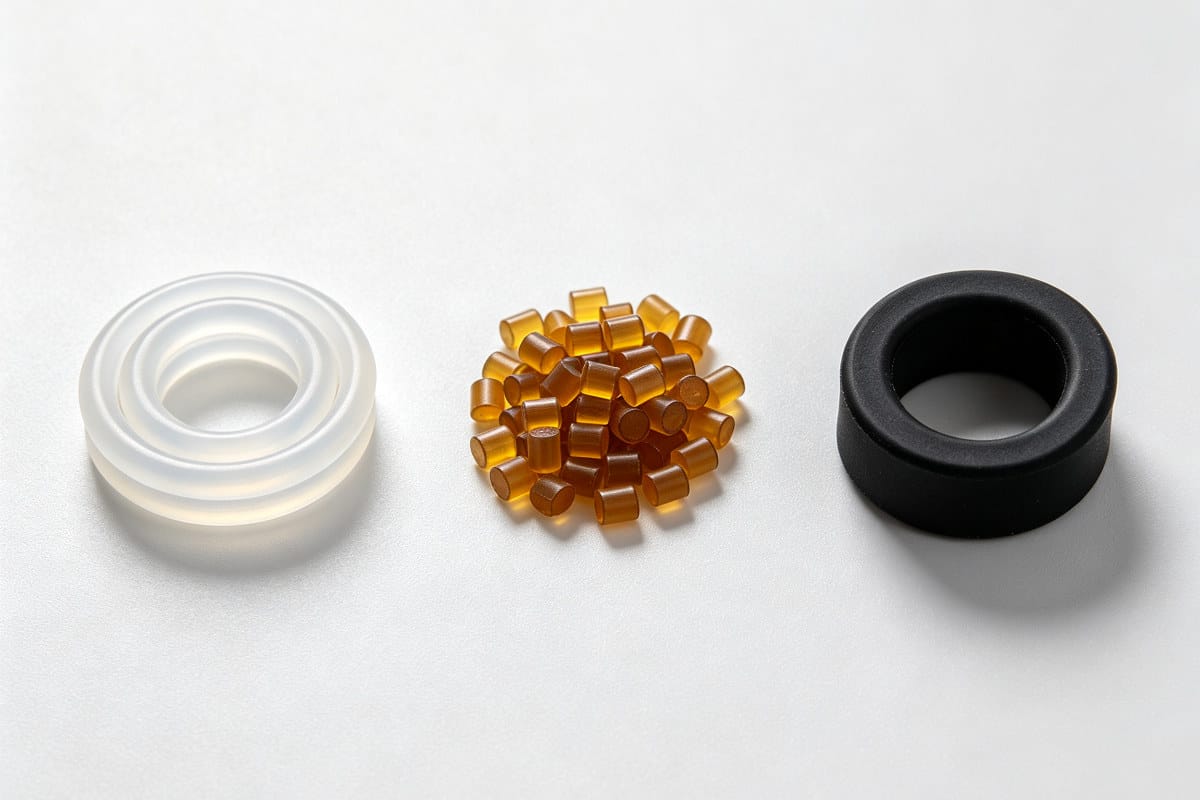
Choosing the right flexible material is a common challenge for our clients. I often see teams pick TPE because it is cheap. Then, the part breaks in the field. Let us break down the differences clearly.
Material Comparison Breakdown
You need to match the material to your exact needs. Do not just guess based on price.
| 素材 | 最適 | Main Weakness |
|---|---|---|
| TPU | High wear, oil contact, heavy loads | Harder to mold, needs strict drying |
| ティーピーイー | Soft grips, low cost, easy molding | Poor wear resistance, weak against oil |
| シリコーン | High heat, medical, food contact | Slow cycle time, high cost |
| ナイロン | High strength, gears, brackets | Too stiff for flexible seals |
If you need a soft grip for a toothbrush, use ティーピーイー. If you need a tough seal for a car engine, you must use TPU. Silicone is great for baking molds because it handles heat well. However, silicone cannot handle friction like TPU can. We always ask our clients about the final use environment. If your part rubs against other parts, TPU will save you money in the long run. We focus on sustainable solutions. This means picking the material that endures over time.
How do you choose the right TPU hardness grade and chemical base?
Is your TPU part too stiff or too soft? Specifying just "TPU 85A" is a common mistake that ruins production. You need the exact grade and chemical base.
You must choose TPU hardness based on the Shore A or Shore D scale. 60A is very soft, while 85D is hard like plastic. You also must choose between polyester-based TPU for oil resistance and polyether-based TPU for water resistance to prevent hydrolysis.

This is where many projects fail. On many of our seal, roller, and flexible boot projects, customers only specify a basic hardness. They tell us, "Just make it TPU 85A." They rely on a 3D-printed prototype to sign off on performance. But a 3D print does not act like an injected part.
The Shore Hardness Scale
Hardness changes everything. It affects how the part feels and how it ejects from the mold.
- 60A to 75A: Very soft. Good for shock absorption. Hard to eject.
- 80A to 95A: Medium hard. Great for seals and rollers. Easier to mold.
- 55D to 85D: Very hard. Used for tough structural parts.
Polyester vs. Polyether
You must also pick the right chemical base. This is crucial for long-term survival.
| TPU Type | Best Property | When to Use It |
|---|---|---|
| Polyester | High oil resistance, strong | Automotive parts, gears |
| Polyether | High water resistance, no hydrolysis | Underwater parts, medical |
If you use polyester TPU in a wet place, it will suffer hydrolysis failure. The part will literally melt away and crumble over time. We always lock in the exact resin grade upfront. We check the service requirements before we start. This prevents costly disasters later.
What is the step-by-step TPU injection molding process?
Do your TPU parts come out looking terrible? Poor process control leads to wasted material and lost time. You must follow strict steps for success.
The TPU molding process starts with strict material drying to remove moisture. Next, you set the barrel temperature carefully to melt the resin without burning it. Finally, you control the injection speed, packing pressure, and cooling time to form the part and prevent shrinkage.
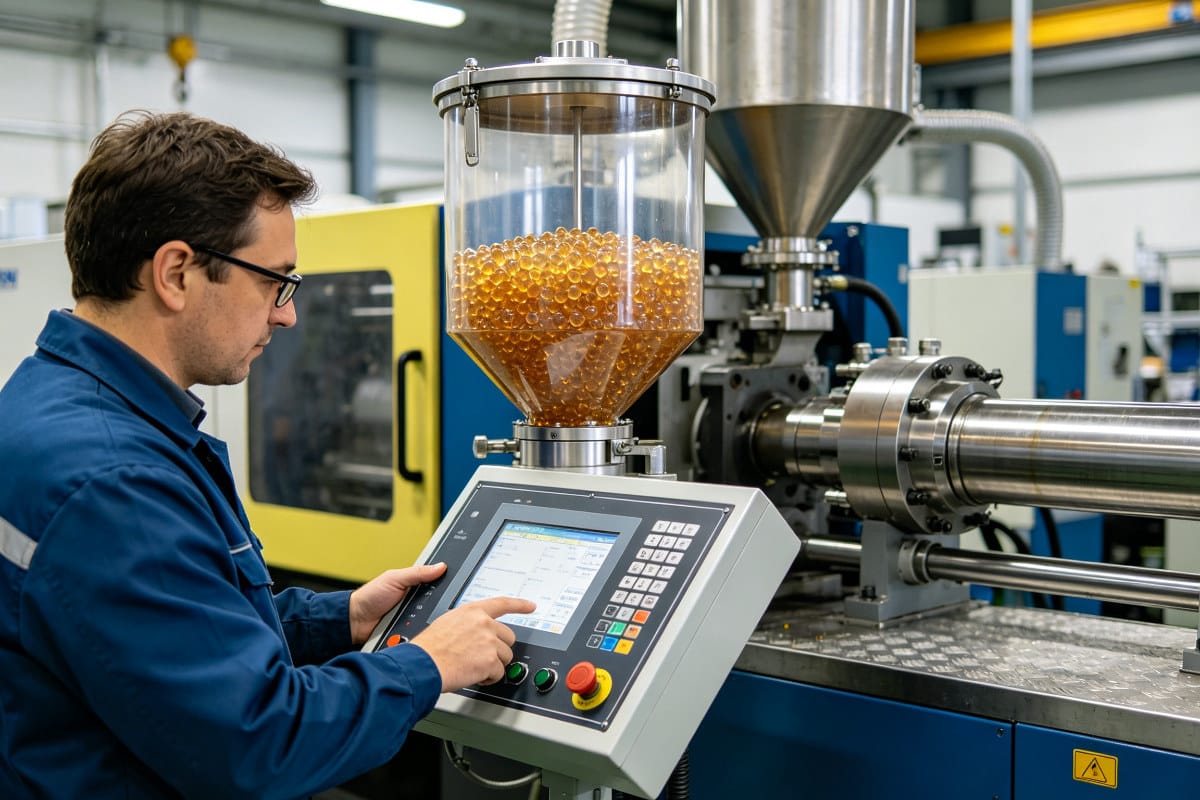
TPU is not like normal plastic. It is very sensitive to heat and water. If you skip steps, you will get bad parts. Here is how we control the process at Ideal Pro to ensure top quality.
Step 1: Drying the Material
TPU absorbs water from the air quickly. If you do not dry it well, the water turns to steam inside the barrel. This steam causes splay marks on your parts. We always dry TPU for 3 to 4 hours in a special dryer before molding.
Step 2: Barrel Temperature and Injection
TPU melts slowly. If the barrel is too hot, the material degrades and loses strength. If it is too cold, it will not flow into the mold.
| Process Parameter | Best Practice for TPU |
|---|---|
| Barrel Temp | 190°C to 220°C (depends on grade) |
| 射出速度 | Slow to medium |
| Packing Pressure | High, to avoid shrink marks |
Step 3: Cooling and Cycle Time
Soft TPU takes a long time to cool down. If you open the mold too early, the part will warp. We optimize the cooling channels in the mold to speed this up safely. A stable process needs a fixed cycle time. We control moisture strictly during material handling. We also monitor the temperatures constantly.
What are the key mold design rules for flexible TPU parts?
Are your soft parts sticking inside the mold? Designing a tool for hard plastic will ruin your flexible TPU parts. You need special mold design rules.
Mold design for TPU requires larger draft angles and specialized venting to let air escape. You must use large gates and runners to help the thick material flow. For ejection, use larger pins or stripper plates to push the soft part out without tearing it.
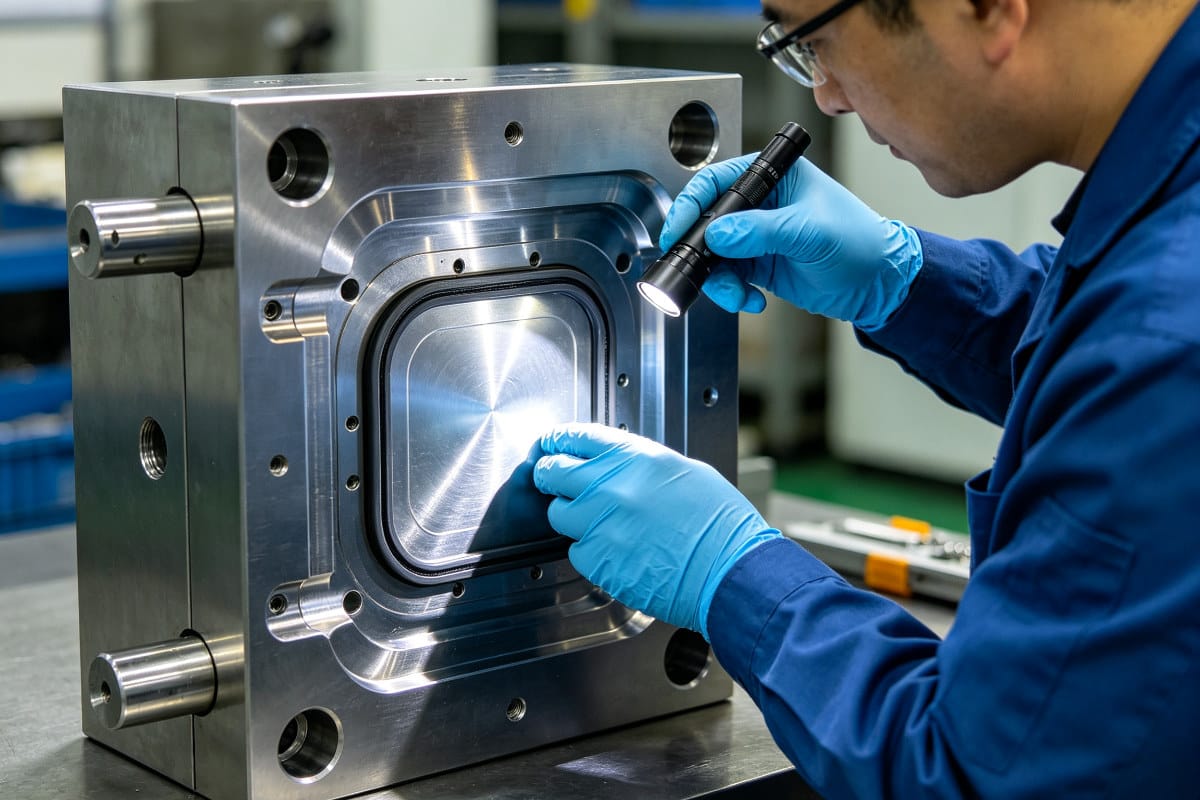
Designing a mold for TPU requires a different mindset. The material is soft. Therefore, it sticks to the metal easily. It also stretches when you try to push it out of the machine.
Gate and Runner Systems
TPU does not flow as easily as water. It flows like thick syrup. Because of this, your gates and runners must be larger. We often use fan gates or ring gates for TPU parts. This helps the material fill the mold smoothly without creating high stress in the plastic.
Venting and Draft Angles
When plastic enters the mold, air must leave.
| Design Element | TPU Requirement | Why It Matters |
|---|---|---|
| Draft Angle | 3 to 5 degrees | Stops the soft part from sticking to the wall. |
| Vent Depth | 0.01 mm to 0.02 mm | Lets air out but stops flash. |
Ejection Strategies
This is the hardest part. If you use small ejector pins, they will just push deep into the soft TPU. The part will stay in the mold. We use large ejector pins, air ejection, or stripper plates. This spreads the pushing force over a larger area. We always conduct thorough DFM for draft and venting before we cut any steel.
How do you solve common TPU molding defects like splay and flash?
Are you tired of throwing away defective parts? Splay marks and flash can destroy your profit margins. You must know how to identify and fix these issues quickly.
To fix splay, you must dry the TPU material completely before molding. To stop flash, you should lower the injection pressure or check the mold for damage. If you see short shots, increase the barrel temperature or injection speed to help the material fill the mold.
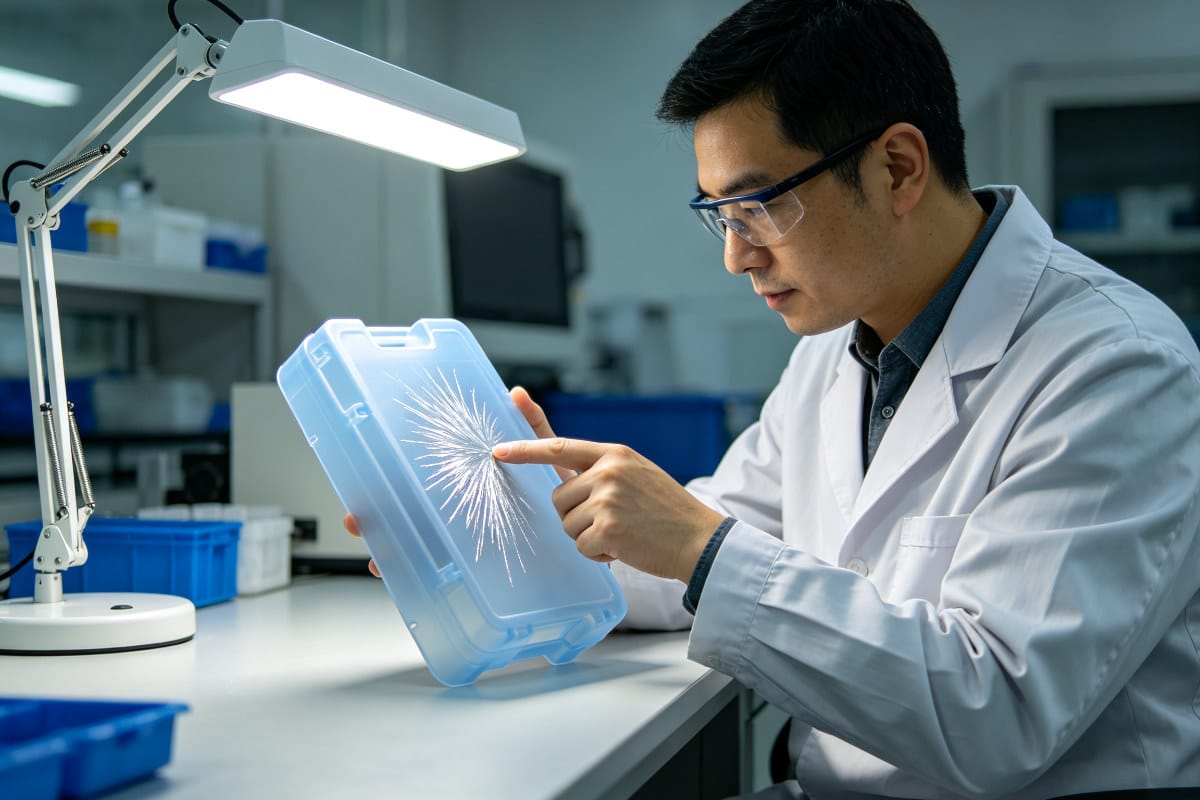
In my experience, defects in TPU parts usually come from bad material handling or poor mold design. We have solved these problems thousands of times for our clients. You must look at the part closely to find the root cause. Do not just guess.
Common Defects and Solutions
Here is a simple guide to fixing the most common TPU problems.
| Defect Name | What It Looks Like | How to Fix It |
|---|---|---|
| Splay | Silver streaks on the surface | Dry the resin longer. Check for wet air. |
| Flash | Extra material on the edges | Lower pressure. Improve mold clamping. |
| Short Shots | The part is not fully formed | Increase heat. Enlarge the gates. |
| Warpage | The part bends out of shape | Increase cooling time. Check wall thickness. |
Intermittent flash is very common with TPU. The material gets very thin when it is hot. If your mold venting is too deep, the TPU will leak out. Dimensional drift from elastic recovery is another big issue we see. The part might look the right size today. But it shrinks tomorrow. We fix this by holding the packing pressure longer in the machine.
What are the best DFM practices and cost drivers for TPU?
Is your TPU project going over budget? Poor part design leads to complex molds and slow cycle times. You can save money by following strict DFM rules.
Good DFM for TPU means keeping wall thickness uniform to prevent sink marks. You should avoid deep undercuts because soft parts can tear during ejection. TPU molding costs are driven by long cycle times, high material prices, and the need for precision tooling to prevent flash.
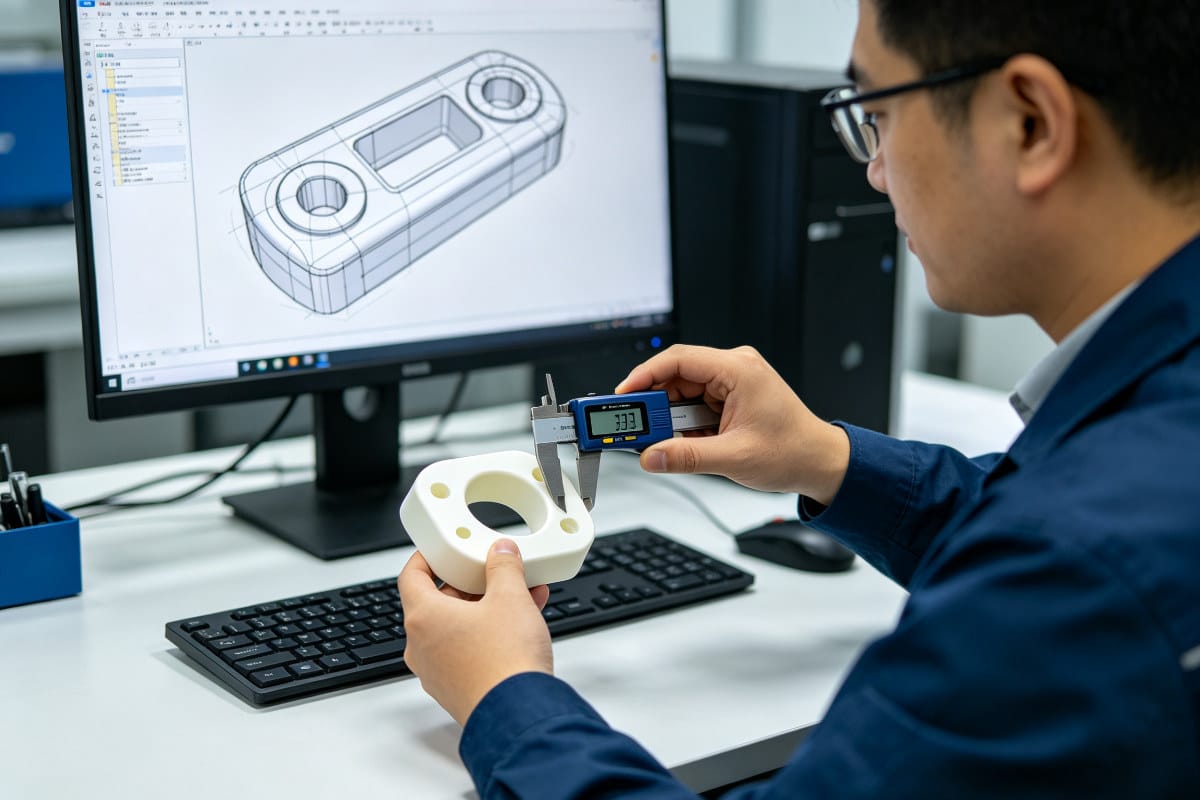
製造可能設計(DFM) is the secret to a successful project. A bad design makes the mold expensive. It also makes the parts bad. At Ideal Pro, our mission is to provide insights that lead to cost savings over the long term.
Wall Thickness and Undercuts
Uniform wall thickness is rule number one. If one area is thick and another is thin, the part will warp.
- Keep walls even: Transition slowly between thick and thin areas.
- Limit undercuts: TPU is flexible. It can sometimes be pulled off an undercut. But if the undercut is too deep, the part will tear.
Cost Analysis
What makes TPU parts expensive?
| Cost Driver | Why It Adds Cost | How to Reduce It |
|---|---|---|
| サイクルタイム | TPU cools slowly | Design thin walls and use good mold cooling. |
| Material Cost | TPU resin is pricey | Reduce part weight. Minimize runner waste. |
| Tooling | Needs tight tolerances | Follow DFM rules to avoid complex mold actions. |
By designing the part correctly from the start, we reduce material waste. We also speed up production. This lowers your final price.
How do you validate quality for TPU mass production?
Do you trust one good sample to approve a whole production run? This dangerous mistake leads to massive failures in the field. You must validate the entire system.
You validate quality by running multi-cycle pilot runs to check process stability. You must test the parts for dimensional drift, wear resistance, and chemical compatibility over time. Never approve mass production based on just one sample; always ensure the entire manufacturing system is consistent and reliable.

This is the most important lesson from our 18 years of experience. A single good-looking TPU sample does not equal mass-production readiness. We see clients approve a prototype. Then they panic when the first 10,000 parts have issues. Real-world issues happen when production starts.
The Validation Process
You must test the process, not just the part. We do this through pilot runs.
| Validation Step | What We Check | Why It Matters |
|---|---|---|
| Multi-cycle Runs | Machine stability | Ensures part 100 looks exactly like part 1. |
| Dimensional Checks | Elastic recovery | TPU shrinks over 48 hours. We measure it late. |
| Environmental Tests | Hydrolysis and heat | Proves the exact resin grade works in real life. |
We focus on testing the whole manufacturing system. We check the drying equipment. We check the mold temperature controllers. We check the operator steps. Stable TPU injection molding requires linked decisions. When you control moisture strictly and lock in the service requirements upfront, you get a reliable product every time.
FAQ – Frequently Asked Questions
Q1: Why does my TPU injection-molded part develop silver splay marks?
A1: Splay marks are mostly caused by residual moisture inside TPU pellets. TPU is highly hygroscopic. Even short exposure to ambient air can absorb water. You must dry TPU pellets 3-4 hours before molding. In addition, check for excessive barrel temperature which leads to thermal decomposition.
Q2: Should I choose polyester-based or polyether-based TPU for outdoor applications?
A2: It depends on the service environment. If the outdoor application involves continuous moisture, rain or water immersion, select polyether-based TPU to resist hydrolysis. If the parts frequently contact grease and motor oil while outdoors, polyester-grade TPU is the better option.
Q3: Can I rely on 3D-printed TPU prototypes to sign-off mass-production tooling?
A3: No. 3D-printed TPU has different molecular orientation and internal stress compared to injection-molded TPU. Hardness, elasticity and wear performance will deviate. Always run injection-molded pilot samples before steel mold finalization.
Q4: What draft angle do I need for flexible TPU injection molding parts?
A4: Recommended draft angle is 3-5°. Soft TPU easily sticks to mold cavity surfaces. Lower draft angles greatly increase the risk of tearing during ejection. If your design cannot meet this requirement, consider stripper-plate ejection on the mold.
Q5: How can I shorten TPU molding cycle time to reduce part cost?
A5: Optimize uniform wall thickness first, avoid overly thick sections. Improve mold cooling channel layout. Maintain proper mold temperature. Do not simply lower mold temperature aggressively, because this may introduce internal residual stress and later dimensional drift.
結論
TPU injection molding requires exact material selection, strict drying, and smart mold design. By validating the whole process through pilot runs, you ensure reliable, mass-production-ready flexible parts every time.



 English
 French
 Dutch
Dutch German
 Japanese
 Korean