Introduction
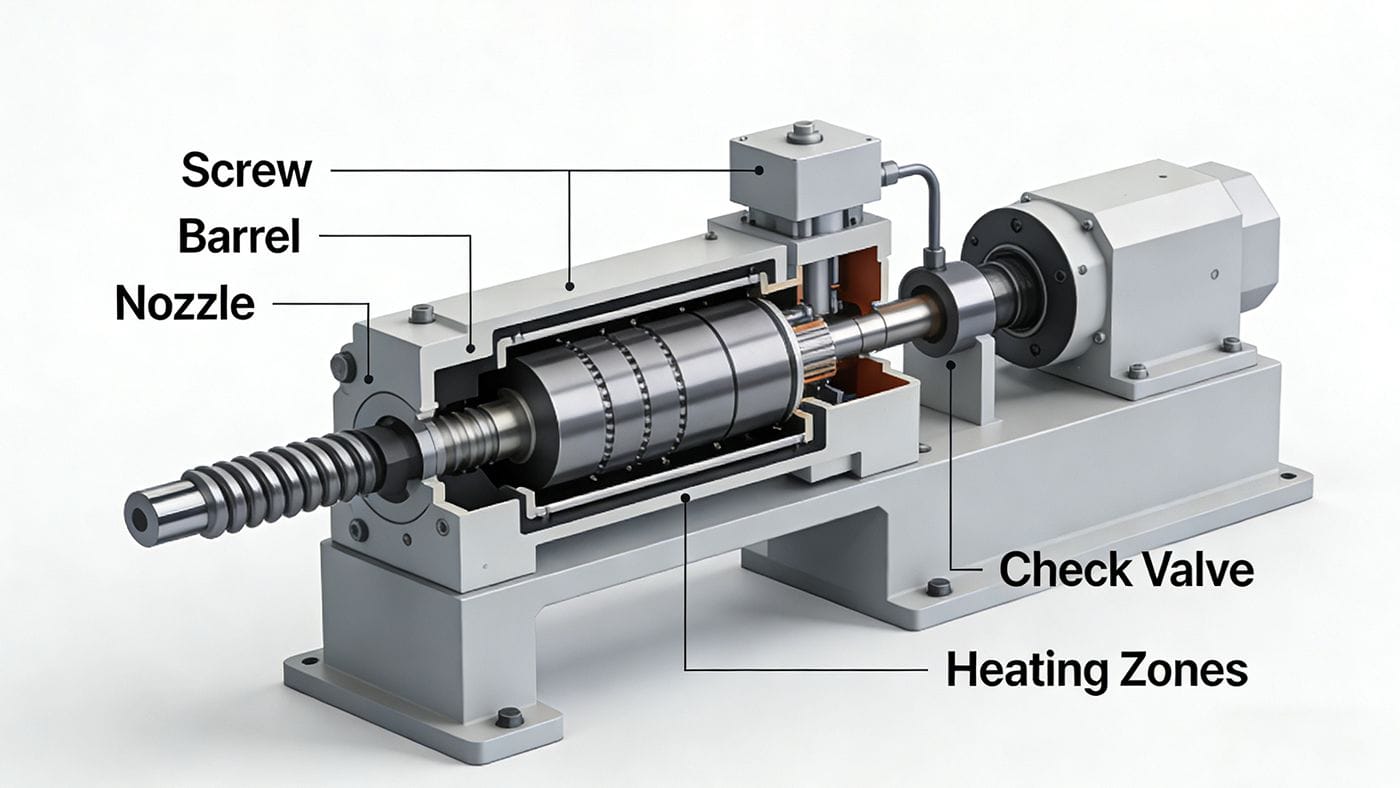
The plasticizing unit is the heart of your moulage par injection1 machine—responsible for melting, homogenizing, and delivering molten polymer consistently. Even minor faults can trigger production delays, defective parts, or costly downtime. This technically precise guide details 16 frequent plasticizing unit failures2, their root causes, and actionable repair protocols. Designed for engineers, technicians, and maintenance teams, this resource aligns with ISO maintenance standards and supports proactive machine management. Bookmark this page for rapid field reference!
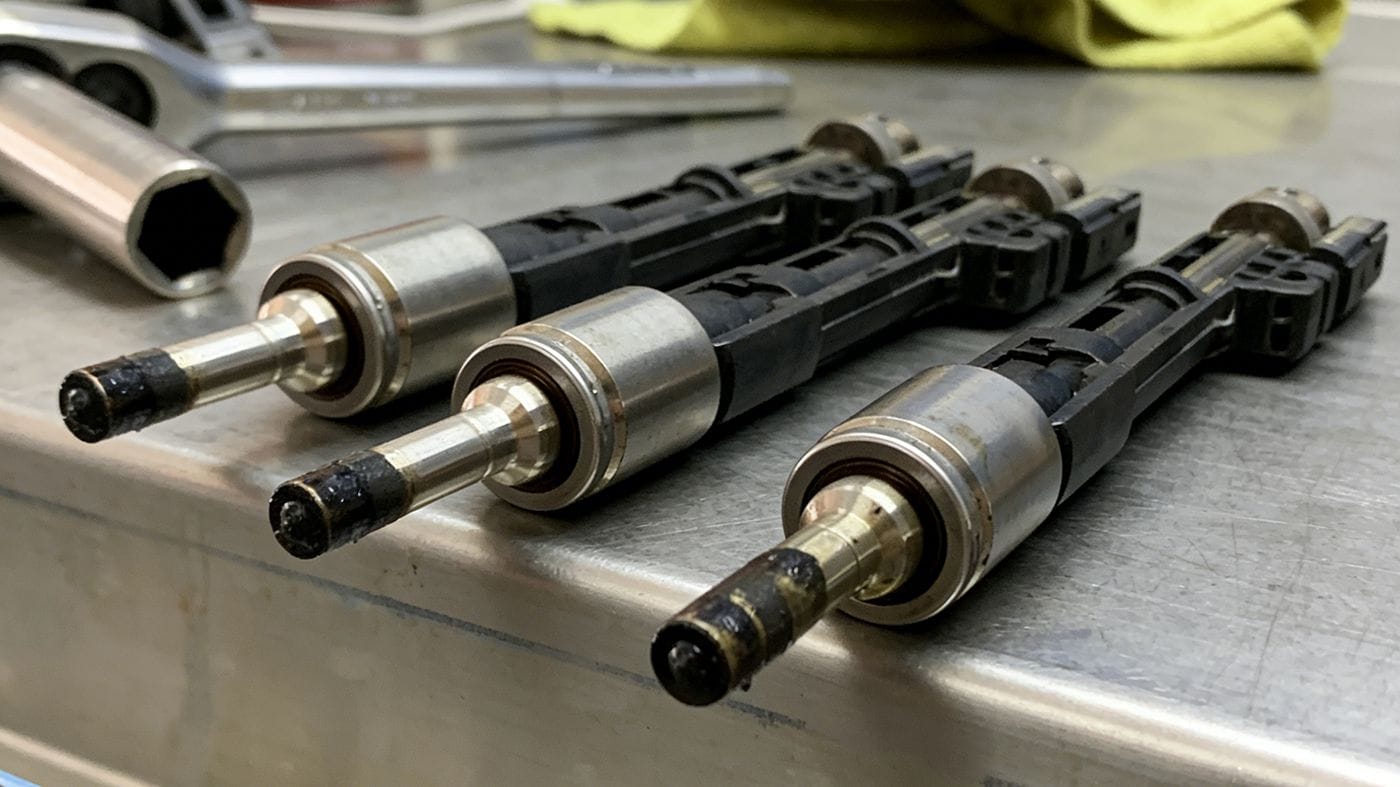
Injection Failure (No Material Ejection)
- Clogged nozzle: Inspect for obstructions; clean or replace nozzle.
- Fractured check valve: Disassemble flange; replace check valve assembly if cracked.
- Stuck directional valve: Verify 24V supply & coil resistance (15–20Ω). If electricals are sound, clean or replace valve.
- Broken injection piston rod: Loosen locking nut; inspect and replace rod if fractured.
- Low barrel temperature: Confirm actual temp meets material melt point; recalibrate heater settings.
- Worn piston seal: Inspect seal integrity; replace oil seal immediately.
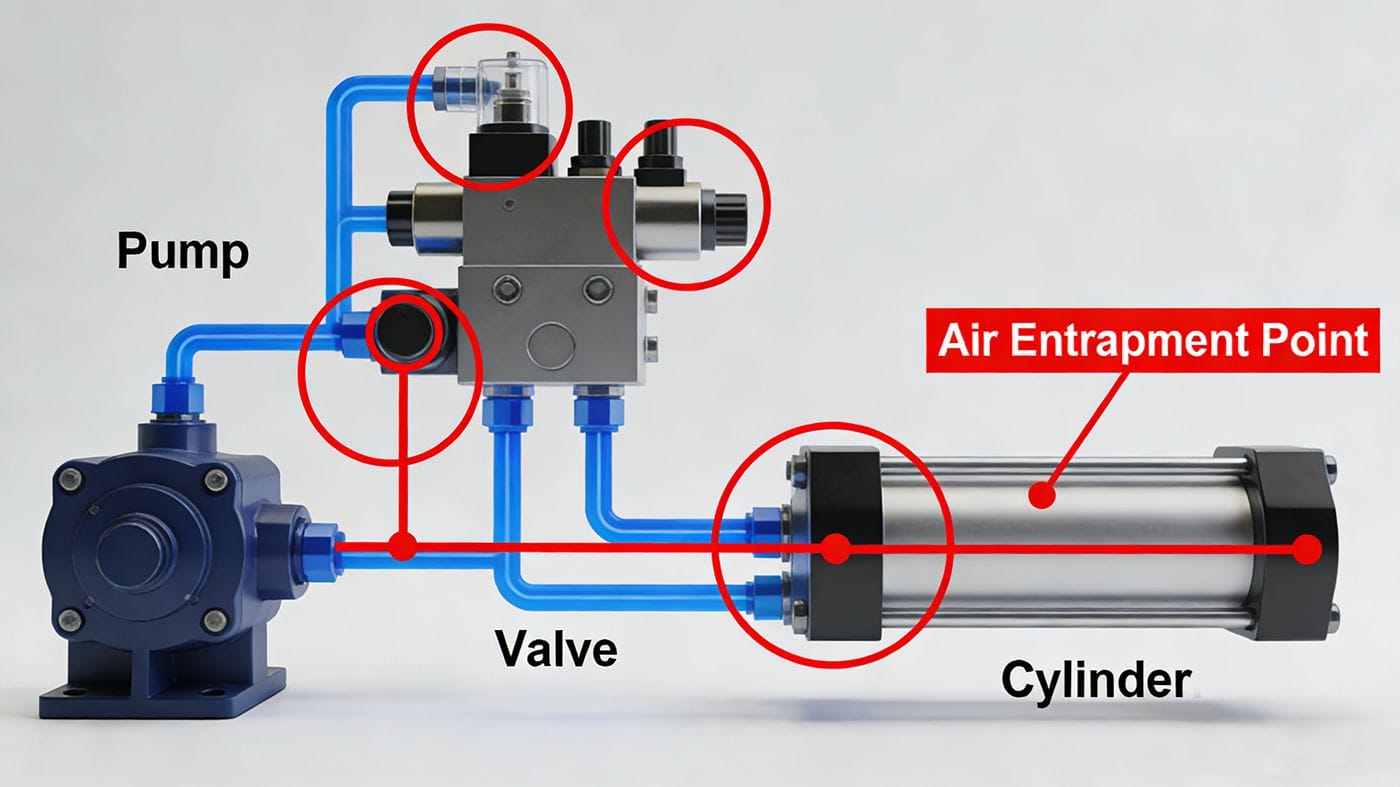
Loud Noise at Injection Start
- Reduce initial injection speed via flow control valve adjustment.
- Bleed air from hydraulic circuit; observe for vibration during operation.
Loud Noise During Injection-to-Plasticizing Transition
- Optimize transition speed between stages.
- Adjust injection stages, increase holding pressure, or add plasticizing delay time.
Inconsistent Shot Volume
- Worn cylinder seals: Monitor pressure stability; replace seals.
- Worn check valve/ring: Perform dual-shot test; replace full check valve kit.
- Barrel wear: Conduct dual-nozzle test; inspect barrel internally; replace if scored.
No Injection in Semi-Automatic Mode
- Verify injection unit fully forward (limit switch status).
- Inspect wiring continuity and limit switch function.
- Recalibrate linear transducer (electronic scale) zero position at full mold closure.
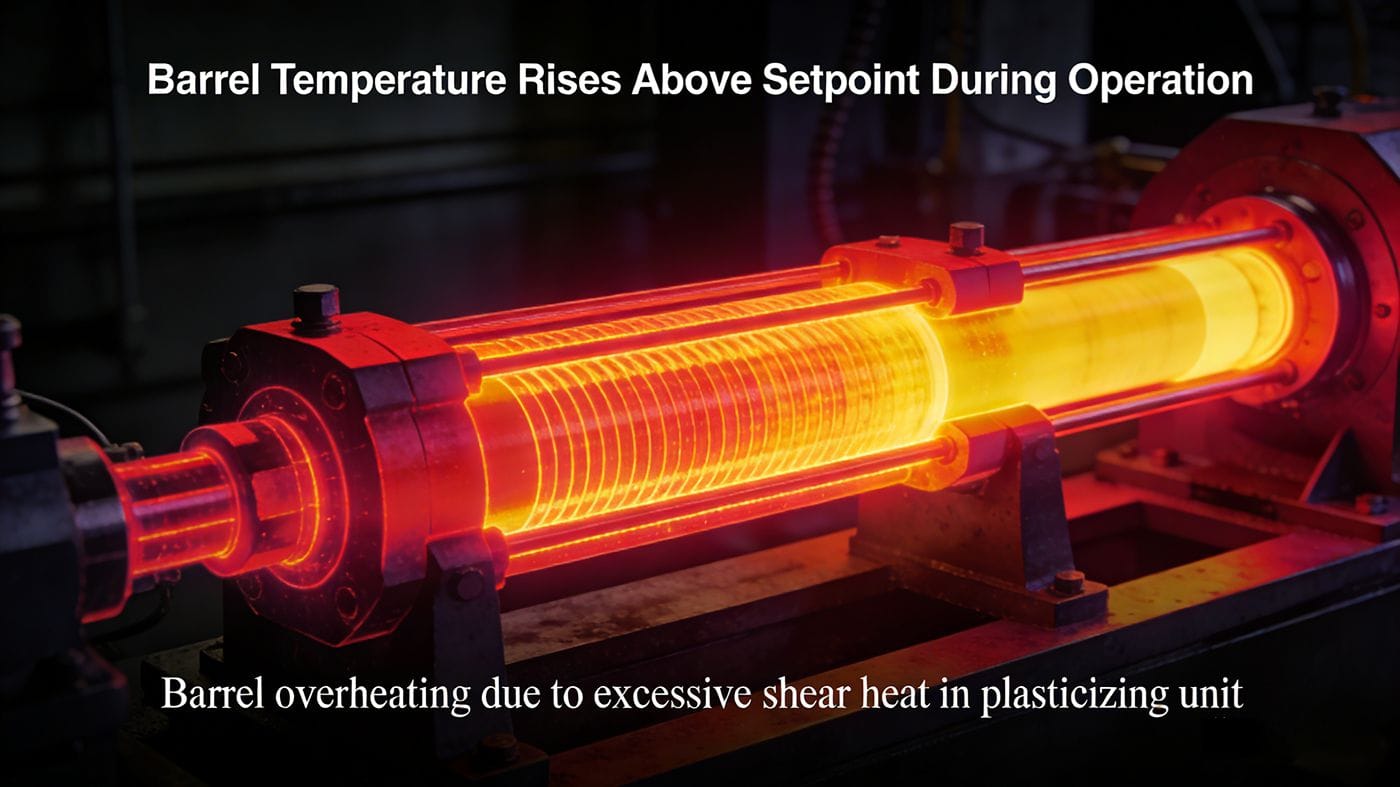
Barrel Temperature Rises Above Setpoint During Operation
- Reduce screw RPM (verify with tachometer).
- Lower back pressure; monitor product quality & gauge reading.
- Inspect screw/barrel for abnormal friction or wear.
- Review temperature profile—avoid excessive shear heat (lower front/mid-zone temps if needed).
- Confirm material suitability and heater band functionality.
Abnormal Screw Noise During Plasticizing
- Reinstall drive shaft if misaligned.
- Replace damaged thrust bearing.
- Inspect screw for bending (use dial indicator; ≤0.05mm runout acceptable).
- Clean metal debris from screw flights.
Screw Fails to Rotate3 (No Plasticizing)
- Replace burnt bearing or fractured drive shaft.
- Clean metal chips from screw/barrel interface.
- Test solenoid valve core mobility; clean or replace.
- Diagnose plasticizing motor (electrical/mechanical); repair or replace.
- Check heater bands (multimeter test) and connector tightness (24V supply verification).
Unadjustable Back Pressure
- Perform material feed test while increasing back pressure.
- If screw retracts abnormally, clean or replace back pressure valve.
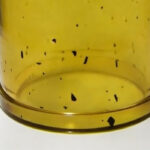
Black Specks in Final Product
- Clean screw/barrel thoroughly (purge protocol).
- Inspect hopper, dryer, and feeder for contamination; polish barrel interior.
- Replace corroded check valve assembly, flange, or nozzle.
- Verify raw material purity.
- Reduce barrel temps and back pressure to minimize degradation.
Poor Color Mixing
- Validate colorant quality and compatibility.
- Increase barrel temperature to material specification.
- Raise back pressure and screw RPM.
- Extend pre-mixing time or install mixing head (Maddock type).
No Suck-Back (Decompression) Action
- Reduce back pressure.
- Check wiring to suck-back solenoid valve.
- Manually test valve core mobility with hex key; clean if stiff.
Motor Housing Vibration During Plasticizing4
- Replace worn thrust bearing.
- Adjust angular contact bearing clearance.
- Inspect screw straightness and guide rod alignment.
- Replace worn copper bushings on rear plate; tighten mounting bolts.
Double Injection Stroke
- Enlarge nozzle orifice if flow resistance is excessive.
- Test nozzle heater band; replace if faulty.
- Verify pressure/flow signal stability from controller.
Screw Fracture Causes
- Synchronize injection carriage movement (±0.05mm tolerance).
- Balance injection cylinder synchronization.
- Match screw design to material characteristics (L/D ratio, compression).
- Never rotate screw before reaching full melt temperature.
- Confirm heater functionality and anti-cold-start protection.
Mold Adjustment Failure
- Re-level machine base and verify platen parallelism (use precision level & square).
- Adjust clearance between pressure plate and adjusting nut (≤0.05mm per feeler gauge).
- Replace seized or overheated adjusting nut (check for metal particles).
- Inspect upper/lower support plates and locking nuts.
- Test I/O board signal output; repair electronics if faulty.
- Clean stuck mold adjustment valve core.
- Diagnose/replace hydraulic adjustment motor.
Pro Maintenance Tips for Longevity
✅ Perform weekly visual inspections of seals, heaters, and valves
✅ Log temperature profiles and pressure trends for predictive analysis
✅ Use material-specific purging compounds during changeovers
✅ Train operators on early symptom recognition (noise, vibration, discoloration)
✅ Schedule quarterly calibration of sensors, transducers, and hydraulic valves

Explore this resource to enhance your understanding of injection molding techniques and improve production efficiency. ↩
Understanding these failures can help you prevent costly downtime and improve production efficiency. ↩
Understanding this issue can help you troubleshoot effectively and maintain machine performance. ↩
Understanding vibration causes can help you maintain machine stability and prolong equipment life. ↩